Locations
|
|
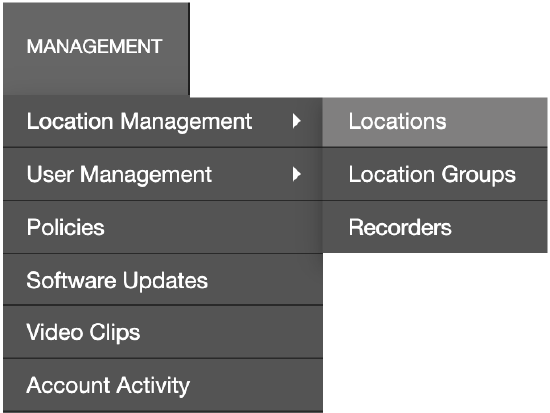
NOTE: You can click Management on the navigation bar to go directly to Locations.
For more information on locations, view:
iOS Mobile App | Command Station
View Locations and Devices
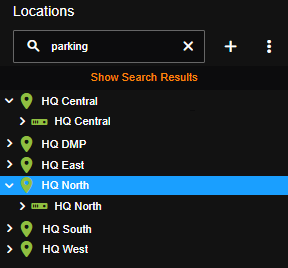
Clicking on a location on the left-hand side menu displays the devices added to that location.

The location and device icons will display in different colors based on their status:
- Green: All child devices are connected and operational.
- Orange: A child device fails to connect.
- Red: All child devices are disconnected.
- Gray: The location has been archived.
- White: An empty location.
NOTE: Hide or Show Out of Service devices by clicking on the three dots and clicking on Show Out of Service. 
Search Locations
- Enter a search term in the search bar.
- Choose to search Locations, Recorders, Devices, and Nested Results in the search by checking the boxes.
Locations and devices that match will appear in Search Results.
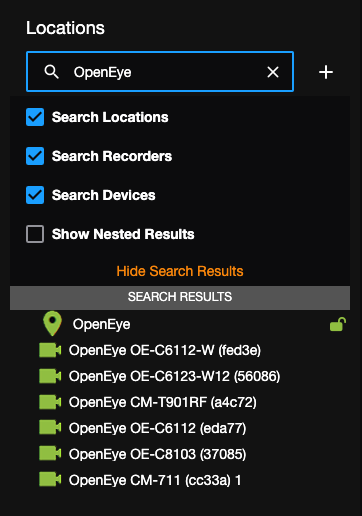
NOTE: Hide Search Results to view the full list of locations and devices without deleting the last search. Show Search Results to view the last search.
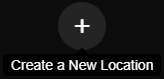
Create Location
- Click the plus icon to Create a New Location.
- Enter a Location Name, Time Zone Region, and Time Zone.

- Click Create.

The new location should appear on the left-hand device menu.
For more information on locations options in other devices, view:
Locations Options
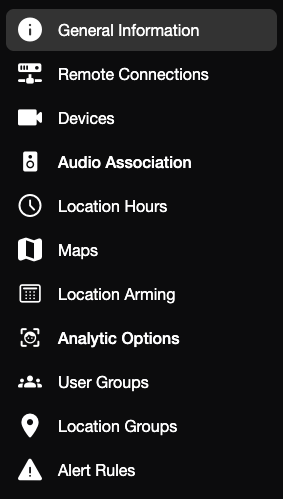
- General Information
- Remote Connections
- Devices
- Audio Association
- Location Hours
- Maps in Locations
- Location Arming
- Analytic Options
- User Groups
- Location Groups
- Alert Rules
General Information
Enter, edit, and view the Location Address information associated with a location.
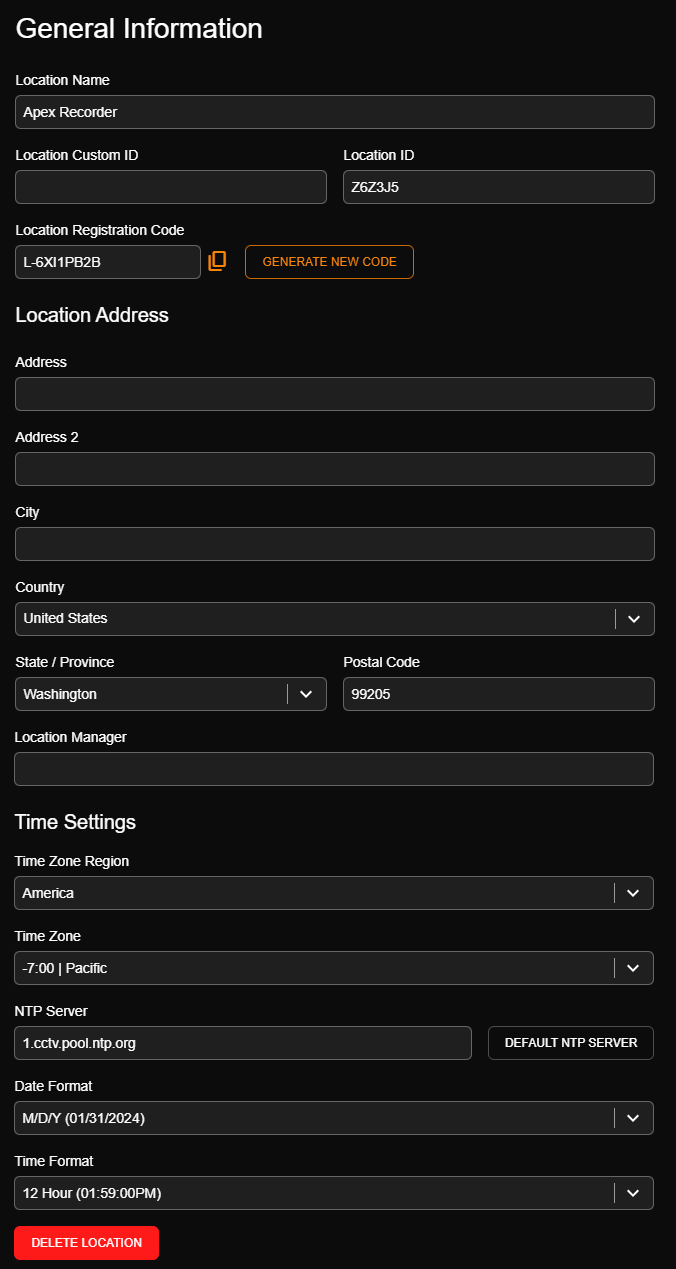
Click on the tab on the Locations page to view General Info:
Location Name: The name of the location
Location Custom ID: A manually assigned ID for internal organization
Location ID: An automatically generated ID
Location Registration Code: Copy the code to add devices to the Location. Generate New Code for a new code
Address, City, State/Province, Country, Postal Code: Address for the customer account
Location Manager: Manually given name
Time Settings: Time configuration settings
Delete Location: You can select to Delete or Save a location after clicking Delete Location
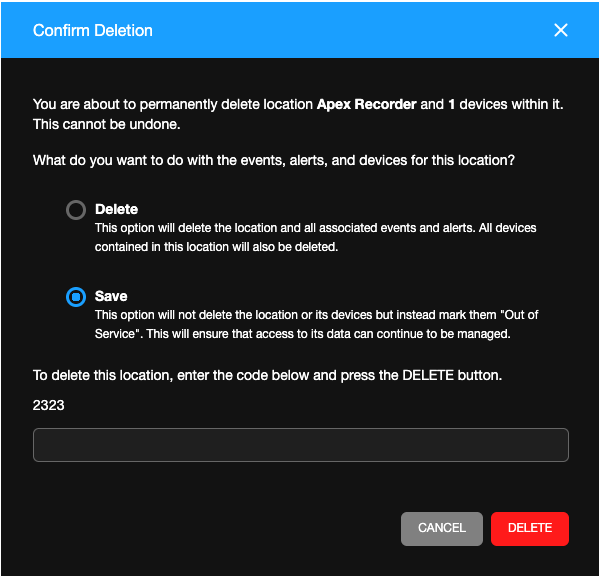
- Delete: This option will delete the location and all associated events and alerts. All devices contained in this location will also be deleted.
- Save: This option will not delete the location or its devices but instead mark them "Out of Service." This will ensure that access to its data can continue to be managed.
NOTE: Enter the provided four digit number code before pressing DELETE.
Remote Connections
Check the boxes to choose the connection types for the devices on the location.

Click on the tab on the Locations page to view Remote Connections:
Inbound HTTP/HTTPS Traffic: Allows non-web services initiated inbound HTTP and HTTPS connections to the device. ie. allows web browser connections on the same LAN as the device using the device IP address, device connections added manually to Command Station, etc. Only applies to device version 2.3 and greater.
Direct Connect: Configure this option when using a static External IP Address to connect to the device. This will send video directly from the device to the client and bypass Web Services. Using this option may require port forwarding configuration.
LAN Smart Forwarding: When the device and client are both on the same LAN, Web Services attempts to send the video directly from the device to the client. This feature is ON by default because it can improve video playback performance in many circumstances.
Enable Domain Redirect: Redirect over HTTPS in LAN Smart Forward mode to a pre-selected domain name with a valid CA signed certificate imported into the device.
Peer to Peer: Web Services will provide the client and device information needed for the client to connect directly to the device. This allows video to be streamed direct.
Relay: This connection method transfers video from the device to the client by relaying it through the Web Services servers.
WebRTC (Web Real-Time Communication): This connection method transfers video directly from the device to the client when WebRTC is available.
Web Connect Region: Web Connect servers are available in multiple regions to provide the fastest possible connection to your device. This region is set by default and is typically not necessary to change.
Devices
View the devices list for a location. Check Health Events to receive alerts for camera status changes.

Click on the tab on the Locations page to view Devices.
Devices associated with a Location are listed by Device Name, Device ID, Device External ID and Status. A notification appears when any device is Disabled or Out of Service. Unchecking Health Events removes a device from all health alerts and health reports. The device functions normally for all other alerts and reports.
Rearrange Devices
- To rearrange the device order in the Devices list, click Rearrange.
- Enter values in the New Order column to rearrange the devices in the list.

- Click Save.
NOTE: The order of the devices in this list will determine the order the devices appear under Locations in the OWS Video Player.
Out of Service
Since event and Alert data may exist for Out of Service devices, they are shown here so that access to their data can be managed. Disabled or Out of Service devices will remain visible throughout the site if the Visible box is checked. Checking the Delete box on devices will delete them from the location.

User Groups
View and add User Groups directly from the Location.

- Click Add User Group.

- Click
 to include a User Group.
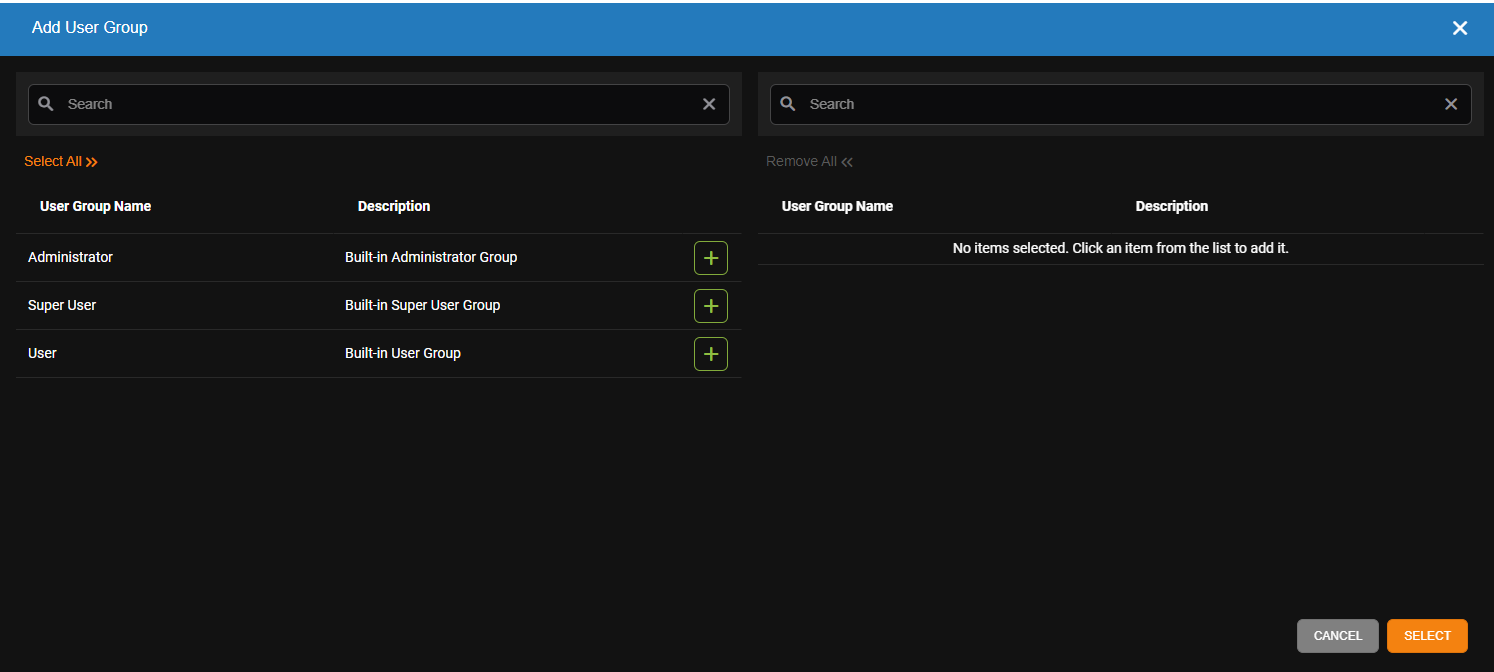
-
Click Select.

User Groups can be removed by clicking the X next to their names in their respective lists.
Location Groups
View and add Location Groups directly from the Location.

- Click on Add Location Group.

- Click to include a Location Group.

-
Click Select.
Location Groups can be removed by clicking the X next to their names in their respective lists.
Alert Rules
View and add Alert Rules directly from the Location.

- Click on Add Alert Rule.

- Click to include a Location Group.

- Click Select.
Alert Rules can be removed by clicking the X next to their names in their respective lists.