How to Replace a Cloud Camera
|
|
Replacing an Out of Service Cloud Camera
Using the cloud camera replacement process configures the new device with the same settings as the old device and automatically replaces the old device with the new device in Locations, Alert Rules, and associated User Groups.
NOTE: Make sure you have at least one saved Configuration File before beginning the camera replacement process.
NOTE: The replacement camera will only configure with the same settings of the old device if it is the same model.

- Select the device to replace.
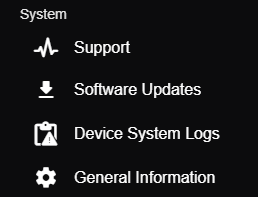
- Click the General Information tab.
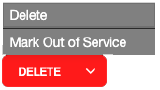
- From the Delete dropdown, select Mark Out of Service.
NOTE: The camera must have been offline for at least 24 hours or marked as out of service before it can be replaced.
- Click Confirm.

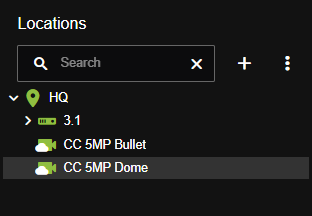
- Click on the Locations menu
 , and select Add a Cloud Camera.

- Enter the Camera Code found on camera label or inside the packaging.

- Click Next.
- Click Replacement Device.

- Select SD card option.

- No (all video stored on the out of service device will be lost)
- Yes, already installed (SD card from the out of service device is already installed on the replacement device)
- Yes, but still need to install it (manually install the SD card in the device and start the replacement process from the beginning)
- Click Proceed.
- Select a Camera from the list.

- Check I understand all settings and device associations will be overwritten and that this action cannot be undone.

- Click Replace. This will initiate device replacement.
- Click Add Another Camera to begin the same process with another camera or Done.

Camera Status
Out of Service
To check on the camera status before replacing a device and while a replacement device is updating, click on the Locations menu , and select Show Out of Service.
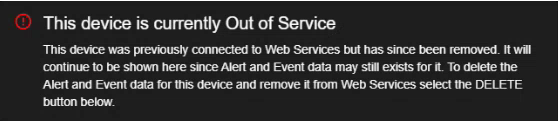
An out of service cloud camera will appear gray in the locations device list and the General Information tab will display This device is currently Out of Service.

Updating
An updating replacement device will appear yellow in the locations device list.

The General Information tab will display updated status messages during the cloud camera replacement process.


