Managing Licenses
Managing Licenses
|
|
NOTE: Based on the configuration of the Channel Partner account, the displayed currency symbol may differ from USD.
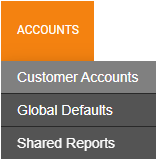
From the Channel Partner portal, go to Accounts > Customer Accounts.
Click Manage  on the account you want to edit.

Once an End User account has subscriptions enabled, the Subscription Management tab can be used to Manage Subscription Preferences.

Click Edit to select Manage Subscription Group Preferences, Manage Products, and Assign Licenses. Click Details to display pricing details for licenses, grouped by amount and price. The Pending column displays recently added licenses that are within the revision window. Click UNDO to revert any recently added licenses shown in the Pending column.
NOTE: You can Search  subscription groups by Subscription Group Name as well as by Device Serial Number, Device Name, Location Name, or Dealer Custom IDs.
Manage Subscription Preferences
- Click on Manage Subscription Preferences.
- Select Account Tier.

- Account Tier - Select the license tier. See Features by Licensing Tier for more information on the differences between the tiers.
- Click Next.

- Click Confirm to make updates to the Account Tier.

Add Subscription Group
- Click Add Subscription Group
 .
. - Enter a Subscription Group Name and use the dropdown to pick either Annual or Monthly for the Subscription Period.
- Check Automatically assign licenses and Automatically purchase licenses to enable those options for the Subscription Group.

- Click Save.
Edit Subscription Group
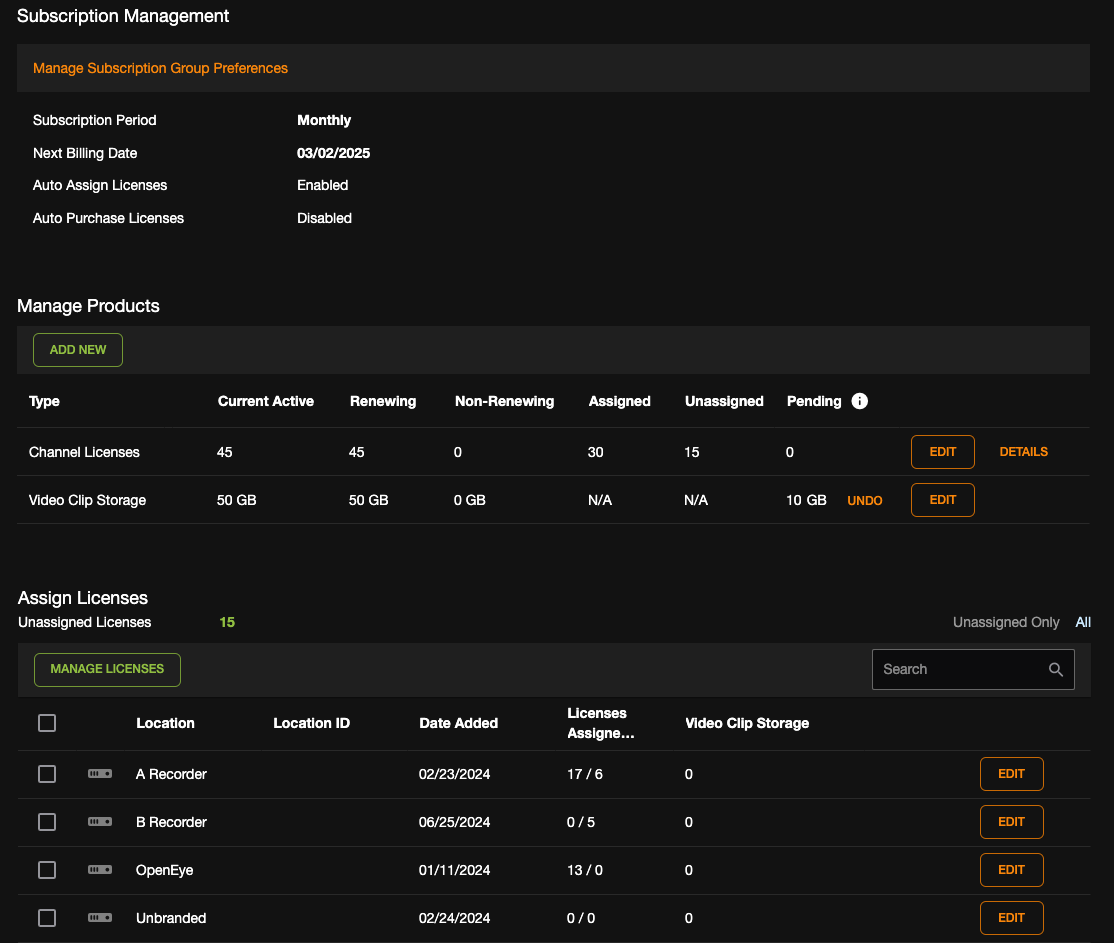
NOTE: Once Subscription Management is enabled, any recorders that already had licenses will reset back to 0, and licenses will need to be reapplied.
Manage Subscription Group Preferences
- Click on Manage Subscription Group Preferences.
- Select Billing Cycle, and Billing Month (if Billing Cycle is Annual) from the dropdown menus.

- Billing Cycle - Select between a Monthly or Annual billing cycle.
- Billing Month - If an Annual billing cycle is chosen, select the Billing Month from the dropdown menu.
- Automatically assign licenses - Channel licenses are automatically assigned to camera devices. Uncheck to choose not to have licenses automatically assigned.
- Automatically purchase licenses - You can check to Automatically purchase licenses if you check Automatically assign licenses and there are not enough licenses available from the Subscription Group when new camera devices are added to Subscription Management.
- Click Next.

NOTE: Unassigned licenses are automatically assigned if:
- The End User account has Auto-License Assignment enabled.
- Cameras are added by a user with Add Camera permissions enabled, and the recorder is running Apex v3.0.6 or newer.
NOTE: Licenses may also be automatically assigned:
- When cameras are enabled or disabled (Apex v3.4.1 or newer)
- When importing a config file (Apex v3.2.4 or newer)
NOTE: If the camera menu does not appear in the recorder’s setup menu when added to OpenEye Web Services (OWS), you must manually assign at least one license through OWS before auto-assign features will work when adding cameras.
The Update Subscription Options lists the changes that will go into effect as well as the Quantity, Price Each, Renewal, and Prorated price (if applicable) for the edits made to the subscription.
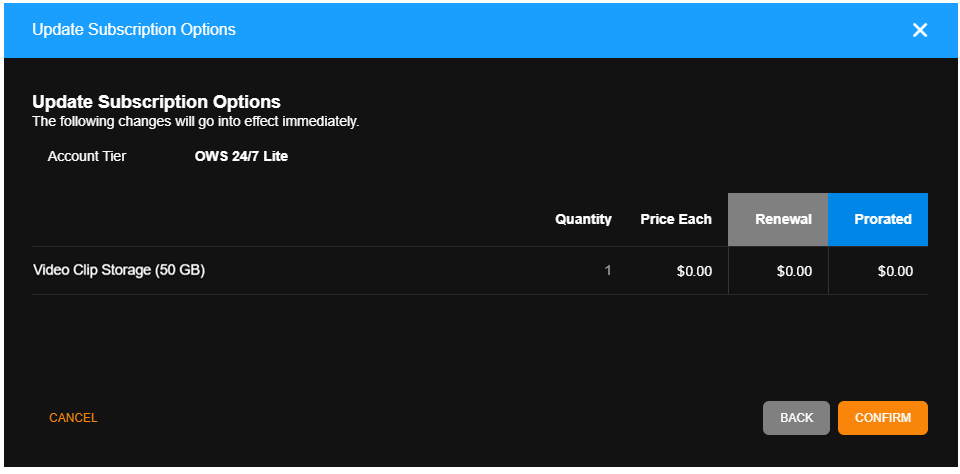
- Click Confirm to complete the edits, Back to make additional edits, or Cancel to exit Manage Subscription Options.
NOTE: Prices vary per tier. Click Learn how fees are calculated for more information on Terms of Use.
NOTE: Subscription Options are available when creating a new account. See Adding a New Account for more information.
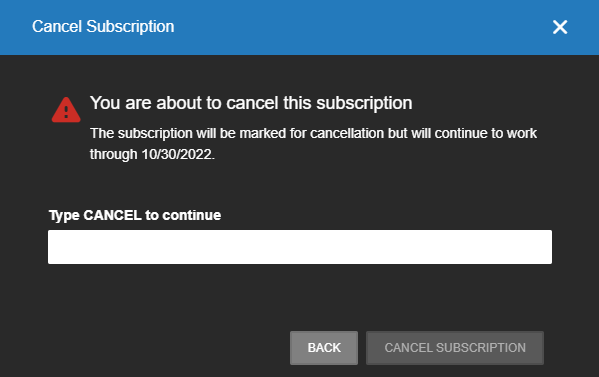
NOTE: Click Cancel Subscription to end the Subscription. Type CANCEL and click Cancel Subscription to end the subscription at the end date given.
Manage Products
Add New to add new product types or Edit to manage existing licenses and add-on services.
Product Types
- Channel Licenses: Standard license required for each OWS device
- Location LPR: Add Location LPR licenses to your web services account
- PAR POS Data Collection: Allows this location access to Par POS
- POS Terminal Licenses: The number of Point of Sale (POS) terminals being supported by OWS's Cloud Point of Sale
- Priority Event Cloud Recording Storage: Add additional storage for priority event cloud recordings to your web services account
- Toast Data Collection: Enables an OWS location to collect Toast POS data
- Video Clip Storage: Add additional video clip storage to your web services account

Channel Licenses
- Click Edit.

- Enter the total number of licenses, then choose Add Licenses (default), Remove Licenses, Edit Total Licenses, or Move Licenses from the dropdown.
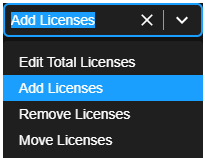

- Click Next.

- Click Confirm
 to make the change made to the Recording Licenses.


NOTE: Click Edit  on a recorder to apply the New Licenses assigned to the device and refresh the page to view the assigned license count. See Assign Licenses for more information.
Details
Click Details to display pricing details for licenses, grouped by amount and price.

Location LPR
- Click Edit.

- Enter the total number of licenses, then choose Add Licenses (default), Remove Licenses, Edit Total Licenses, or Move Licenses from the dropdown.


- Click Next.

- Click Confirm to make the change made to Location LPR.

PAR POS Data Collection
- Click Edit.

- Enter the total number of licenses, then choose Add Licenses (default), Remove Licenses, Edit Total Licenses, or Move Licenses from the dropdown.

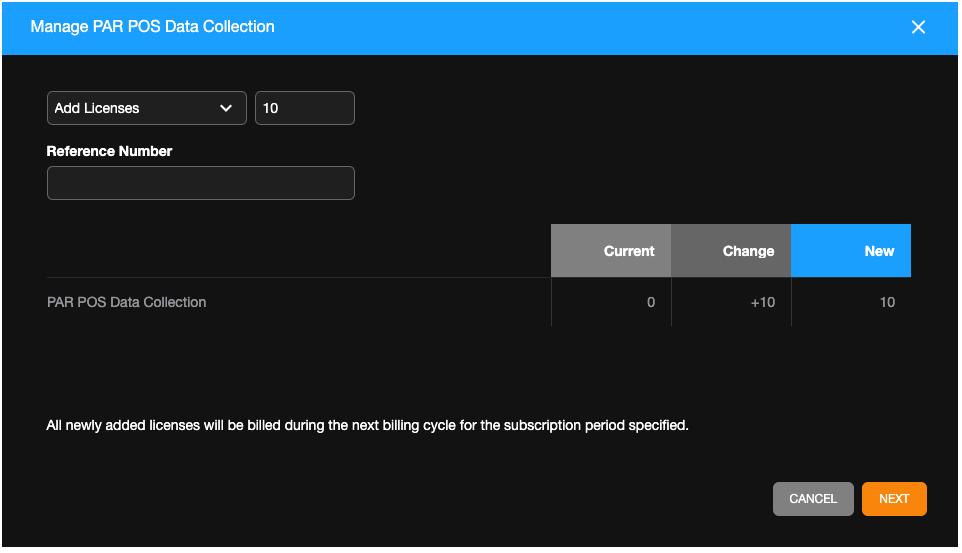
- Click Next.

- Click Confirm
 to make the change made to the PAR POS Data Collection.

POS Terminal Licenses
- Click Edit.

- Enter the total number of licenses, then choose Add Licenses (default), Remove Licenses, Edit Total Licenses, or Move Licenses from the dropdown.


- Click Next.

- Click Confirm
 to make the change made to the Recording Licenses.


Priority Event Cloud Recording Storage
Add additional storage to priority event cloud recordings to your web services accounts.
- Click Add New.
- Click Priority Event Cloud Recording Storage, then click Next.
- Use the dropdown or enter a number to adjust Storage Amount (GB).

- Click Next.

- Click Confirm to make the change made to the Storage Amount.

- The added Priority Event Cloud Recording Storage will appear in the Add On Services list.

Toast Data Collection
- Click Edit.

- Enter the total number of licenses, then choose Add Licenses (default), Remove Licenses, Edit Total Licenses, or Move Licenses from the dropdown.


- Click Next.

- Click Confirm
 to make the change made to the Recording Licenses.


NOTE: Click Edit  on a recorder to apply the New Licenses assigned to the device and refresh the page to view the assigned license count. See Assign Licenses for more information.
NOTE: After applying a Toast POS license, click on the provided link for more information on completing the Toast POS Integration.

Video Clip Storage
- Click Edit.

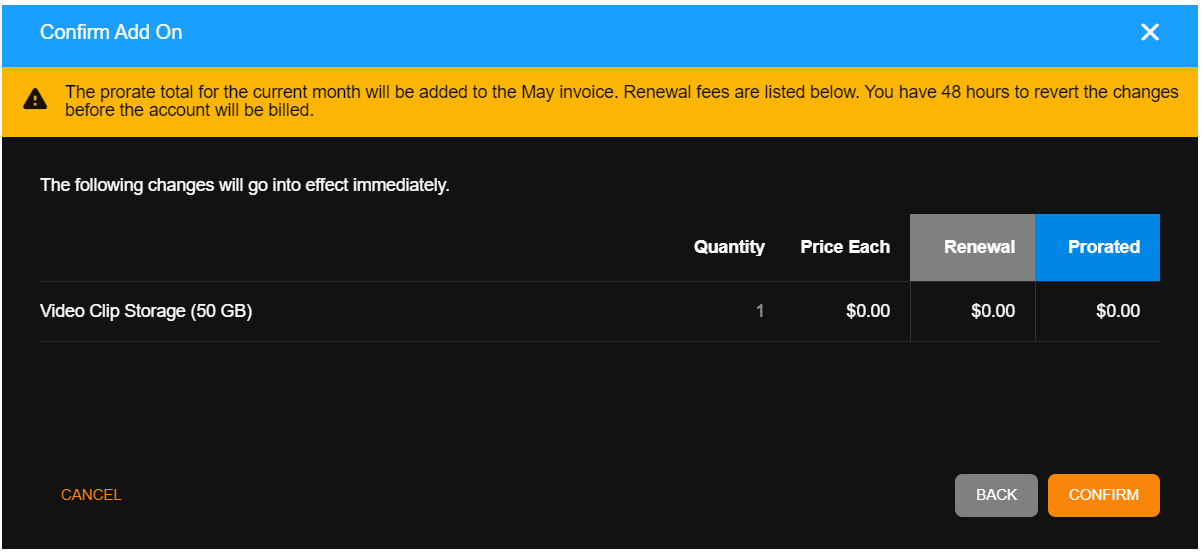
- Use the dropdown or enter a number to adjust Storage Amount (GB).

- Click Next.

- Click Confirm to make the change made to the Storage Amount.
Assign Licenses
NOTE: You can use the Search bar  in Assign Licenses to search by Location, Device Serial Number, Device Name, or Dealer Custom ID.
Assign Licenses to recorders associated with the Channel Partner account.
- Click Edit.

- Increase or decrease the number of licenses to assign to the device.

NOTE: Other licenses need to be enabled rather than have a number value assigned (i.e. Toast).
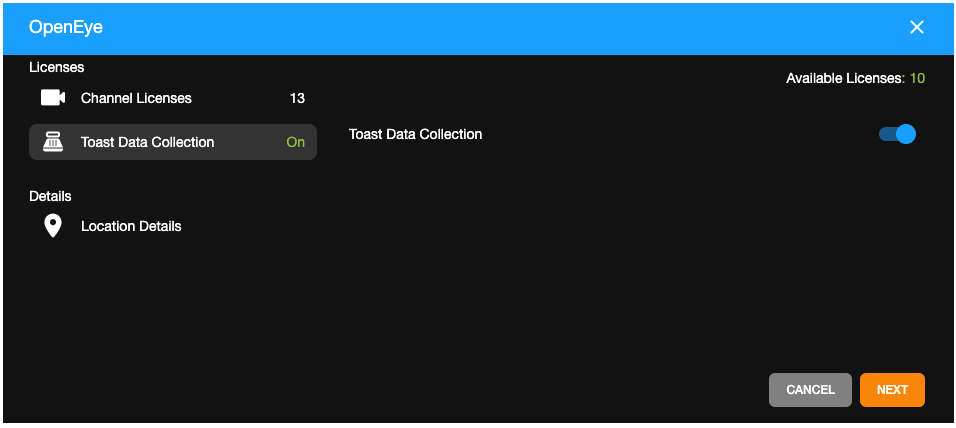
- Click Next to confirm the change in licenses.

- Click Save.
Edit Dealer Custom IDs
- Click Edit on a location in the list.

- Enter Dealer Custom ID 1 and Dealer Custom ID 2 in the fields.

- Click Next.

- Click Confirm.

Adding Dealer Custom IDs to a New Location
If Subscription Management is enabled, Dealer Custom IDs are included when creating a new Location.

NOTE: Only Channel Partners will be able to view and edit Dealer Custom IDs when creating a new location.
Move Licenses to a New Group
- Check a Recorder or Location (to select all devices on a location).

- Click Move to New Group.
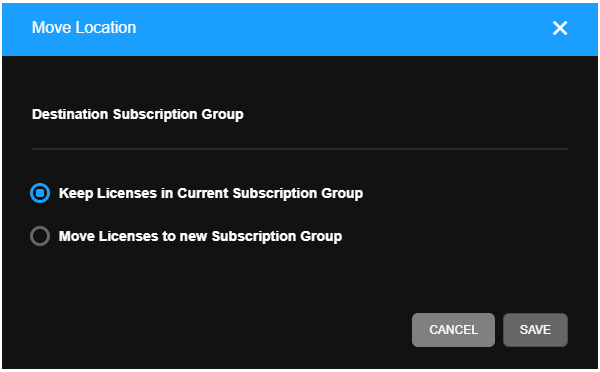
- Select either Keep Licenses in Current Subscription Group and Save or Move Licenses to new Subscription Group and choose the new Subscription Group.
