OpenEye Knowledge Base

Point of Sale Alerts

Configure Point of Sale alert rules to receive automatic notifications based on specific transaction criteria such as refunds, voids or discounts. Users can customize rules to receive notifications when a transaction involves a specific UPC, SKU, Transaction #, Scan Type, Line Item Amount, Line Item Quantity, Location, Terminal, Operator, Product, Category, Department, Tender Type, Transaction Total, Loyalty/Email, Total Chain Duration, and Transaction Duration. In addition, multiple filters can be combined to refine Point of Sale alerts.


Creating a New Alert Rule
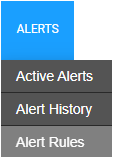
  1. Within the Alerts tab in the OWS Cloud Portal, select Alert Rules from the dropdown menu.

Alert Rules dropdown.png

  1. Click Add New Rule.

Add New Rule button.png

  1. Select an Alert Type from the pop-up menu. 

Create Alert Rule Popup List.png

  1. Click Next.

Next Button.png

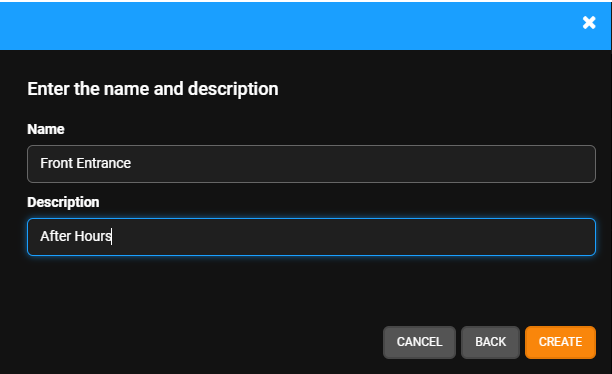
  1. Name the alert and give it a Description as desired.

Name Alert Rule popup.png

  1. Click Create.

Create button.png

Defining an Alert Rule: Point of Sale
  1. Use the dropdown to choose a filter.
  2. Click Green Add button.png to add the selected filter to the rule.
  3. After selecting the filter type, click the field to add further definitions to the filter.

NOTE: The magnifying glass icon will display a popup dialog version of the dropdown menu for the chosen filter type.
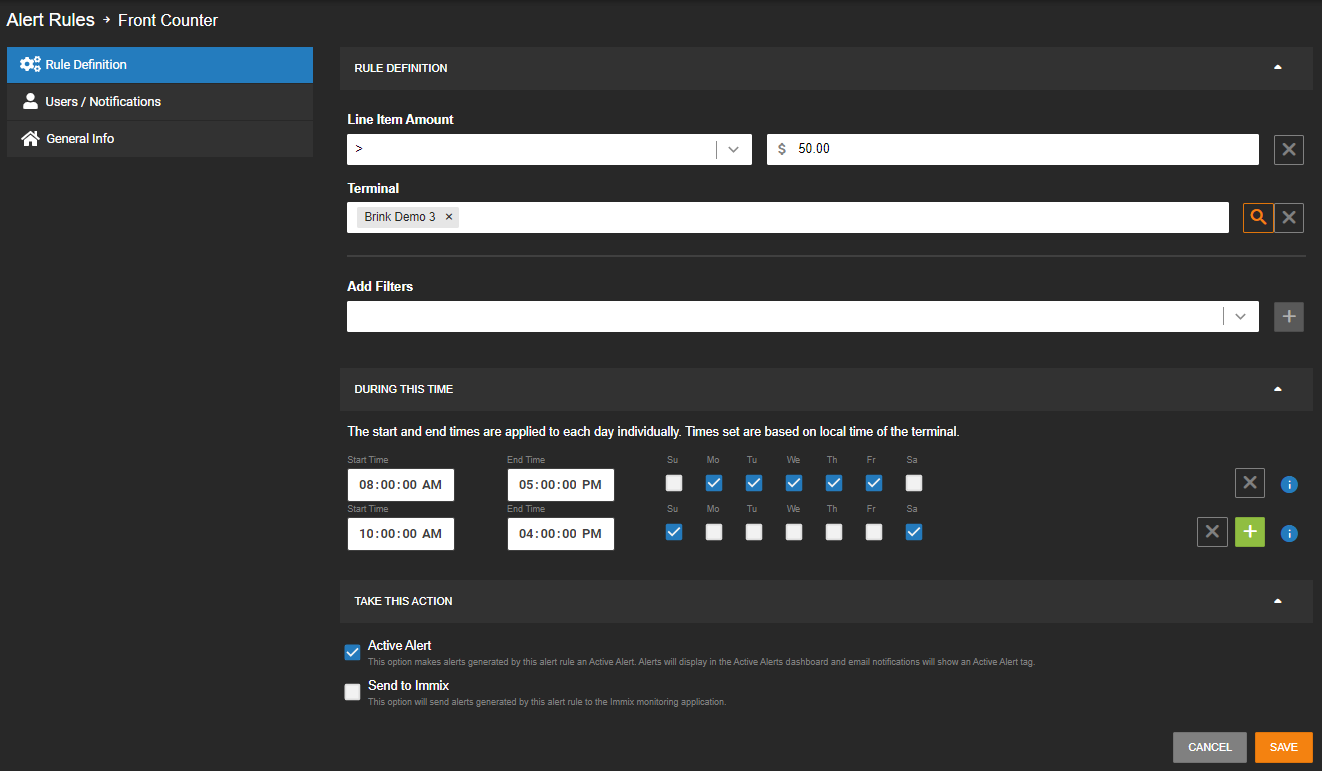
Point of Sale Rule Definition.png

  1. Add more filters to further define the rule.

NOTE: Multiple location filters cannot be added to the same rule.

  1. Enter the Time of Day range that this rule should be active for.
  2. Check the boxes beneath the Days of the Week on which the rule should be active.
  3. Select the minimum Motion Duration or Sensor Duration necessary before sending an alert.
  • Select Seconds, Minutes, or Hours using the dropdown menu.
  1. Active Alert (Optional) - Check the Active Alert box to add the alert to the Active Alert Dashboard and tag it as an Active Alert in email notifications.
  2. Send To 3rd Party Integration (Optional) - Check the Send To boxes to send the alert to the associated 3rd party integration.
  1. Click Save.
Add Users to an Alert Rule

NOTE: Adding Users to a rule automatically grants them permission to view alerts for cameras and locations they have access to based on their User Group permissions.

  1. Click Users/Notifications on the left-hand menu.

Users Notifications tab.png

  1. Click Add User or Add Group.

Add Group Add User button.png

  1. Click + next to each User or Group to send emails and push notifications when the alert is triggered.

Green Add button.png

  1. Click Add when finished.

Select button.png

NOTE: To receive email, push or client alert notifications, the Email Alert, Push Alert or Client Alert box must be checked. Simply adding a user only gives them access to see this alert’s history. See Alert Notifications for details.

Deleting an Alert Rule or Updating, Disabling, Clearing All Active Alerts
  1. Click General Info on the navigation sidebar.

General Info tab.png

  1. Edit the Name and Description as desired.

General Info Name and Description.png

  1. Click Disable Rule to turn the Alert Rule off without deleting it.
  2. Click Delete Rule to permanently remove the Alert Rule and delete all history associated with it.
  3. Click Clear All Active Alerts to permanently remove only the Active Alerts from the history associated with the Alert Rule.
  4. Click Save when finished.

NOTE: The Name given to an alert will appear as the subject line of email notifications sent by that alert.

  • Was this article helpful?