License Plate Recognition Alerts
NOTE: LPR is only available with certain licensing tiers. See OWS Licensing for more information.
Create a License Plate Alert Rule
- Within the Alerts tab in the OWS Cloud Portal, select Alert Rules from the dropdown menu.
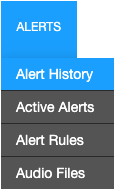
- Click New Alert Rule.

- Select an Alert Type from the pop-up menu.

- Click Next.

- Name the alert and give it a Description as desired.
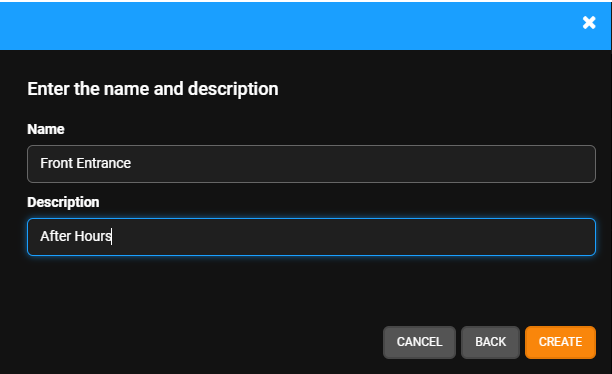
- Click Create.

Configure an LPR Rule
Configure an LPR Rule in Rule Definition.

- Select to either Enable matches for characters that look the same. Select Disable for exact character matches.
- Select to Match the plate characters entered in the License Plate List in the field below. Select No Match to send an alert when a plate doesn't match the plate characters entered in the field below.
- Enter license plate characters into the License Plate List
NOTE: Enter a wildcard asterisk * to a License Number to return specific results:
Examples:
WH89K* will return all license plates that start with WH89K
WH*KR will return all license plates that start with WH and end with KR
W*MK* will return all license plates that start with W and contain MK
- Enter the Start and End times the rule will be active.
- Check the boxes beneath the Days of the Week on which the rule should be active.
- Active Alert (Optional) - Check the Active Alert box to add the alert to the Active Alert Dashboard and tag it as an Active Alert in email notifications.
- Activate Relay on originating device (Optional) - Enter the relay numbers separated by commas that activate with the alert.
Add Users to an Alert Rule
NOTE: Adding Users to a rule automatically grants them permission to view alerts for cameras and locations they have access to based on their User Group permissions.
- Click Users/Notifications on the left-hand menu.

- Click Add User or Add Group.

- Click + next to each User or Group to send emails and push notifications when the alert is triggered.

- Click Add when finished.

NOTE: To receive email, push or client alert notifications, the Email Alert, Push Alert or Client Alert box must be checked. Simply adding a user only gives them access to see this alert’s history. See Alert Notifications for details.
Deleting an Alert Rule or Updating, Disabling, Clearing All Active Alerts
- Click General Info on the navigation sidebar.

- Edit the Name and Description as desired.

- Click Disable Rule to turn the Alert Rule off without deleting it.
- Click Delete Rule to permanently remove the Alert Rule and delete all history associated with it.
- Click Clear All Active Alerts to permanently remove only the Active Alerts from the history associated with the Alert Rule.
- Click Save when finished.
NOTE: The Name given to an alert will appear as the subject line of email notifications sent by that alert.