How to Add Users and User Groups
Adding New Users
- Users can be added from Management > User Management > Users.

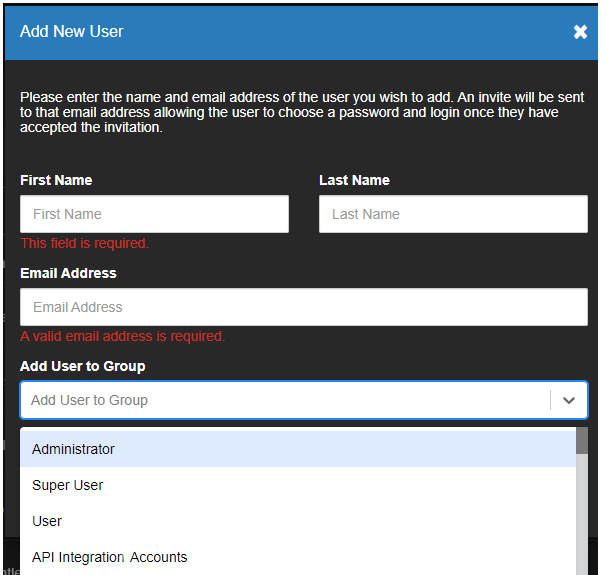
- Click Add New User.

- Enter a First Name, Last Name, and Email Address.
- Use the Add User to Group dropdown menu to assign the new user to a User Group.

- Click Add New User after the required fields are entered.
NOTE: Export from the Users page will download a CSV file containing all the details on the Users page, including the names of each User Group to which a user is added. See User List CSV Export for more information.
Adding Users to a User Group
- Click Edit
 to add a User to a User Group under Group Membership.

- Click Add User to User Group.

- Click
 to select the groups for the User account from the pop-up menu.

- Click Select.
Add User Group
User Groups are classifications which grant Users permissions to access various aspects of the account. The Administrator, Super User, and User default groups cannot be edited, and it will be necessary to create a new User Group to customize permissions. To view and make changes to a User Group (other than a default one), click Edit  next to the desired User Group, or Create a New User Group.
1. User Groups can be created from Management > User Management > User Groups.

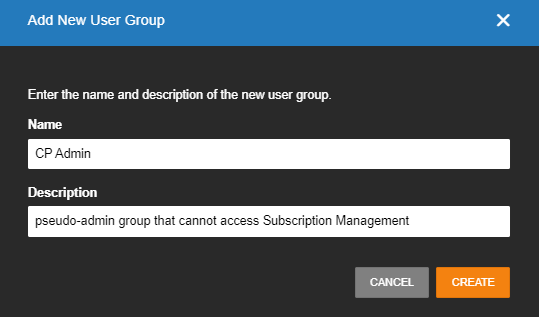
- Click Add New User Group.

- Enter a Name and Description for the new User Group.

- Click Create.
- Click Edit
 to add Users once a new group has been created.
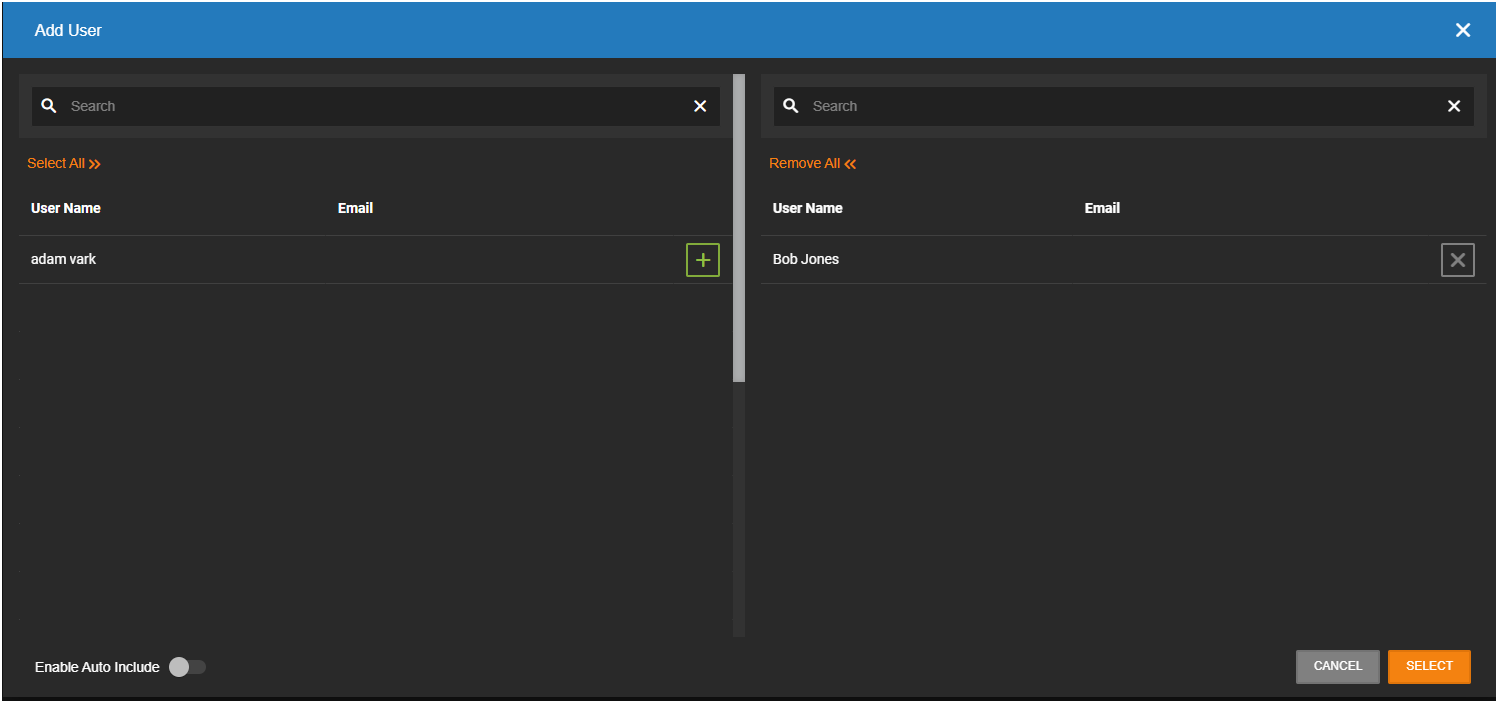
 - Click Add User
 and select Users from the pop-up menu.

- Click Select to add the User to the User Group.
NOTE: User Groups specifically configured for Administrative Access cannot enable Enable Auto Include to automatically include users to the User Group.
User Filters
Click Show Filters  to filter the Users list by User Name, Username / Email, Account Type, User Group, Employee ID, Job Title, or Department.

NOTE: The User Groups that the User has been added to will appear in the User Group dropdown.
