Editing a Policy for Automatic Software Updates
|
|
This section provides detailed instructions for editing a policy using our User Interface (UI). Whether you need to modify locations, location groups, or recording devices associated with a policy, change the schedule for performing updates, adjust the software release level, or update general information, our UI makes the process straightforward. Follow the steps below to update your policies.
Edit Policy
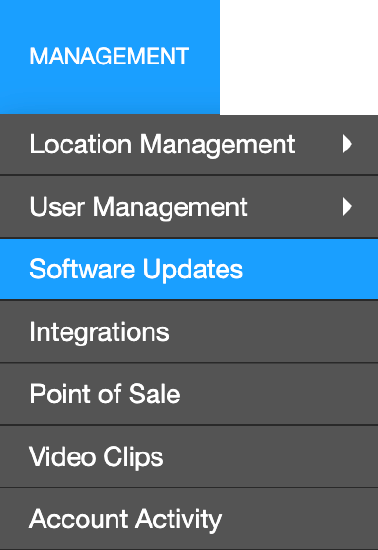
- Go to Management > Software Updates.

- Click Edit next to the desired policy to view and make changes to the Locations, Schedules, Software Release Level, and General Info associated with a policy.

Locations
After adding a new policy, you can Add Location, Add Location Group, and Add Recording Device to receive automatic software updates.

- Click Add Location, Add Location Group, or Add Recording Device.


- Click
 next to the location, location group. or recording device you want to add.
 - Click Select.

The added location, location group, or recording device will appear in the list.
NOTE: Click X to delete a Location, Location Group, or Recording Device from a policy.
Schedules
Create a schedule for the locations and devices associated with a policy to be updated.

System updates can often necessitate a restart, during which time the device will not be recording. All schedules require a minimum of three days per week, and four-hours per day. Each day operates on its own timeframe, aligned with the device's local time.
- Click the clock icon to select a Start Time and End Time for the automatic update.
- Check the days of the week for the automatic update.
NOTE: Click the plus icon  to add additional schedule times and days for the automatic update. Click X to delete scheduled times and days.
- Select a number for how many devices can get updated in a batch.
- Select a number for the failure threshold that needs to occur before software updates are temporarily paused for 5 days.
- Check Delay Software Updates and select a number of days after release before deploying software to the devices in this policy.
- Click Save.
Software Release Level
Select either Recommended Release, Optional Release, or Beta Release to apply to all devices in the policy, then click Save.

Set Software Release Level to Recommended Release, Optional Release, or Beta Release. See more information about OpenEye Server Software Releases.
General Info
Change the Name and Description of the policy. Click Delete to remove the policy permanently or Disable to stop the policy from applying software updates without removing it. Click Save to apply changes.
NOTE: The Default policy cannot be disabled.
NOTE: The Disable button is only available for Custom policies. If a Custom policy is disabled, all of the devices associated with that policy will move back to the Default policy.
