Priority Event Cloud Recording
Priority Event Cloud Recording in OpenEye Web Services
Record video of priority events directly to the cloud for remote reviewing and redundant storage. With cloud recording for priority events, you can specify OpenEye Web Services (OWS) alert rules to trigger selected event cloud recording and then view the event and associated video in your alert history.
|
|
Priority Event Cloud Recording and Upgraded Storage
Priority Event Cloud Recording in OWS is only available with certain licensing tiers. See OWS Licensing for more information. Additionally, only certain features are available with the purchase of additional storage. Storage is available for purchase for certain licensing tiers in increments of 250 GB. Learn more here.
NOTE: Alerts with associated Priority Event video clips are retained for up to one year, even with a storage upgrade.
| Priority Event | Upgraded Storage | |
|---|---|---|
| Event Resolution | Up to 1080p | Up to 4k |
| Event Duration | 15 seconds | Up to 3 minutes |
| Event Storage | Expires after 7 Days | FIFO (First-in, First-out) |
| Included Event Types* |
Intrusion Alarm |
Intrusion Sensor Analytics Motion Environmental Access Control Door Access License Plate Recognition (LPR) Point of Sale (POS) |
| Pricing | Included in Certain Licensing Tiers | Additional Monthly Charge |
* Please note that certain event types may require additional licensing beyond the storage upgrade associated with priority event cloud recording. See OWS Licensing for more information.
Create an Alert Rule
NOTE: Priority Event Cloud Recording is available for Intrusion Alerts only, unless additional storage is purchased.
- Within the Alerts tab in the OWS Cloud Portal, select Alert Rules from the dropdown menu.
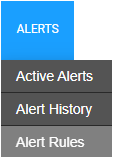
- Click New Alert Rule.

- Select an Alert Type from the pop-up menu.

- Click Next.

- Name the alert and give it a Description as desired.
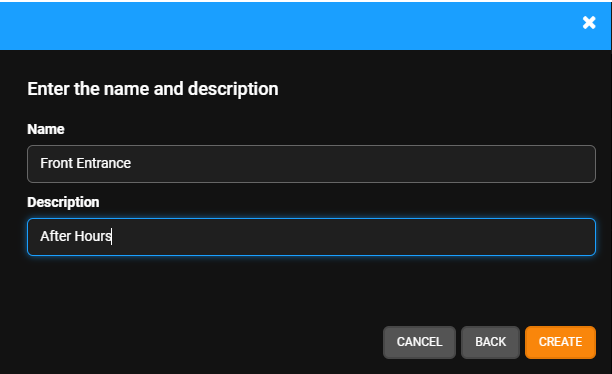
- Click Create.

Enable Priority Event Upload
- Click Edit
 on the Alert Rule.
 - In Rule Definition, check Priority Event Cloud Recording.
- From the dropdown menus, choose the Max Duration (720P, 1080P, or 4K) and the Max Resolution (3 minutes, 1 minute, 30 seconds, or 15 seconds) for the priority event video clips.
NOTE: Max Duration and Max Resolution adjustments are only available with additional storage.

- Click Save
 .
.
Priority Events in Alert History
Alerts with Priority Event Cloud Recording enabled appear in the Alert History list with a Expires, Expired or Saved, or Available status in the Priority Event column and a video icon ![]() .
.
- Expires: This priority event has not been saved yet and will expire after 7 days unless saved to the cloud.
- Expired: This Priority Event was not saved to the cloud within the 7-day window.
- Saved: This Priority Event was saved to the cloud successfully.
- Available: This priority event has been saved and will remain accessible based on the amount of storage purchased.
NOTE: Hover over the video icon ![]() to view a thumbnail image of the clip.
to view a thumbnail image of the clip.
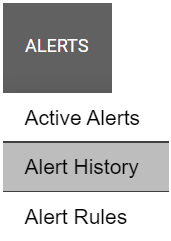
- Go to Alerts > Alert History.

NOTE: Click on Show Filters to search by Priority Event. Check View Priority Event Cloud Recording and select All, Saved, Expires, Expired, or Available from the dropdown. Click Apply after choosing filters.

- Click View to preview the full event with detailed and editable information.
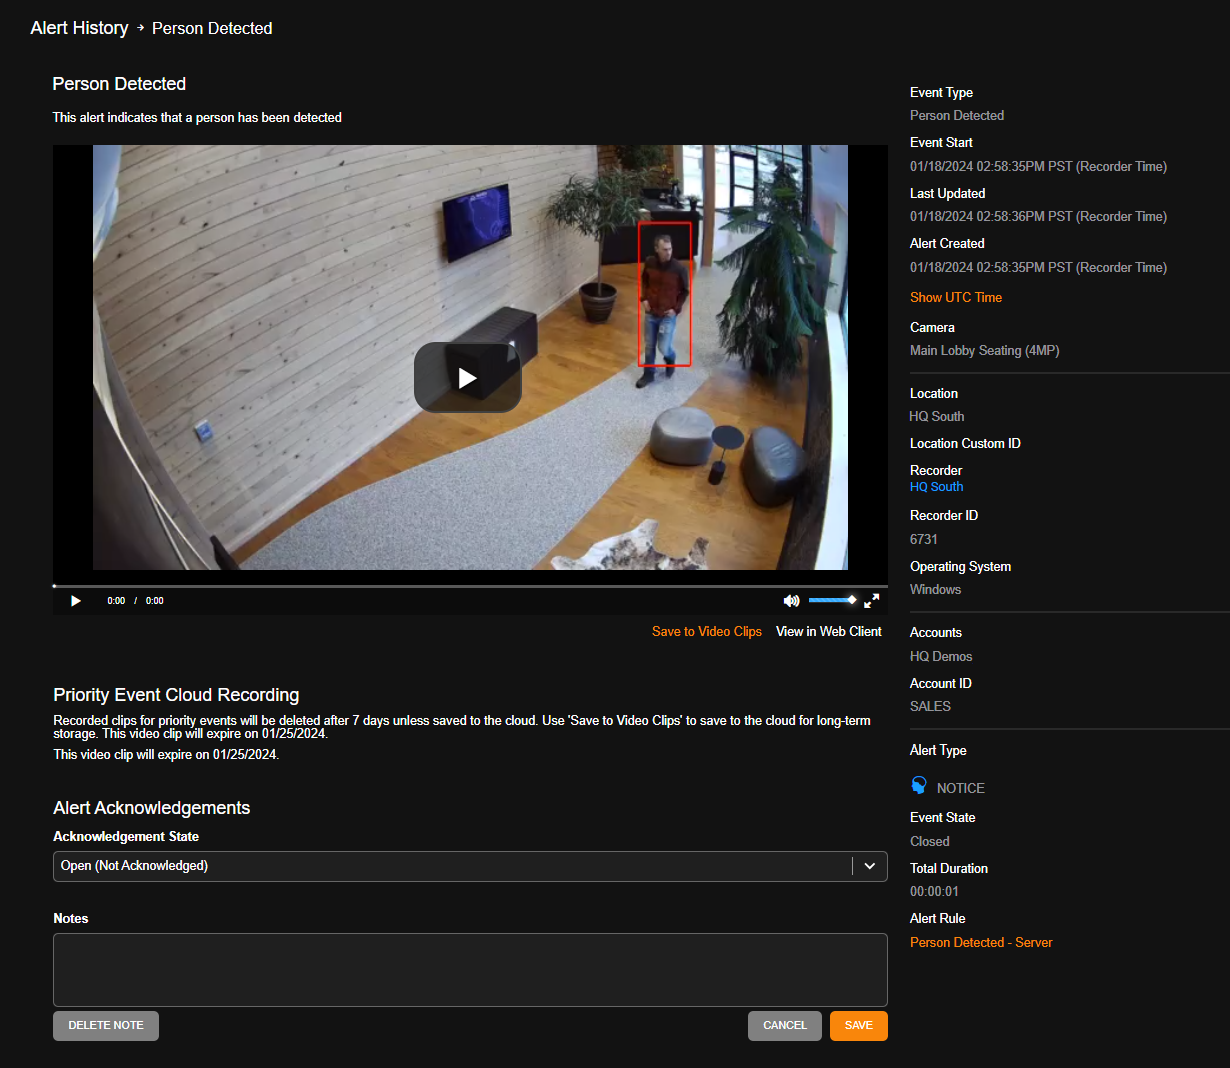
- Click play on the video player to watch the full clip or View in Web Client.
Saving Priority Events
- Click Save to Video Clips to save the priority event cloud recording to long term storage.
NOTE: Recorded clips for priority events will be deleted after 7 days unless saved to the cloud. Use ‘Save to Video Clips’ to save to the cloud for long-term storage. You can check the expiration date under Priority Clip Upload.

- Title the clip and enter Public Notes (optional).
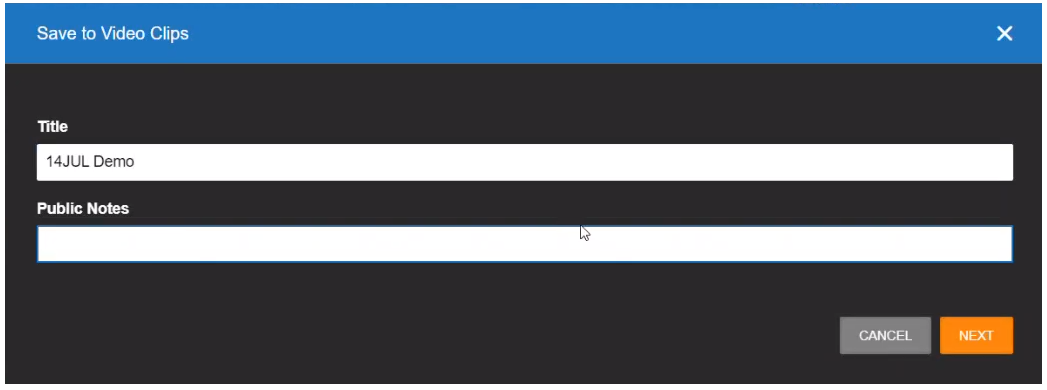
- Click Next.
- Check Share Video Clip if you want to share with other users or groups.
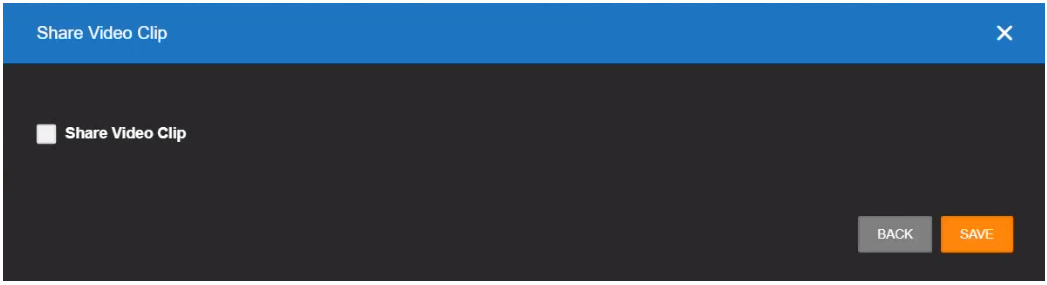
- Click Save.
A saved clip will appear in the Video Clips list under the Title entered in the Save to Video Clips step above.