Location Groups
Creating a New Location Group
-
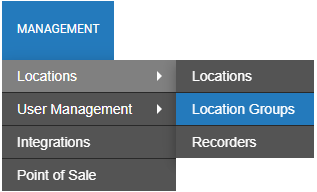
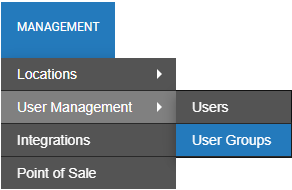
Under the Management tab > Location, select Location Groups.
- Click Add New Location Group.

- Enter a Name and a Description.
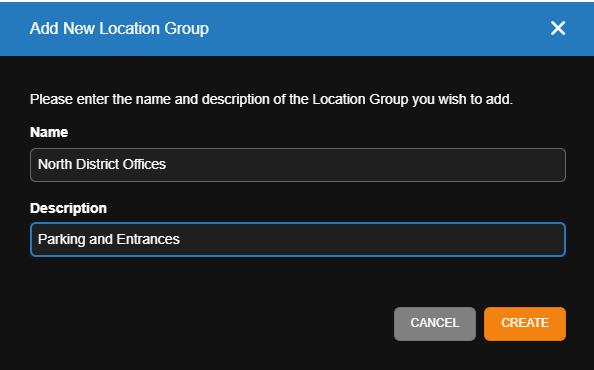
- Click Create when finished.
Adding Locations to a Location Group
-
Click View next to a location group.

- Click Locations in the navigation sidebar.

- Click Add Location.

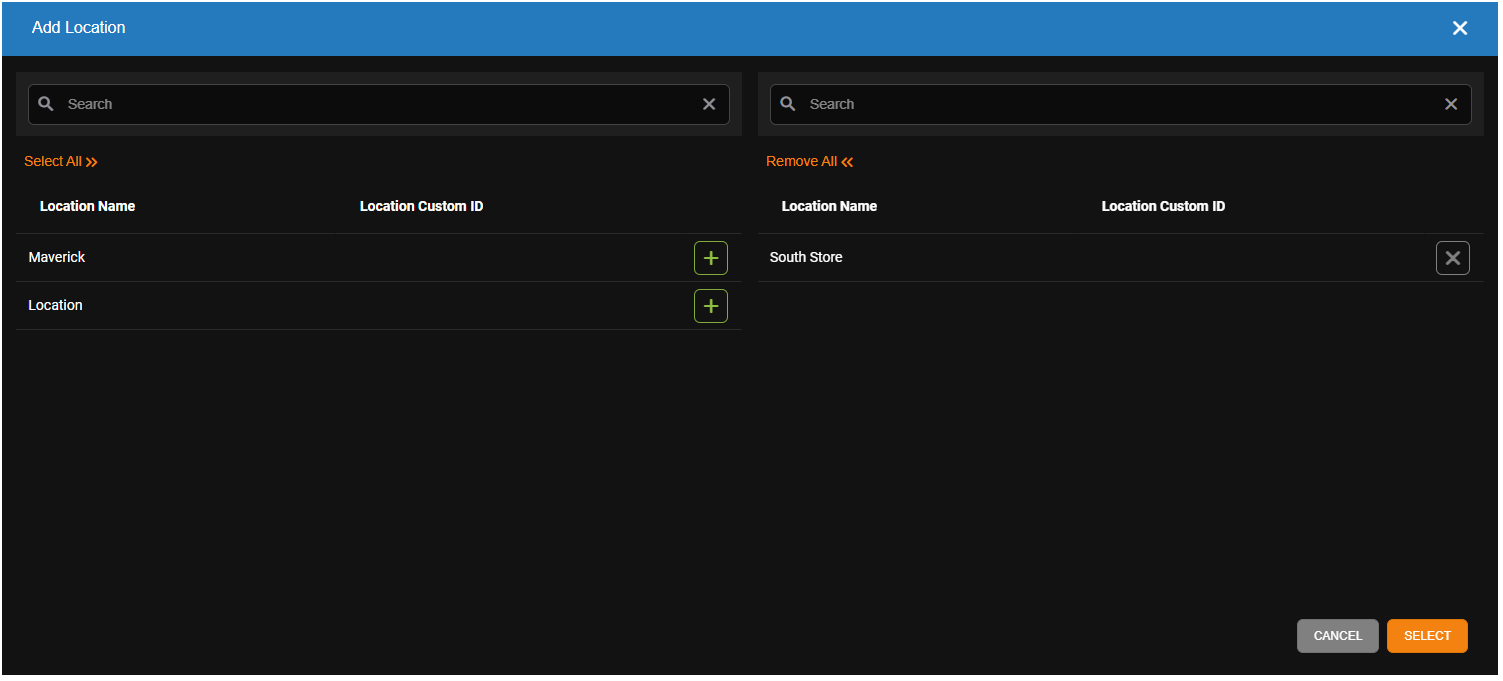
- Click
 to include a location.
 - Click Select.

Adding User Groups to a Location Group
-
Click View next to a location group.
-
Click User Groups in the navigation sidebar.
-
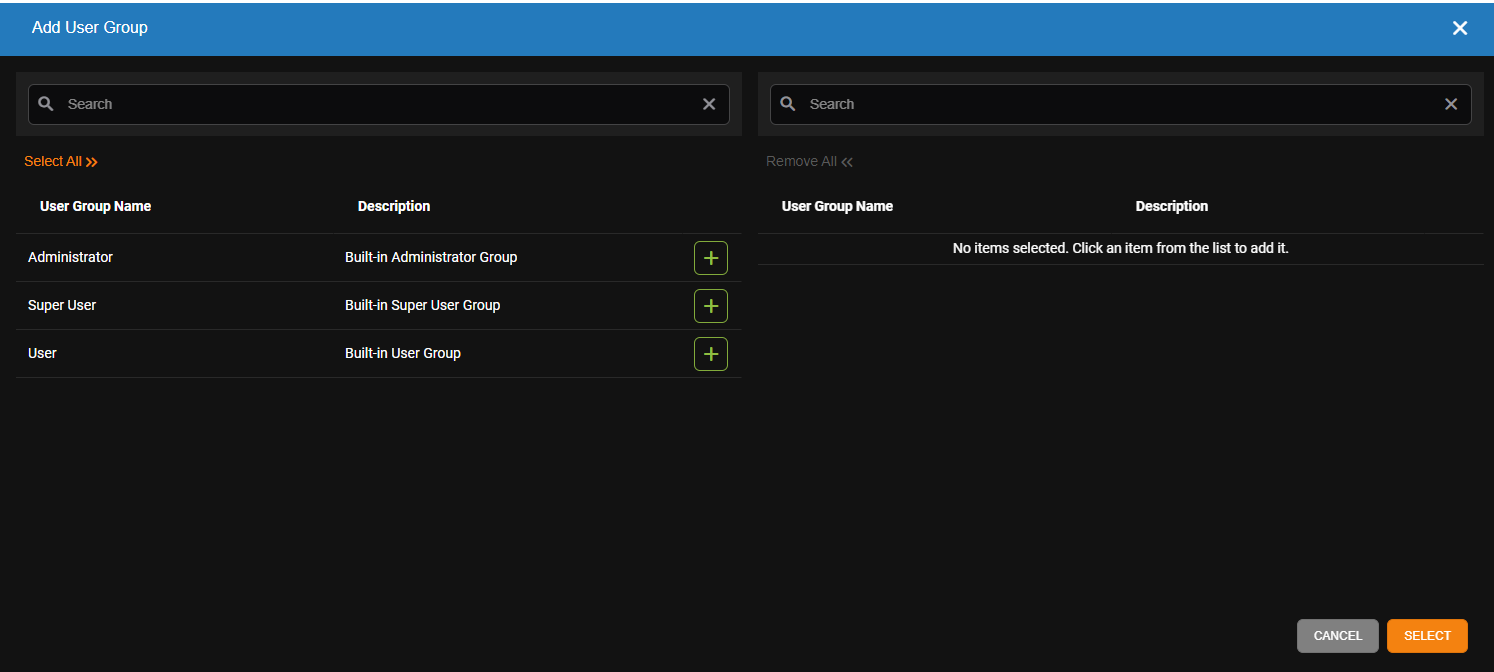
Click Add User Group.
-
Check
 to include a User Group.
 -
Click Select.
Locations and users can be removed by clicking the X next to their names in their respective lists. The General Options tab allows users to adjust the Location Group’s Name and Description, as well as Delete the location group.
NOTE: Both Guest and Full Accounts can be seen in the User Group list as well as what video clips have been shared with each User.
Adding a Location directly to a Location Group using a Registration Code
You can add a location directly to a group by using the Location Group Registration Code associated with a Location Group found under Management > Locations > Location Groups. Users require the Manage Locations and Location Groups User Group permission enabled to add locations to location groups. Do so by enabling Manage Locations and Location Groups under Web Services Permissions within the selected User Group Permissions.
- Under Management > User Management > User Groups, click Edit next to the selected User Group.

- Click Locations / Cameras.
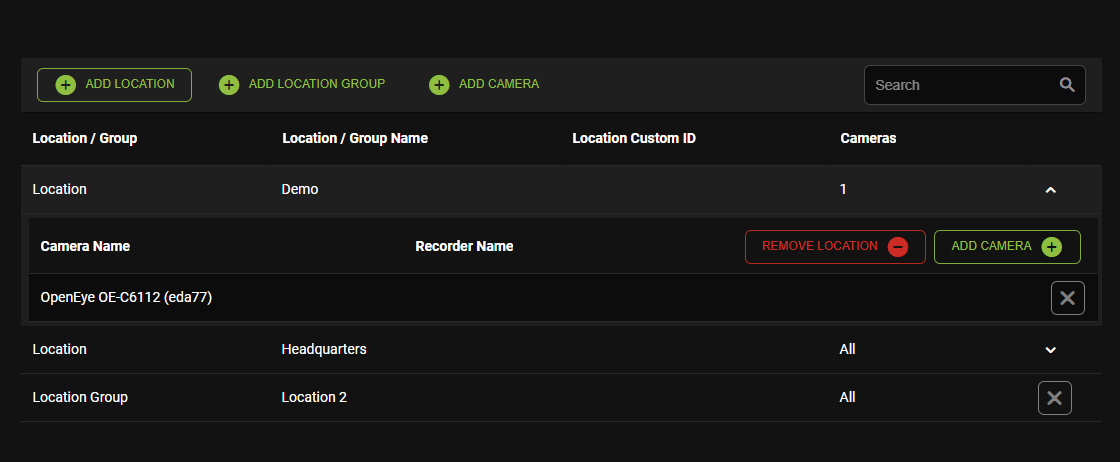
- Click on Add Location Group.

- Click next to the location group or groups you want to add to the User Group.
- Click Select.
When the Manage Locations and Location Groups permission has been enabled and the Location Group has been added to the User Group, locations can be added using the Location Group Registration Code.
- Hover over the Location Group Registration Code in the Recorder Devices or Location Groups List and click Copy.
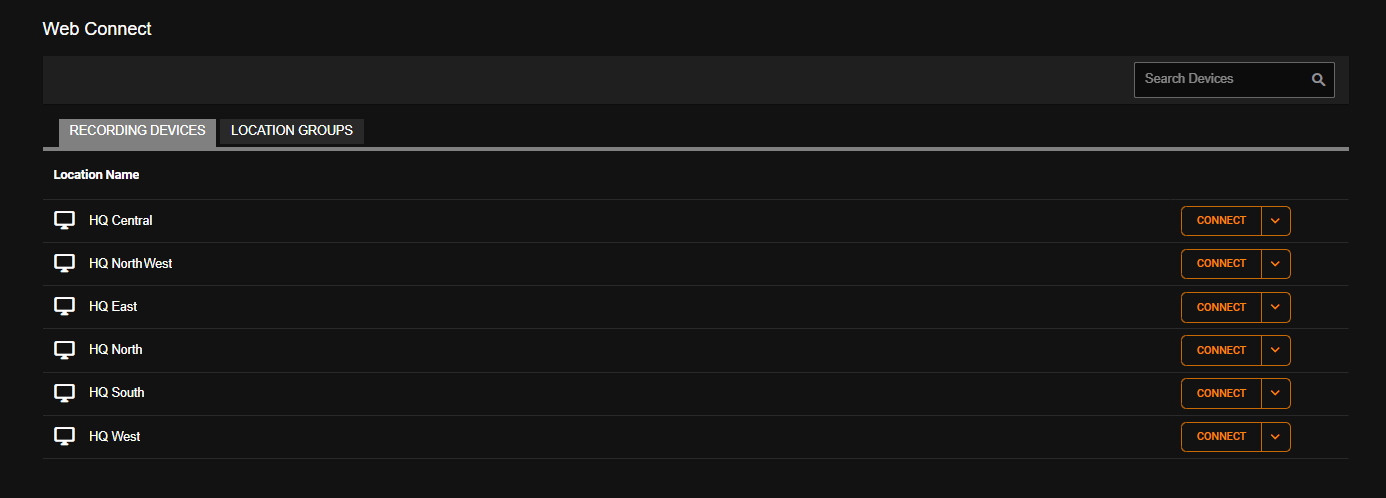
- Click Web Connect, and then Connect on a location.
- Click Settings
 > Web Services, and paste in the Registration Code.
 - Click Connect.
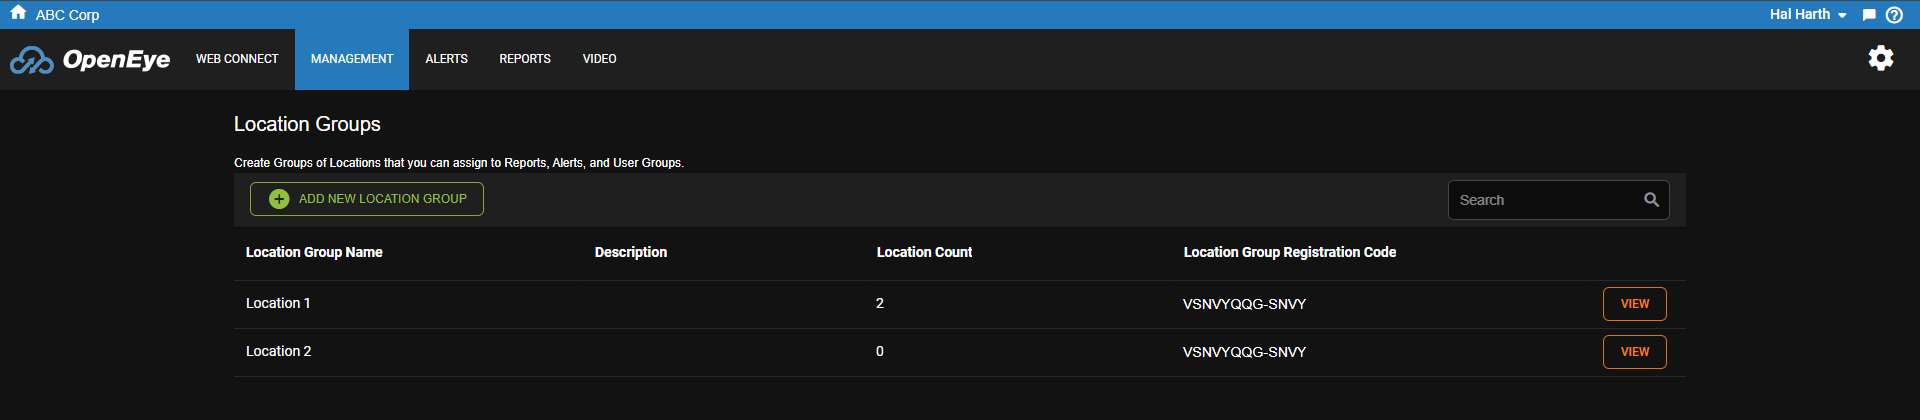
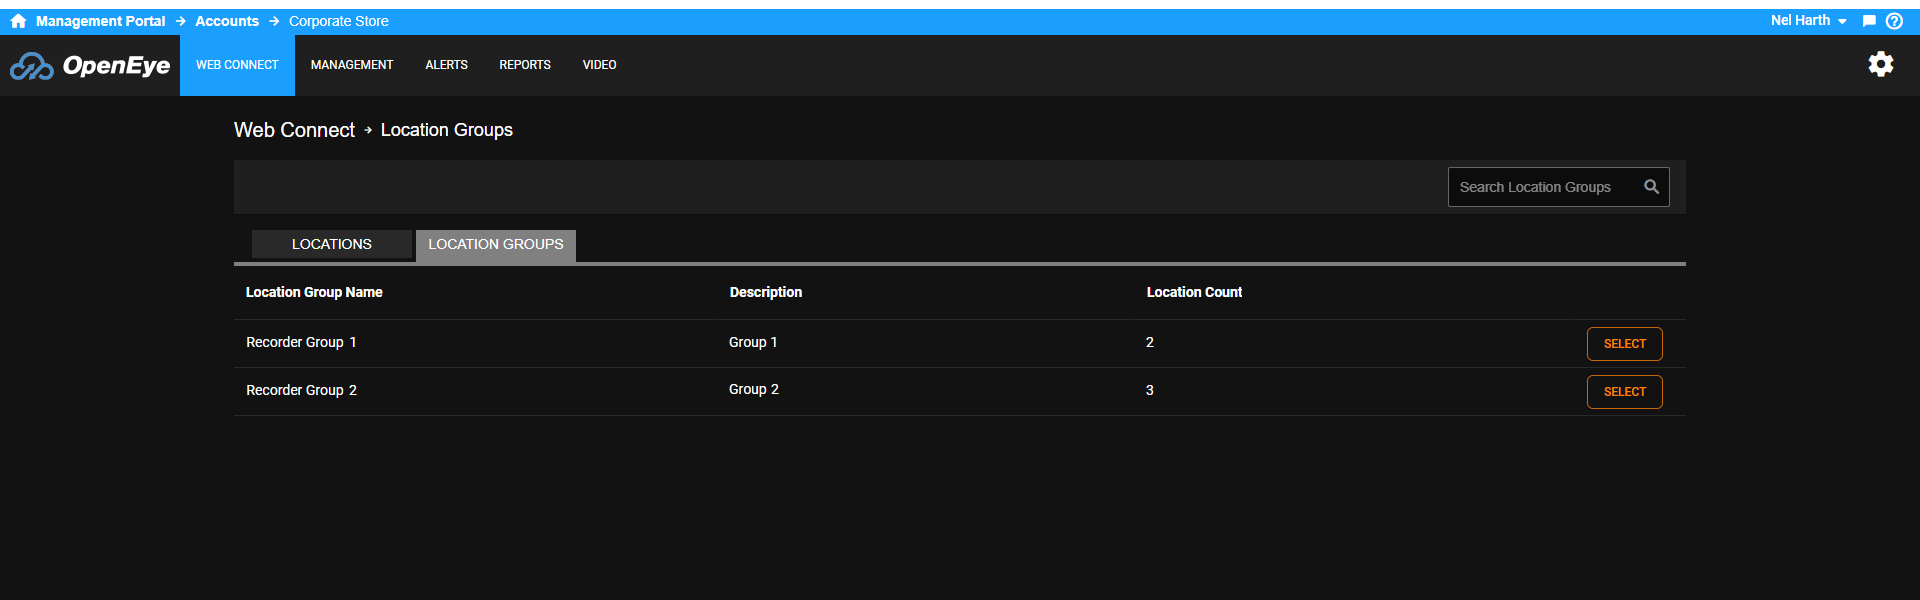
The Location Count in Location Groups displays the number of locations added to the group.
New Location Group Registration Codes can be generated for a Location Group. This changes the last four characters of the code.
- Go to Management > Locations > Location Groups, and click View next to the selected group.

- Click Generate New Code under General Options > Location Group Registration Code.
NOTE: If a Location Group Registration Code has been used to add locations to a group, generating a new code will prevent the old code from working. Before changing a code, a reminder will pop up before the new code is confirmed. To change the entire code, see Account Profile.
NOTE: You can customize the table. See Table Functionality for more information.