POS Search
|
|
Point of Sale Search
In OWS, go to the End User account and select Video Player 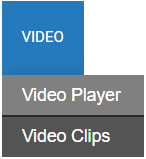 > Search.
Point of Sale (POS)
Person | Vehicle | License Plate | Analytics | Point of Sale | Motion | Sensor | Access Control | Intrusion | Traffic Count
Click on POS  to search video for Point of Sale events.

- Select a Date / Time from the dropdown.
NOTE: If you select Custom Range, enter a Start Date / Time and End Date / Time in the fields, or click the calendar  and set Start and End Date / Time, then choose Location Time (Default) or My Time (UTC) from Time Zone Preference. From the Duration dropdown, select greater than > or less than < and enter numerical values for hr : min : sec or click the up and down arrows to increase or decrease the Duration.
- Click Add Filters to add POS search criteria.
- Select which filters to apply to the search. More than one filter can be chosen.


- Click Apply.
- Use the fields and dropdowns in the selected fields to set search criteria.

NOTE: The Line Item filters Product and Category have subfilters. Click  to enter Amount or Quantity subfilters.
NOTE: Add a Wildcard asterisk (*) to a transaction number to return specific results.
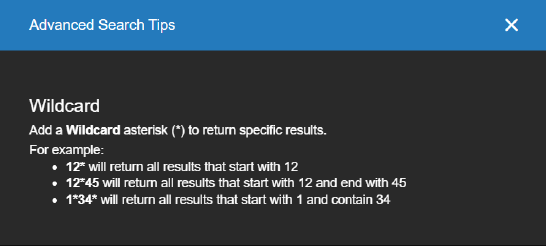
Examples:
12* will return all results that start with 12
12*45 will return all results that start with 12 and end with 45
1*34* will return all results that start with 1 and contain 34

- Click Search to to display the list of Events that match the search criteria. Click Reset search filters to start over with a new search.
NOTE: Filters are not limited to being selected once per search. For example, two different Line Item Amount filters could be applied to the same search. The exception is Location, which can only be selected once per search.
Point of Sale (POS) Saved Search
Save as
Users can save search criteria to quickly audit for the sales and operations metrics that matter most to their business. Saved searches are not sharable at this time; they are only available to the user that created them.
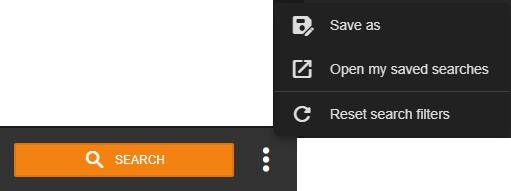
- After creating a POS event search, click on the three dots
 next to the Search button.
- Click Save as.
- Name your search and Choose a folder to save the search in.
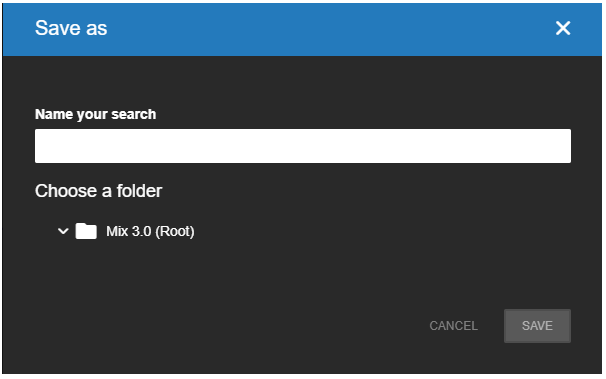
- Click Save.
Open my saved searches
- After creating and saving an event search, click on the three dots next to the Search button.
- Click Open my saved searches.
- Choose a saved search from your folder directory.

Create a saved search folder
- Select your root folder and click +.
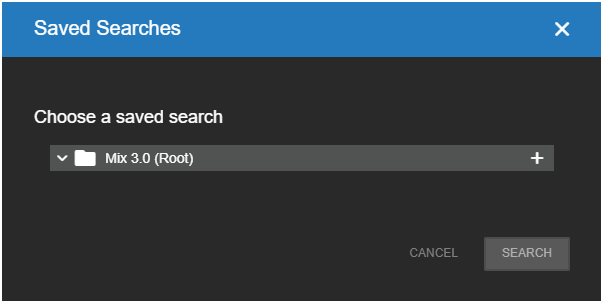
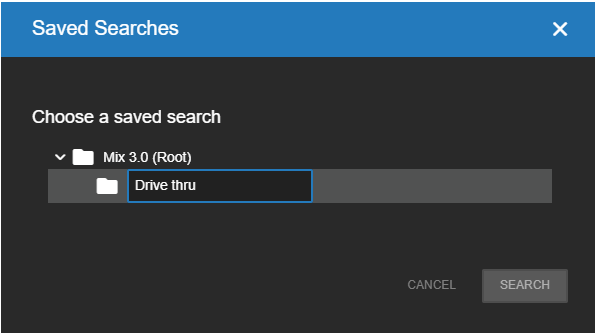
- Enter a name for the new folder.
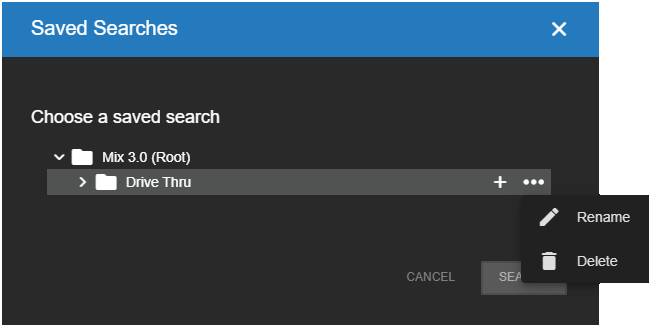
- After creating a new folder, you can click on the three dots to Rename or Delete it.
Export embedded POS Data
After performing a POS Event Search, you can embed ticket data to display with the exported video playback.
- Click Export
 from the Search or Details screen.
 - Choose export type.
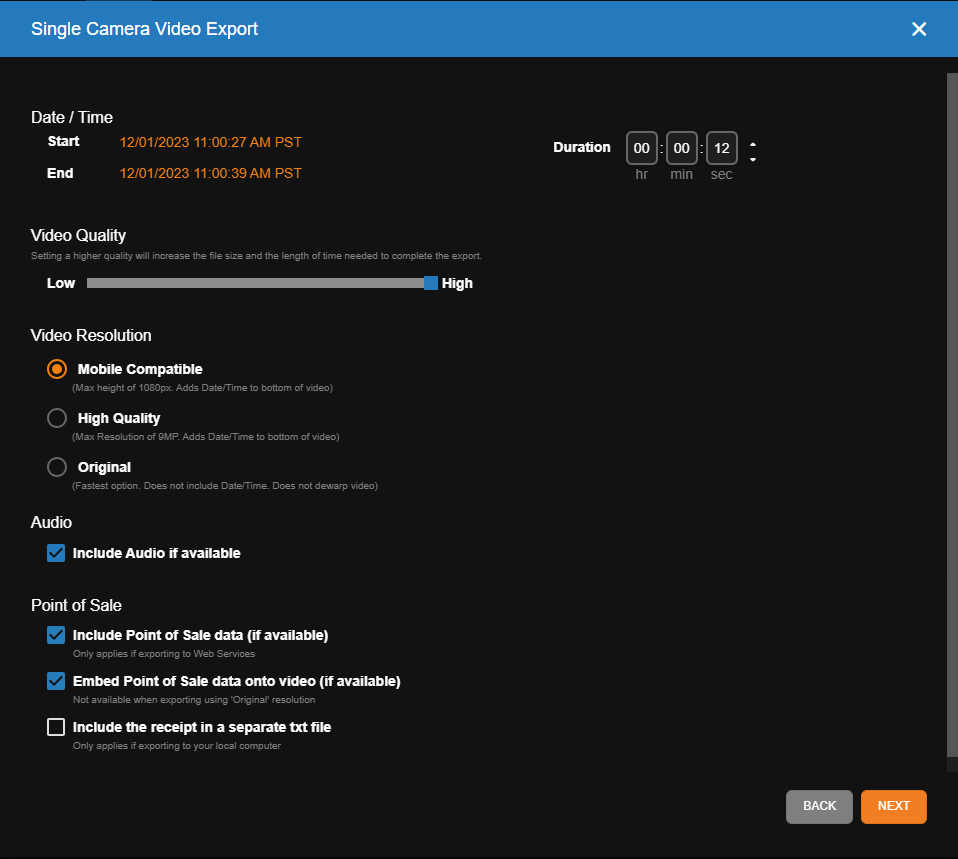
- Check the POS export types:
- Include Point of Sale data (if available): Only applies if exporting to Web Services. When viewing the exported video clip in Video > Video Clips, the point of sale data will display on the right-hand side pane under the player.
- Embed Point of Sale data onto video (if available): Not available when exporting using 'Original' resolution. Playback of the video clip in an external video player will display the POS data within the video.
NOTE: The option to Export Locally is not available if Embed Point of Sale data onto video is selected.
- Include the receipt in a separate txt file: Only applies if exporting to our local computer. POS data is downloaded in a separate text file.
- Choose export destination, name the video, and share with users.
- Select Export. See Export and Clip Sharing from the Video Player for more information.
Important Notes
Date / Time
- In Date / Time, the Last 24 Hours, Last 7 Days, Last 30 Days, etc. uses the time and time zone of the recorder.
- Custom Range date search will use the time zone of the recorder.
- If you have a recorder in the east coast and perform a search from the west coast, the UI will show the time in PST, but you will need to search "ahead" to get current events populated from the east coast recorder. Example: the time is currently 1 PM PST and data is being collected at 4 PM EST, so a current search has to be done at 4 PM.
- It's recommended to leverage Date / Time in order to limit the results and reduce the time to load.
NOTE: Limit load time by applying additional filters in Search and then using the table columns to sort results.
Products
- If you want to search for all products, remove the product filter and all products will be returned.
NOTE: This can be used across other filters, too, e.g. locations, terminals, and operators.
Multiple Filters
- Adding multiples of the same filter will be an AND search. One filter with multiple selections will be an OR search.
- Examples:
- Applying two Operator filters will produce search results or tickets from operator 1 AND operator 2.
- Applying one Operator filter with two selections will produce search results or tickets from operator 1 OR operator 2.
- Product filter for 'Lobster Tails' with two sub filters for Amount and Quantitiy or specifically Amount, > Is Greater Than, $1 AND Amount, < Is Less Tan, $30 will produce search results or tickets with 'Lobster Tails' between $1-30.
- Examples: