OKTA Integration Instructions
Enable OKTA Integration
Add Identity Management Integration
As a web services Administrator:
- Go to Management > Integrations.

- Click the Add New Integration button.

- Select OKTA from the list of options.

- Click Next.

- In the General Settings tab, the Enable OKTA Integration will already be checked by default. Leave it checked.

- Select the Identity Management tab.
- Check Enable Third Party Authentication. You should see several from fields and values appear. Keep this page open on a broswer tab while you perform the next step.

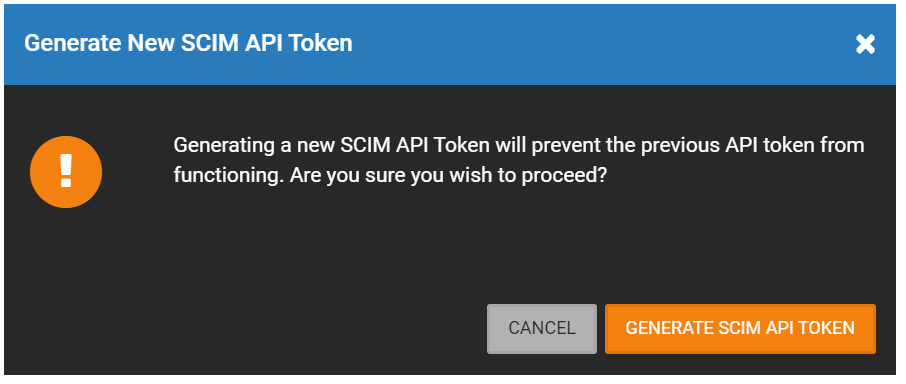
NOTE: Clicking the Generate SCIM API Token button will automatically create a new API Token. If the old token is already being used, it will fail to function, and the new token will need to be entered. See the Enable SCIM for Automatic Provisioning section for more information.
NOTE: Click on  to copy the information in the field.
NOTE: You'll be alternating between OWS and OKTA in order to perform this integration.
Add OKTA Application for OWS Access (OKTA)
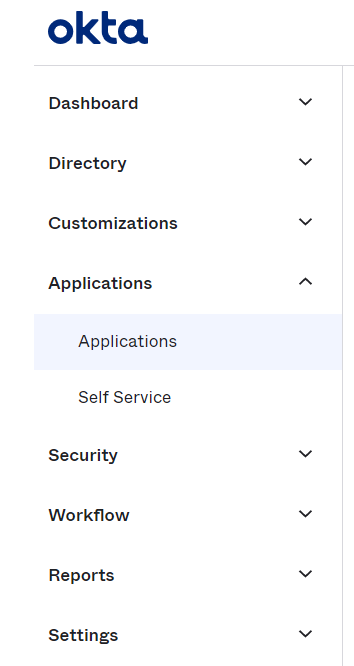
- As an OKTA user with at least Application Administrator permissions, go to Applications, then select Applications.
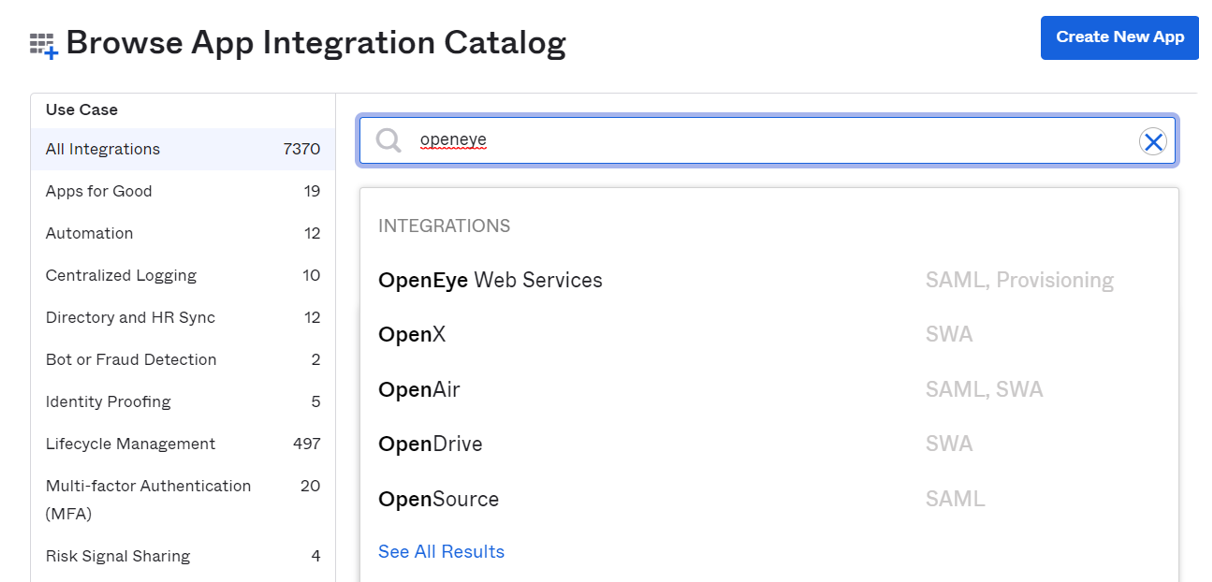
- Select Browse App Catalog.

- Search for OpenEye and select OpenEye Web Services.
- Click Add.

- Label your app if desired and click Done.

- Click on Sign On then click Edit.

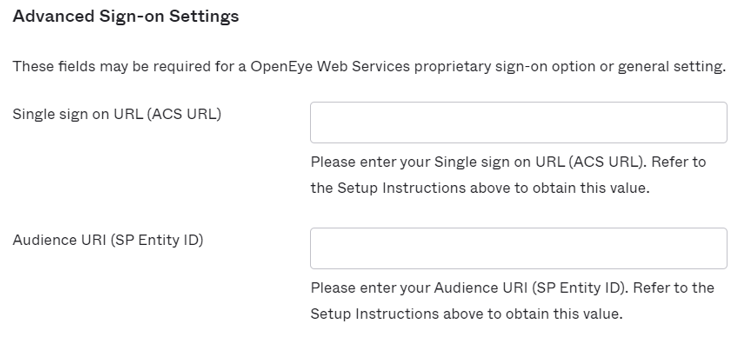
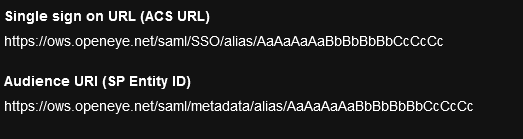
- Under Advanced Sign-On Settings copy the Single sign on URL (ACS URL) and Audience URI (SP Entity ID) from the OWS Identity Management page to the fields in Okta.
- Save the OKTA application.
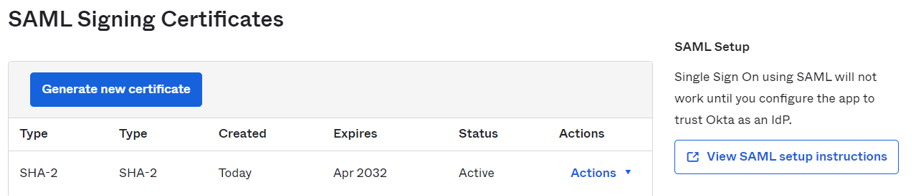
- Scroll down to SAML Setup on the right and click on View SAML setup instructions.
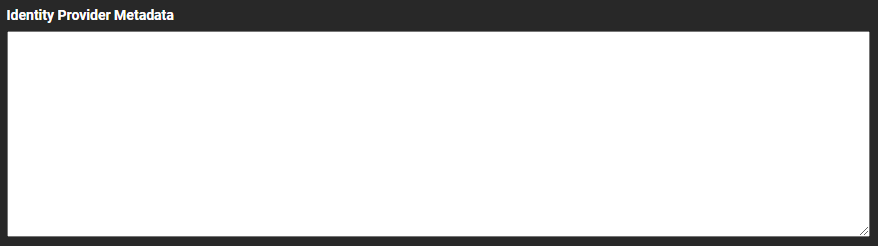
- Copy over the Identity Provider metadata on this page to the Identity Provider Metadata field on OWS and Save.
- Add users by going to Assignments and assigning any desired users.
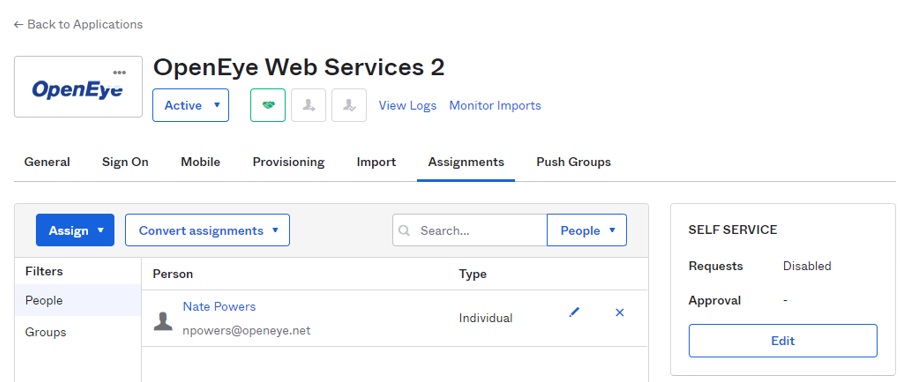
12. Select Push Groups and add the group names to be pushed to OWS.
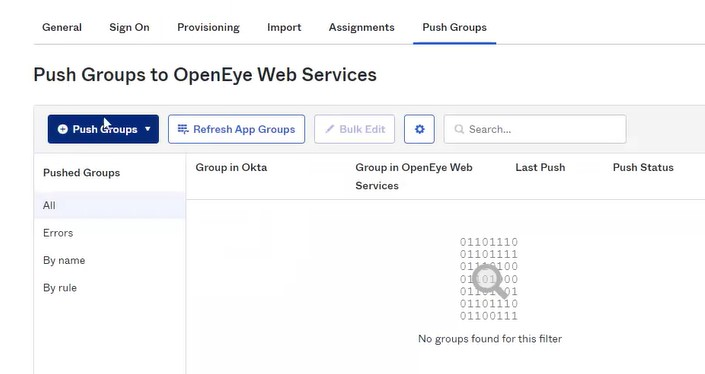
NOTE: If you try to push a group named administrator, it will create a new group called administrator in OWS with blank permissions. Okta doesn’t push users into our built-in groups, you have to setup and use custom groups.
Enable SCIM for Automatic Provisioning
- In OKTA, go to Provisioning and click Enable API Integration.
- Set the Base URL to https://ows.openeye.net/api/scim/v2
- Set the API token to the value shown under API Token (SCIM v2 API) in OWS.

- Save settings.
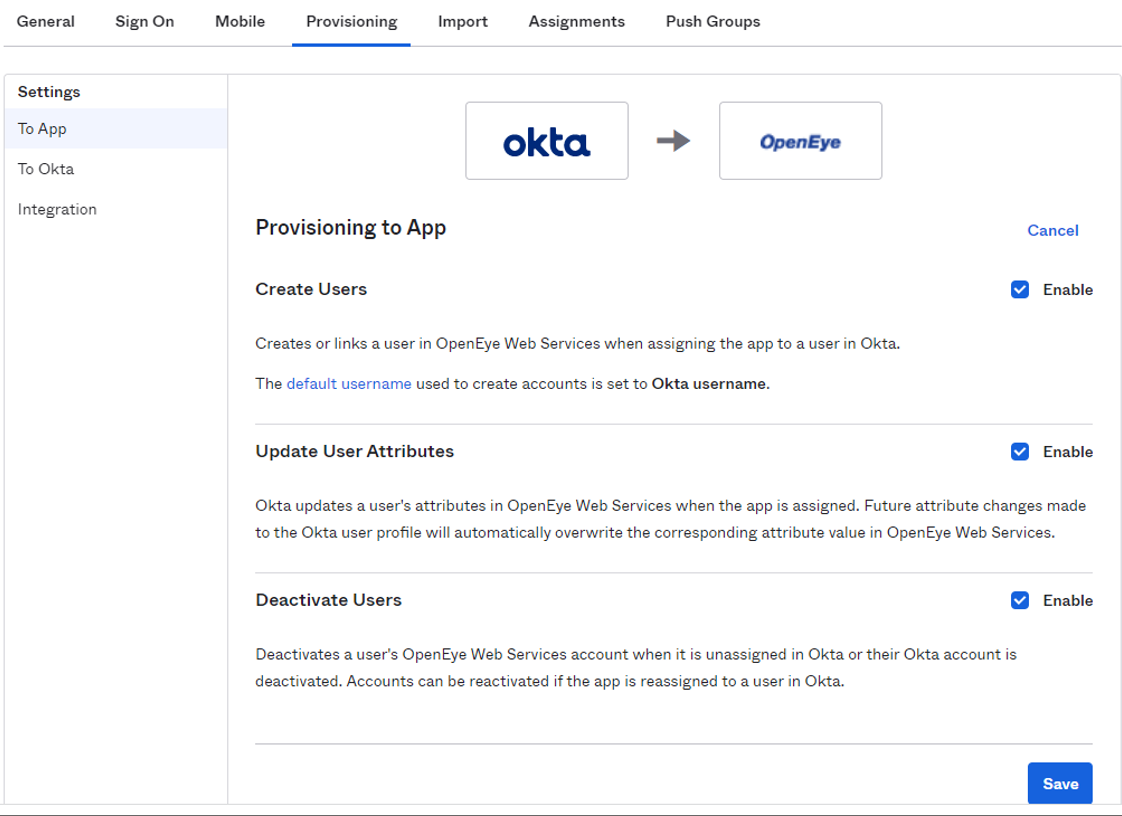
- Select To App and check Create Users, Update User Attributes and Deactivate Users.

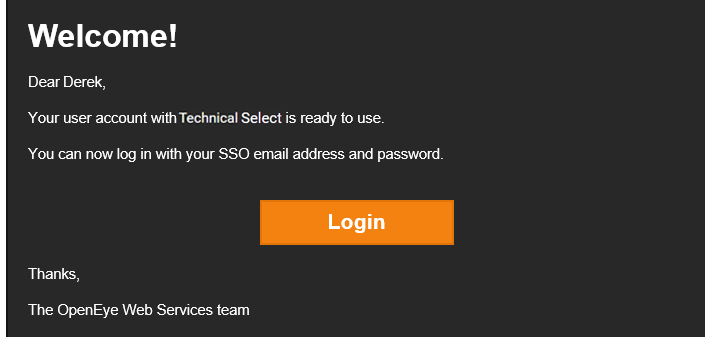
NOTE: Whenever a new user is added to a user group with an OKTA Integration associated with it, a welcome email will be sent to that user.
NOTE: When changing the email address associated with a user in OKTA it must be done at this location: Directory > Person > Applications tab, and edit the specific application. Or within the application itself you can modify Users. If the change is done at Directory > Person > Profile the updated email address is not sent to OWS.