Export and Clip Sharing from the Video Player
Export Video
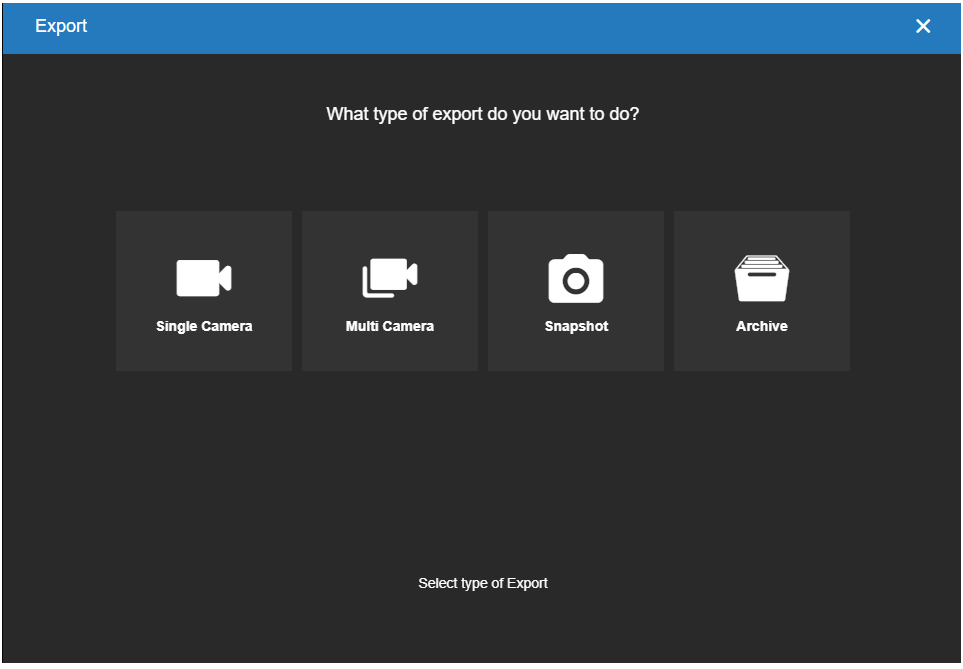
- Click Export on the video player.

- Select an Export Type: Single Camera, Multi Camera, Snapshot, or Archive.
Export Single Camera
- Select the Date / Time, Duration, Video Quality and Video Resolution. Check to include Audio if available.

NOTE: Longer Duration and higher Video Quality will result in larger video files.
- Click Next.

- Select Export to Web Services.
- Enter a Title and any Public Notes if needed.
- Click Next.
NOTE: Video clips saved under Export Locally in the Downloads folder are MP4 files by default.
- Check Share Clip.
NOTE: If Add to Group is checked, select Add to new group (and enter a Group Name) or select Add to existing group.

- Add Users by entering email addresses. If an account doesn't exist, the user will be emailed a guest account invitation.

- If a User or User Group is associated with the account, click on Lookup users or Lookup user group.
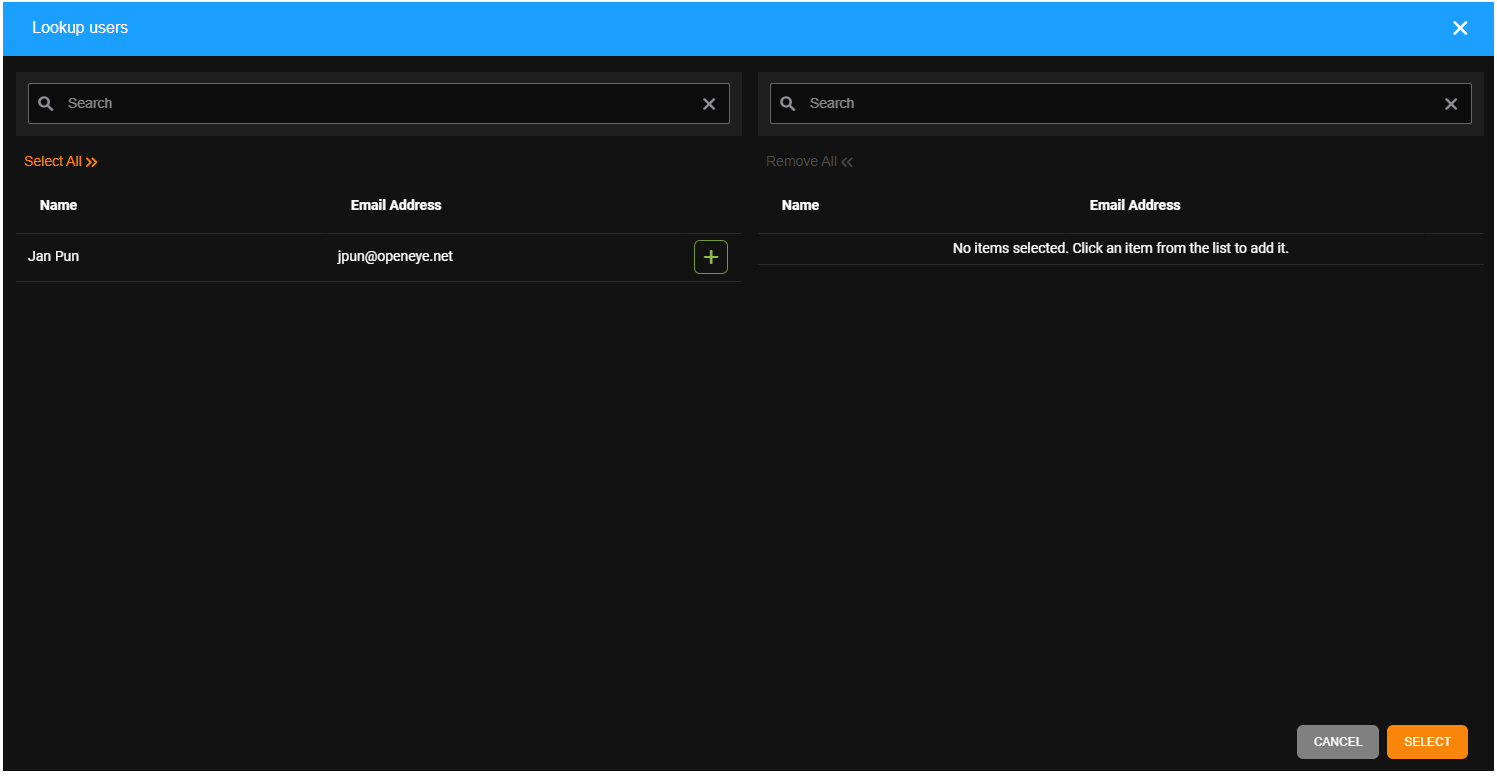
- Select All to include all Users or User Groups or click +
 to add specific users. When Users have been added, click Select.
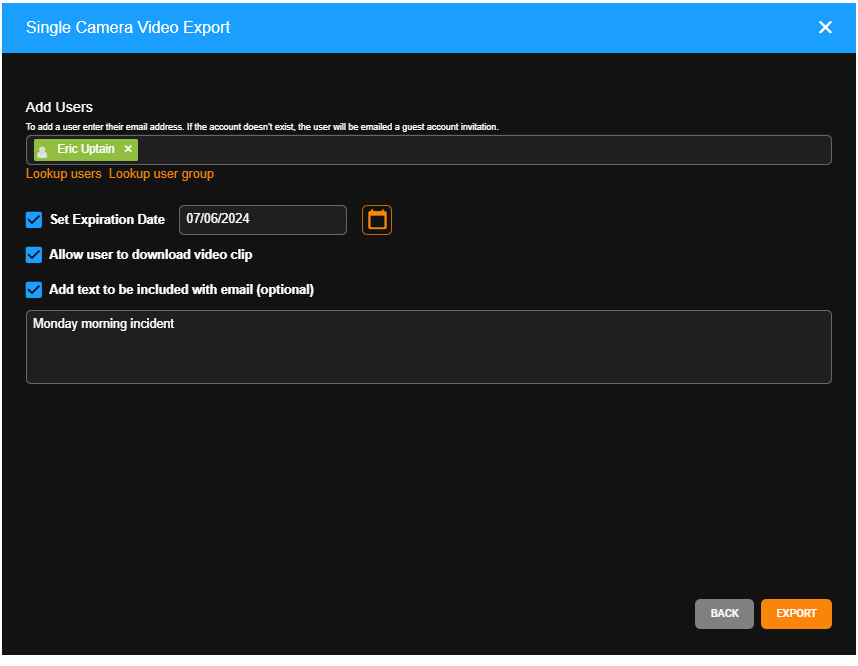
- Select additional options to Set Expiration Date, Allow user to download video clip, or Add text to be included with email (optional).
- Click Export.
Export Multiple Cameras
- Check the cameras to include in the export. Check Select All Cameras in Grid to select all.

- Click Next.
- Select the Date / Time, Duration, Video Quality and Video Resolution. Check to include Audio if available.

NOTE: Longer Duration and higher Video Quality will result in larger video files.
- Click Next.
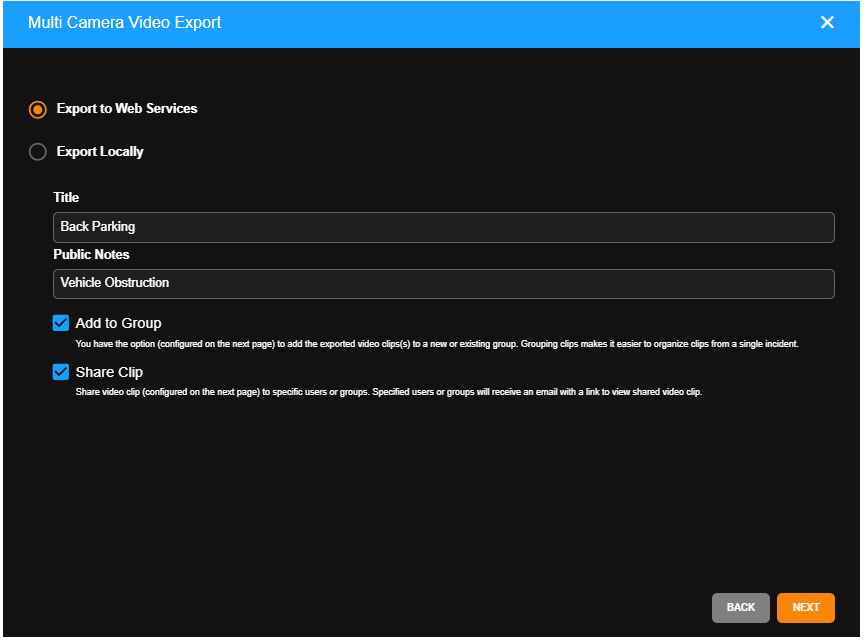
- Select Export to Web Services.
- Enter a Title and any Public Notes if needed.
- Click Next.
NOTE: Video clips saved under Export Locally in the Downloads folder are MP4 files by default.
- Check Share Clip.
NOTE: If Add to Group is checked, select Add to new group (and enter a Group Name) or select Add to existing group.

- Add Users by entering email addresses. If an account doesn't exist, the user will be emailed a guest account invitation.

- If a User or User Group is associated with the account, click on Lookup users or Lookup user group.

- Select All to include all Users or User Groups or click + to add specific users. When Users have been added, click Select.

- Select additional options to Set Expiration Date, Allow user to download video clip, or Add text to be included with email (optional).
- Click Export.
Export Snapshot
- Enter a Filename.
- Click Export.

NOTE: Locally exported images are saved in the Downloads folder as JPEG files.
Export Archive
- Check the cameras to include in the export. Check Select All Cameras in Grid to select all.

- Select the Date / Time and Duration.

- Click Next.
- Enter the Filename and click Export.

NOTE: Locally exported archives are saved in the Downloads folder as compressed files.
NOTE: Download Archive Viewer to view an Archive. The Archive Viewer is saved in the Downloads folder.
Export Status
The Export button will display differently according to the status of the export:
- Export started:
- The export icon and text will change to yellow and stay yellow until the export is complete.

- Export complete:
- The export icon and text will return to white.
- Export failed to complete - Please try again or reach out to support for assistance:
- The export icon and text will return to white.
NOTE: Messages will also appear in the upper left-hand corner of the player when the export is started  and when it is completed.