360° View in the Web Client
NOTE: The following information is for 360° View in Live and Search after connecting to a recorder via Web Connect (or the Apex Web Client). View 360° View details here for the Cloud Video Player under the Video tab in OWS.
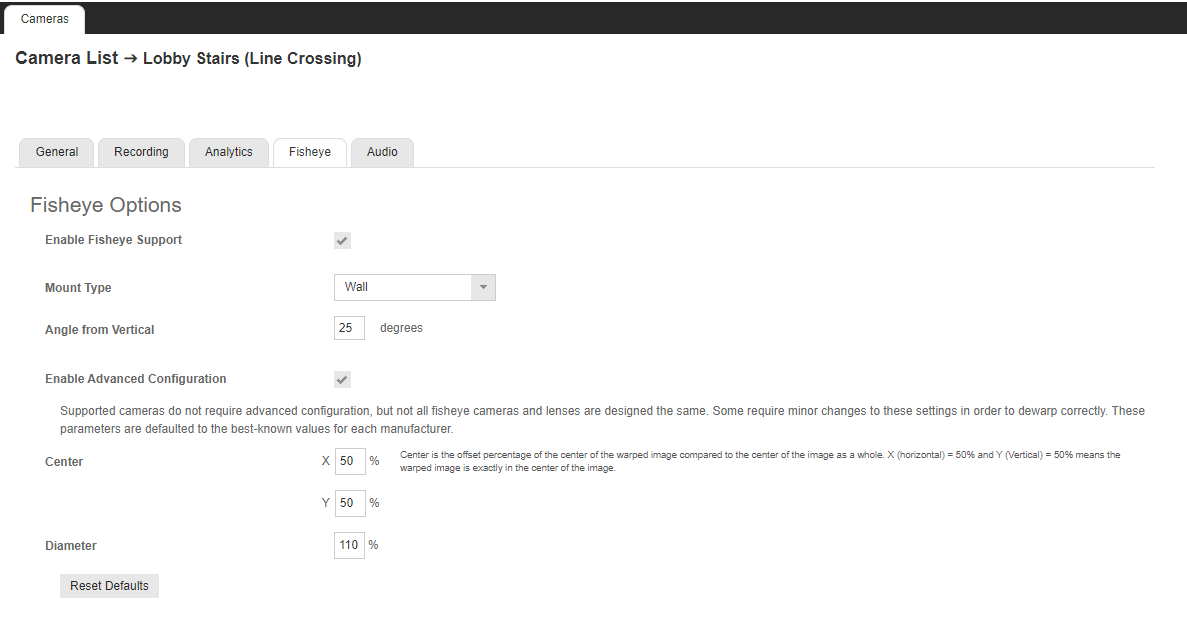
Enable Fisheye Support
Enable Fisheye to dewarp 360° fisheye camera lenses so that a user can pan the camera view in multiple directions even if the camera does not have moving mechanical parts.
To enable Fisheye for an individual camera, connect to a recorder, click Setup > Cameras and select the camera you want to configure from the Camera List. Click on the Fisheye tab and check the box to Enable Fisheye Support for the camera.
NOTE: Video over 9MP will automatically be transcoded to a smaller resolution for performance reasons when Enable Fisheye Support is checked.
Mount Type – Change this setting to Wall or Ceiling based on the installation of the camera.
Enable Advanced Configuration – This option allows custom tuning of the center and diameter of dewarping done by the software. Adjusting the X and Y Center values changes the position of the warped image in regards to the position of the image as a whole. The diameter value is used to determine the focal length of the lens when calculating de-warp parameters.
NOTE: Supported cameras typically have optimal settings by default and do not need to be modified with advanced configuration.
360 View in Live and Search
To use 360° View, select the camera in the OpenEye Web Services web client so it appears in the grid on the Live view page or the Search view page. Right click on the camera image to reveal the options available in 360° View Mode.
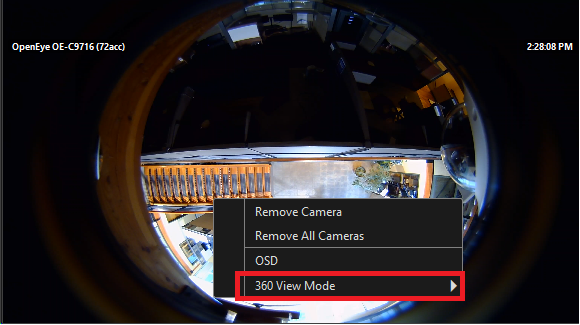
Selecting the 360° View Mode option from this menu will reveal the different dewarped views you can use.
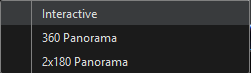
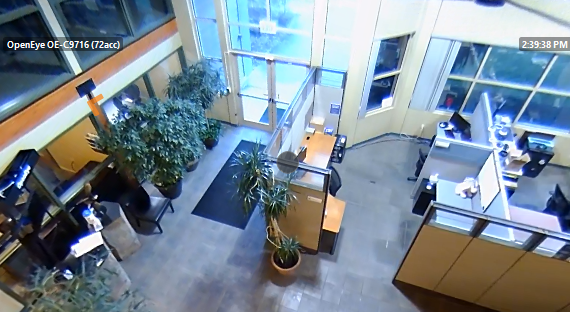
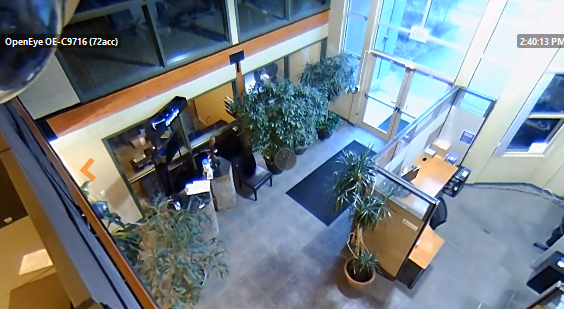
Interactive: allows you to move around the entire 360° view using your mouse, similar to how a PTZ camera would work. For example:
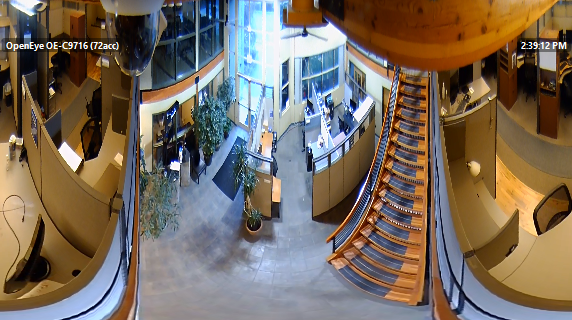
360° Panorama: Will show you the entire 360° view in the same screen in a panoramic setting. For example:
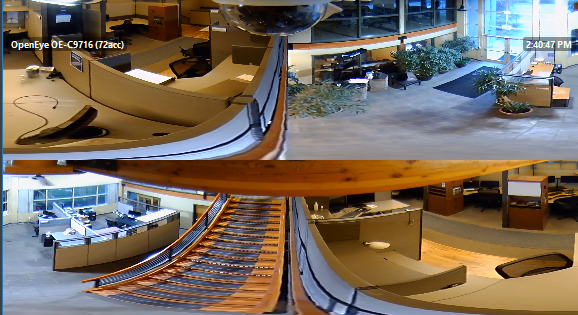
2x180° Panorama: Also shows the entire 360° view, but in two separate 180° panoramic settings stacked vertically. For example:
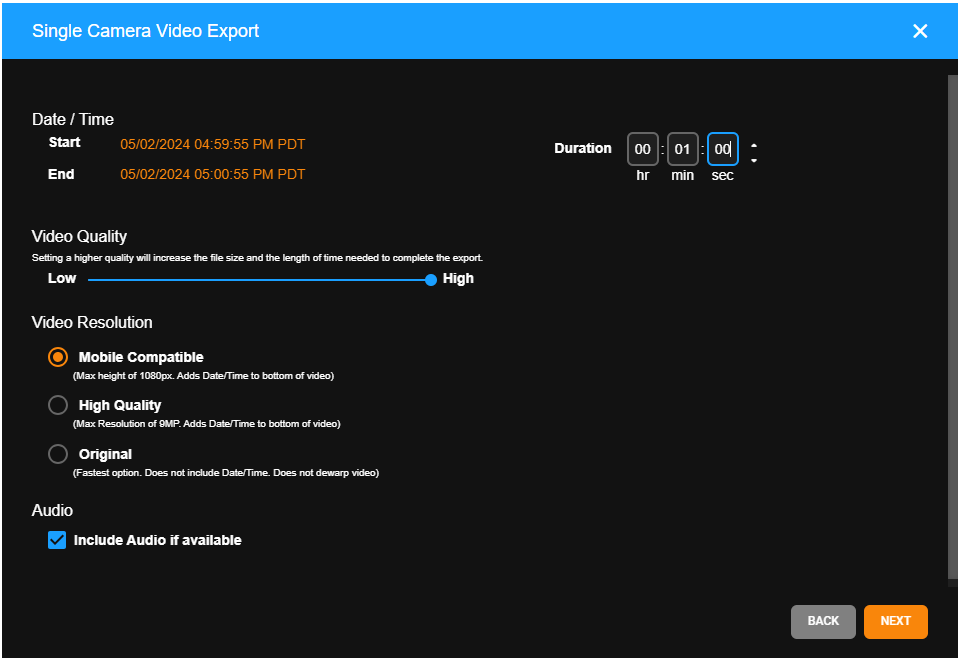
Export 360° View Footage
To export the footage in the same dewarped version used in Live, follow the steps above to dewarp the view in Search, then follow the normal export procedure from this point.
NOTE: When selecting a Video Resolution for export, Original does not export dewarped footage. Choose either Mobile Compatible or High Quality.