Fisheye Cameras
Enable Fisheye
Enable Fisheye to dewarp 360° fisheye camera lenses so that a user can pan the camera view in multiple directions even if the camera does not have moving mechanical parts.
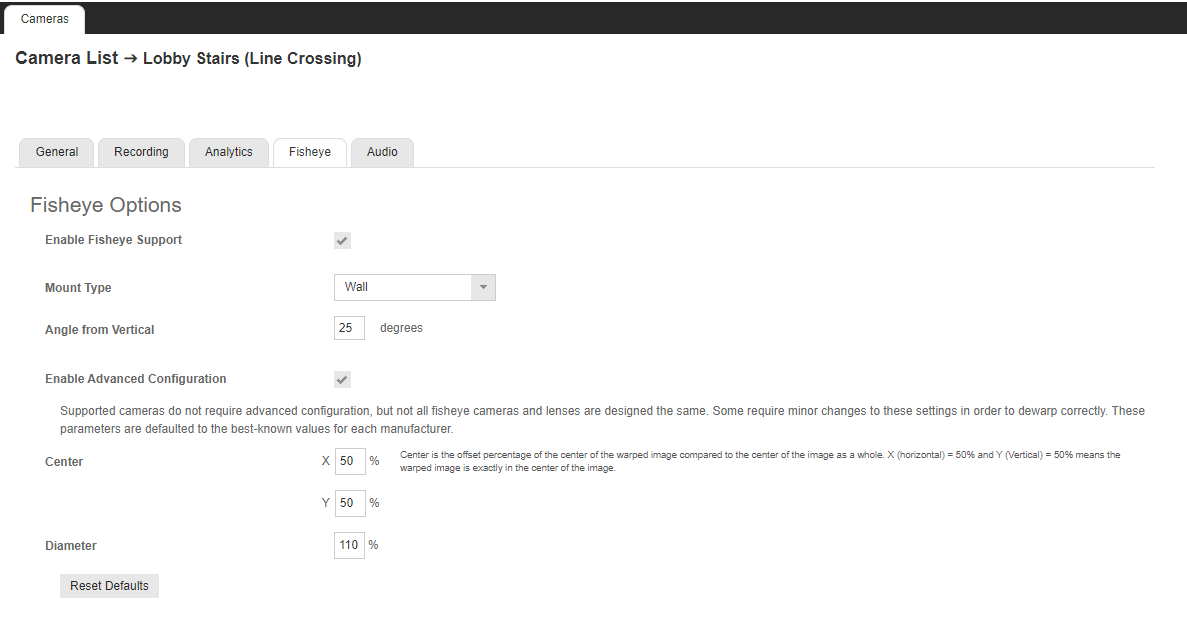
To enable Fisheye for an individual camera, connect to a recorder, click Setup > Cameras and select the camera you want to configure from the Camera List. Click on the Fisheye tab and check the box to Enable Fisheye Support for the camera.
NOTE: Video over 9MP will automatically be transcoded to a smaller resolution for performance reasons when Enable Fisheye Support is checked.
Mount Type – Change this setting to Wall or Ceiling based on the installation of the camera.
Enable Advanced Configuration – This option allows custom tuning of the center and diameter of dewarping done by the software. Adjusting the X and Y Center values changes the position of the warped image in regards to the position of the image as a whole. The diameter value is used to determine the focal length of the lens when calculating de-warp parameters.
NOTE: Supported cameras typically have optimal settings by default and do not need to be modified with advanced configuration.
Recommend Settings for Fisheye Cameras
Follow the recommendations below to take advantage of the capabilities of 360° View and benefits of your fisheye cameras.
Fisheye and Video Resolution
- Connect to the camera’s IP address with a web browser. Default log in credentials are - Username: admin
- Click Advanced in the main navigation menu, then click Fisheye Setting on the left-hand side menu.
- Use the Dewarping Type dropdown menu to select Client Software, then click Save.
- Use the Installation dropdown menu to select Ceiling or Wall depending on mount used, then click Save.
- Click Advanced in the main navigation menu again, then click Video Resolution from the left-hand side menu.
- Use the Video Resolution dropdown menu to select H264+H264.
- Format 1 should typically be the max resolution; but a lower resolution can be used if preferred.
- Format 2 should typically be 720x480, but can be less.
- Click Save to apply changes.
Video Setup
- Click Advanced in the main navigation menu, then click Video Setup on the left-hand side menu.
- Under H.264 Compression, use the dropdown menus to set the H264-1 and H264-2 bit rates.
- H264-1 bit rate can be set between 6144 and 12288. Higher bit rates improve video stream quality but increase storage requirements.
- H264-2 bit rate should be set at 1024.
- Click Save to apply changes.
- Under GOP Settings and H264 Frame Rate Setting, set the frame rates of H.264-1 equal to the GOP Length of H.264-1 and the frame rates of H.264-2 equal to the GOP Length of H.264-2.
- A frame rate of 10-15 is recommended. Under 10 is not recommended, and under 7 is not supported.
- Click Save in each section to apply changes.