Thumbnail Reports
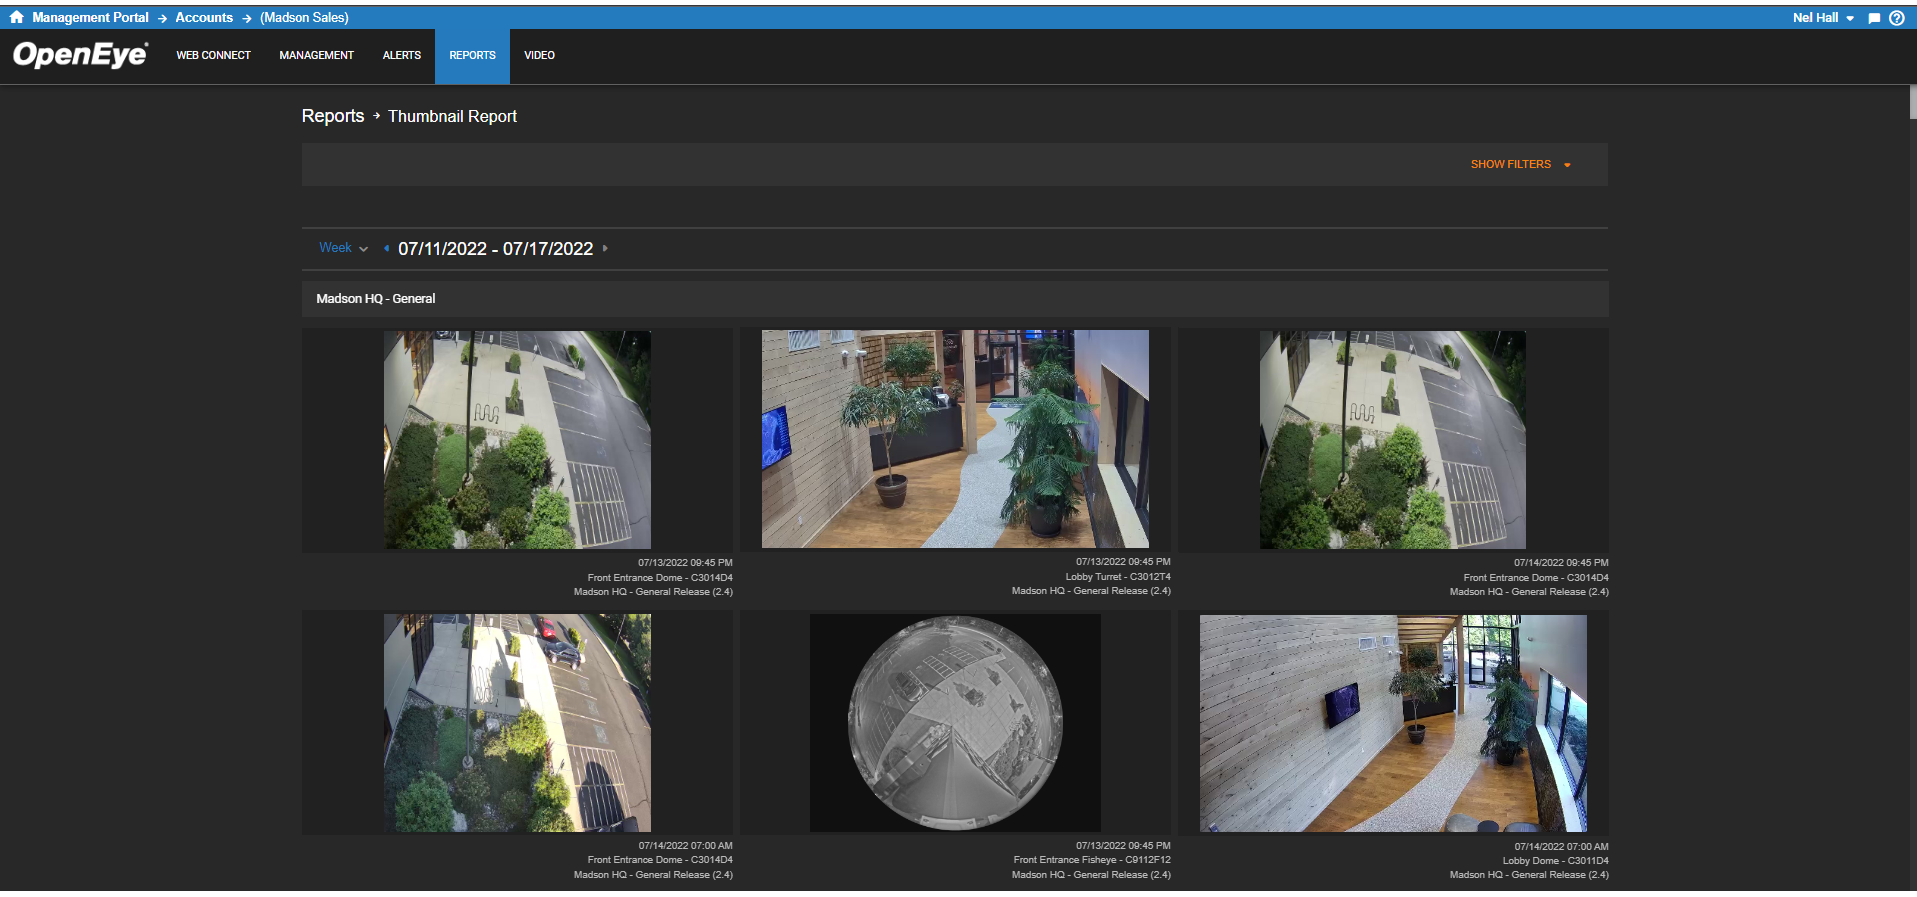
The Thumbnail Report displays a series of images from one or more cameras at predefined periods throughout the day. Images will be grouped by recorder and camera. These reports are useful to check in on important areas and quickly spot operational or service issues.
Common use cases include: check to see if sidewalks were shoveled before opening, signage was out before the lunch rush, or docks were cleared of pallets at close.
Best Practices
- Set reminder emails to days and times that align with operations.
- Create default reports to share with admins, managers or user groups.
- Add user groups so new employees can be easily added and get access to important reports.
|
|
Creating a Thumbnail Report
- Click Reports in the top navigation bar.
- Click New Report.
- Choose the report type and click Next.
- Enter a Report Name and Report Description.
- Click Confirm when finished.
NOTE: After creating or configuring a report, you can click View Report  from the left-side menu to go directly to the report.
Defining a Thumbnail Report

Image Times
- Select a Recurring or a Custom time to capture images.
- If Recurring is selected, select an Image Frequency from the dropdown menu, then a Start Time and End Time.
- If Custom is selected, set a time of day and days of the week. Use the Green box to add additional times.

Image Grouping
- Select a Primary Group By from the dropdown menu: Recorder, Camera, Date / Time, and Time.
- Choose to Show Header from the dropdown menu.
- Sort Order by Ascending or Descending.
- Repeat steps for Secondary Group By.
Other Options
- Check Date / Time, Camera, and Recorder as Camera Thumbnail Labels to display under each image in the report.
- Check Don't show images that failed to load to omit blank images from the report.
Click Save when all Report Defaults have been selected.
Adding Cameras to a Thumbnail Report
- Click Cameras on the navigation sidebar.

- Click Add Camera.

- Click the Add button next to each device you'd like to be included in the Alert.

Click Select when finished.

Adding Users to a Thumbnail Report
Only the report creator is added automatically to the report. If any additional users/user groups need access to the report, they must be added here.
- Click Users / Notifications.
- Check the box to Enable Email Reminder Notifications, then do the following:
- Select Time of day to send the email.
- Select How frequently to send from the dropdown menu.
- Select Monthly, Weekly, or Daily to choose how frequently to receive an email notification, and then check when to send.
- Click Add User or Add Group.
- Click to select the groups for the User account from the pop-up menu.
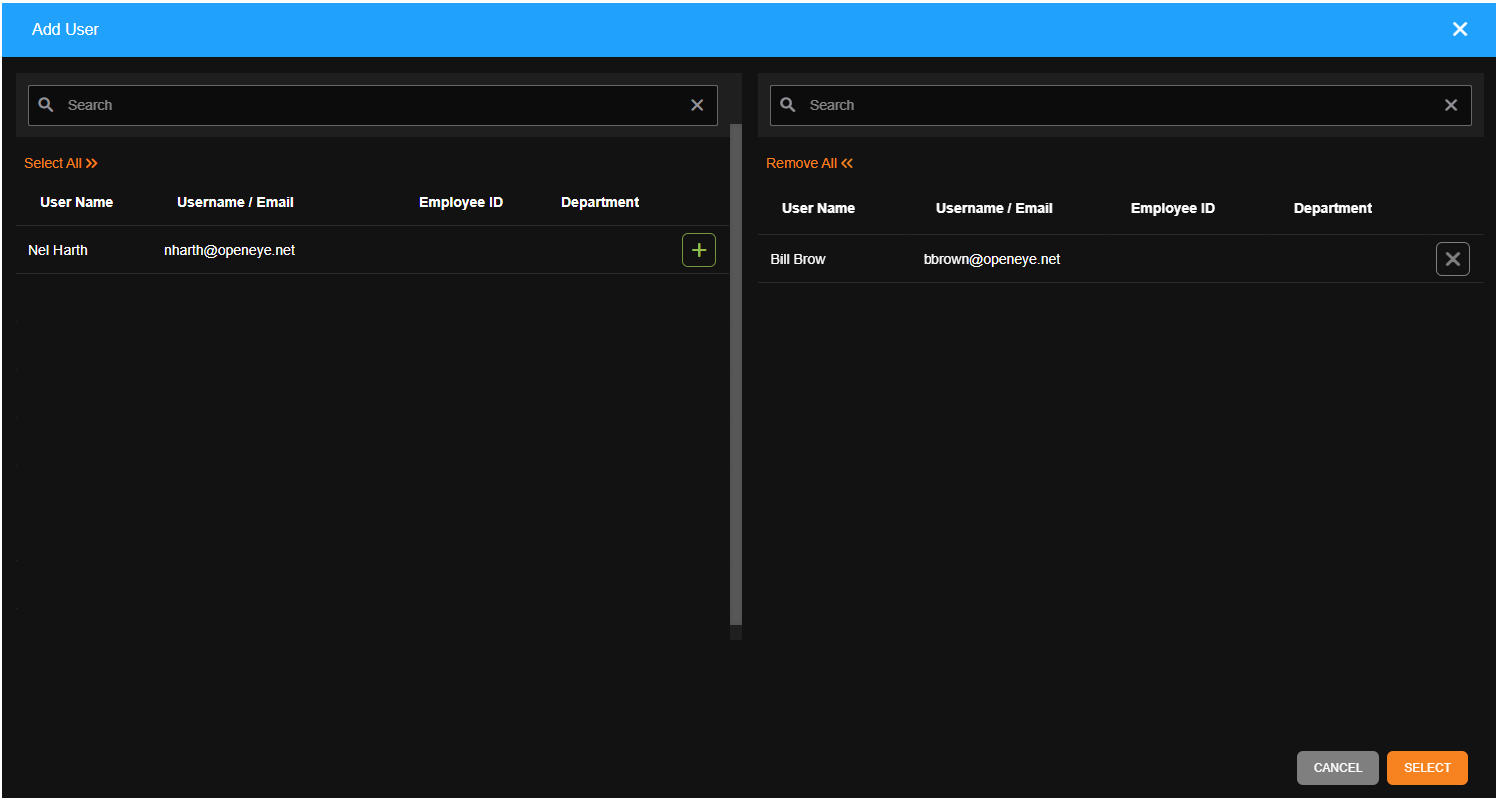
- Click Select when finished.
Note: Adding Users to a report automatically grants them permission to view reports for cameras and recorders they have access to based on their User Group permissions.
- Check the box under Email Alert for each user or group intended to receive the email reminder notification.
Related Links
User Group Permissions to View Reports