Integrating Local Data Collection
Integrate your point-of-sale (POS) data into OpenEye Web Services (OWS) by connecting your POS terminal to your local recorder. Use this guide to configure the recorder and OWS account to send POS tickets to the OWS cloud.
This guide will show how to setup a recorder with a POS / Data terminal connected and send tickets up to the cloud.
- Go to Web Connect and press Connect.

- Click Setup.

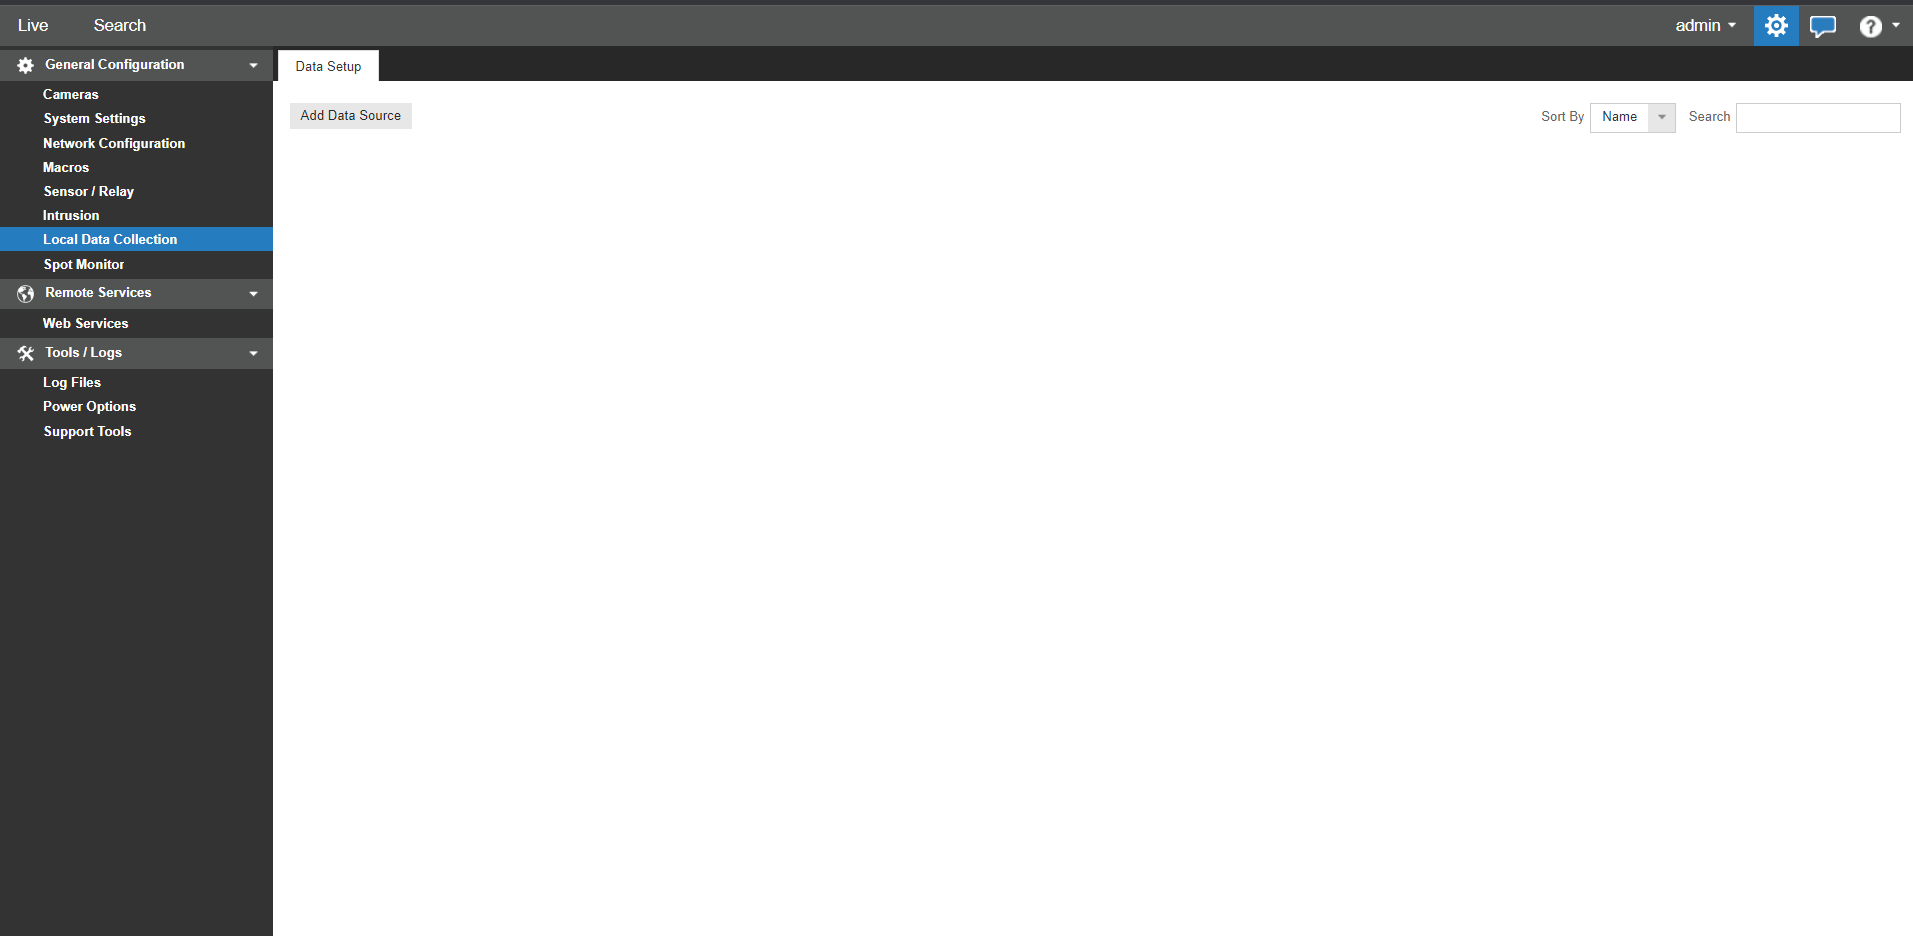
- Click Local Data Collection.
- Select Add Data Source.
- Use the dropdowns and enter in all fields that are available to configure the recorder to listen for your Data terminal:
- Custom Title — User-defined title for the data connection.
- Protocol — The back-end protocol of the registers.
- Connection Type — How information is being sent to the recorder.
- Port — The port the recorder will listen to for POS devices. Ensure that POS devices are on the same port as the recorder.
- Baud — The data transmission speed between the POS device and the recorder, measured in bits per second.
- Parity — The error-detection method used during serial communication.
- Data Bits — The number of bits used to represent each unit of data in serial communication.
- Stop Bits — The number of bits sent at the end of each data packet to signal the end of transmission.
- Flow Control — The method used to manage the rate of data transmission between the POS device and the recorder to prevent data loss.
- Currency Type — The currency type for POS data.

NOTE: Currency Type can remain blank. Currency can be configured in OWS later.
- Send data from your Data terminal to the recorder with the correct port.
NOTE: Applies to all connection types, including TCP/IP, UDP/IP or RS232.
- Wait at least 5-10 minutes after data is sent to the recorder.
- In OWS, go to the End User account and select Video Player
 > Search.
- Use the Transaction Details dropdown and select Last 24 Hours or a Custom Range search for recent data.
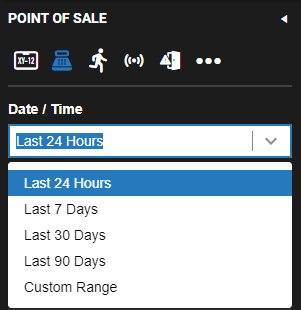
- Click Search.

- You will see data that has been sent up from the recorder in the search results.
NOTE: Server software sends up batches of 400-500 tickets approximately every 5 minutes.