AXIS License Plate Recognition (LPR) Integration Instructions
Enable Analytics in OpenEye Web Services (OWS)
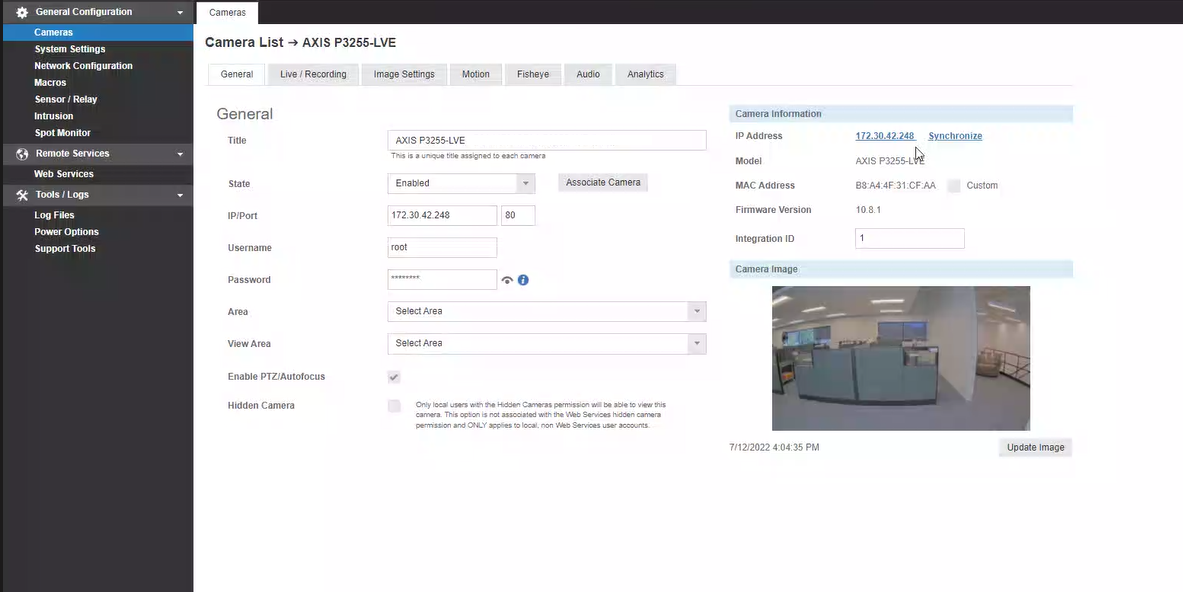
To enable Analytics for an individual camera, connect to a recorder, click Setup (gear icon) > General Configuration > Cameras and select the camera you want to configure from the camera list. Click on the Analytics tab and check the box for General Analytics for the supported camera.
When this option is enabled, any supported analytic events received from this camera will be stored and sent to OpenEye Web Services. These events will then be made available in Event Search and Macros.

NOTE: This integration requires the use of an AXIS IP camera capable of supporting the AXIS Guard Suite analytics package. Before continuing with creating a rule in OWS, follow AXIS Object Analytics instructions to configure a compatible AXIS IP Camera.
Configure License Plate Verifier in the AXIS Camera
The integration requires the use of an AXIS IP camera capable of supporting License Plate Recognition.
Before continuing with creating a rule in OWS, follow AXIS License Plate Verifier instructions to configure a compatible AXIS IP Camera. Cameras can be accessed through the IP Address under Setup > General Configuration > Cameras > Camera Information > IP Address.
To receive notifications based on an analytic event, an alert rule has to be created and configured in OWS.
Create a License Plate Alert Rule
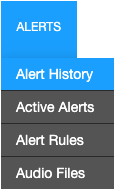
- Within the Alerts tab in the OWS Cloud Portal, select Alert Rules from the dropdown menu.
- Click New Alert Rule.

- Select an Alert Type from the pop-up menu.

- Click Next.

- Name the alert and give it a Description as desired.
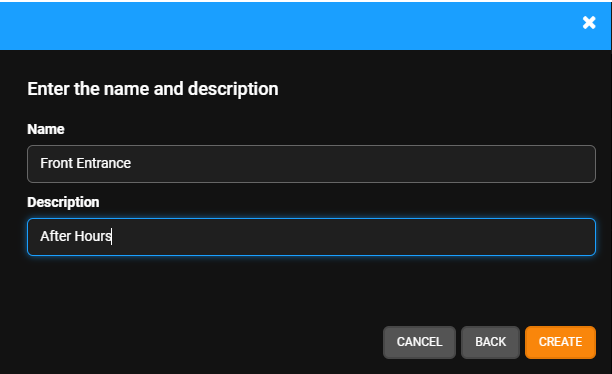
- Click Create.

Configure an LPR Rule
Configure an LPR Rule in Rule Definition.

- Select to either Enable matches for characters that look the same. Select Disable for exact character matches.
- Select to Match the plate characters entered in the License Plate List in the field below. Select No Match to send an alert when a plate doesn't match the plate characters entered in the field below.
- Enter license plate characters into the License Plate List
NOTE: Enter a wildcard asterisk * to a License Number to return specific results:
Examples:
WH89K* will return all license plates that start with WH89K
WH*KR will return all license plates that start with WH and end with KR
W*MK* will return all license plates that start with W and contain MK
- Enter the Start and End times the rule will be active.
- Check the boxes beneath the Days of the Week on which the rule should be active.
- Active Alert (Optional) - Check the Active Alert box to add the alert to the Active Alert Dashboard and tag it as an Active Alert in email notifications.
- Activate Relay on originating device (Optional) - Enter the relay numbers separated by commas that activate with the alert.
Adding Locations, Cameras, or Sensors to an Alert Rule
- Click Locations, Cameras, or Sensors on the navigation sidebar.


- Click Add Location, Add Location Group, Add Camera, or Add Sensor.


- Click the Add button next to each device you'd like to be included in the Alert.

NOTE: To apply the rule to every Location, Enable Auto Include when adding locations.
-
Click Select when finished.

NOTE: Click Manage  after adding a device or location to go directly to the corresponding device or location.
Add Users to an Alert Rule
NOTE: Adding Users to a rule automatically grants them permission to view alerts for cameras and locations they have access to based on their User Group permissions.
- Click Users/Notifications on the left-hand menu.

- Click Add User or Add Group.

- Click + next to each User or Group to send emails and push notifications when the alert is triggered.
- Click Add when finished.
NOTE: To receive email, push or client alert notifications, the Email Alert, Push Alert or Client Alert box must be checked. Simply adding a user only gives them access to see this alert’s history. See Alert Notifications for details.
Deleting an Alert Rule or Updating, Disabling, Clearing All Active Alerts
- Click General Info on the navigation sidebar.

- Edit the Name and Description as desired.

- Click Disable Rule to turn the Alert Rule off without deleting it.
- Click Delete Rule to permanently remove the Alert Rule and delete all history associated with it.
- Click Clear All Active Alerts to permanently remove only the Active Alerts from the history associated with the Alert Rule.
- Click Save when finished.
NOTE: The Name given to an alert will appear as the subject line of email notifications sent by that alert.