SAML Integration Instructions
SAML Integration
Add Identity Management Integration - Channel Partners
As a web services Administrator,
- Go to Management > Integrations.
- Click Add New Integration.

- Select SAML.

- Click Next.
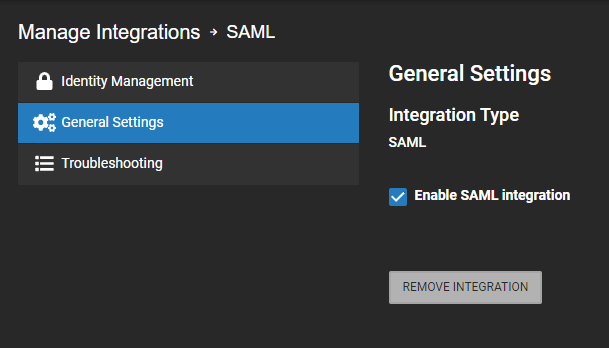
- Ensure Enable SAML Integration is checked in General Settings.
- Select Identity Management.
- Check Enable Third Party Authentication.
NOTE: Keep this page open on a browser tab while you perform the next step.

NOTE: Click on  to copy the information in the field.
Add SAML Integration - End Users
Go to Integrations in the End User Portal.
- Select SAML.
- Click Next.
- The SAML integration will be added to the Manage Integrations list.

- To make changes to the integration, click
 from Manage Integration.
NOTE: You'll be alternating between OWS and SAML in order to perform this integration.
Configure SAML for OWS Access
- Copy the Single sign on URL (ACS URL) from the OWS identity management page to the appropriate field in the IDP.
- Copy the Audience URI (SP Entity ID) from the OWS identity management page to the appropriate field in the IDP.
- To further configure, copy either manually or via IDP metadata URL:
- If manual:
- Copy over the IDP metadata over to the Identity Provider Metadata field on OWS and save the page via clicking Save.
- If manual:
- If via IDP Metadata URL:
- Copy over the Audience URI (SP Entity ID) value to use as the IDP Metadata URL.
- Save the Identity Management settings for both OWS and the IDP.
- Copy over the Audience URI (SP Entity ID) value to use as the IDP Metadata URL.
Add Users Manually or Enable Provisioning via SCIM
Users may now be configured to access your OWS application in one of two ways:
- Manual invite via OWS.
- Automatic provisioning via SCIM 2.
Manual Invite via OWS
Users may be manually added to WS via the standard WS user invite function, including manually adding them to User Groups. The primary advantage of this approach is that users invited in this fashion may choose to login either via WS credentials or the IDP credentials. This approach is ideal for Administrators who need a non-IDP method to login just in case there is an IDP issue. The downside of this approach is that user management is not simplified into a single place, and that users may login both ways if configured to do so.
Automatic Provisioning via SCIM 2
The ideal integration, so that all users may be configured in a single location, is to enable automatic user provisioning via an integration with SCIM 2. To support this, a SCIM 2 API location along with an authentication token to use in an “Authorization” header has been provided.
Enable SAML Integration
Follow these instructions to Enable an Identity Management Integration.