Entra ID Integration Instructions
NOTE: Entra ID was previously Azure AD. Azure AD may appear in some UI elements.
Enable Entra ID Integration
Add Identity Management Integration
- From the Cloud Portal, select the Management tab.
- Choose Integrations from the drop-down menu.

- Click on Add New Integration.

- Click Next.
- Ensure Enable Entra ID integration is checked in General Settings.
- Select Identity Management.
- Check Enable Third Party Authentication.
NOTE: Keep this page open on a browser tab while you perform the next step.

NOTE: Click on  to copy the information in the field.
Configure Entra ID for WS Access (Entra ID)
NOTE: You'll be alternating between OWS and Entra ID in order to perform this integration.
From Entra Active Directory:
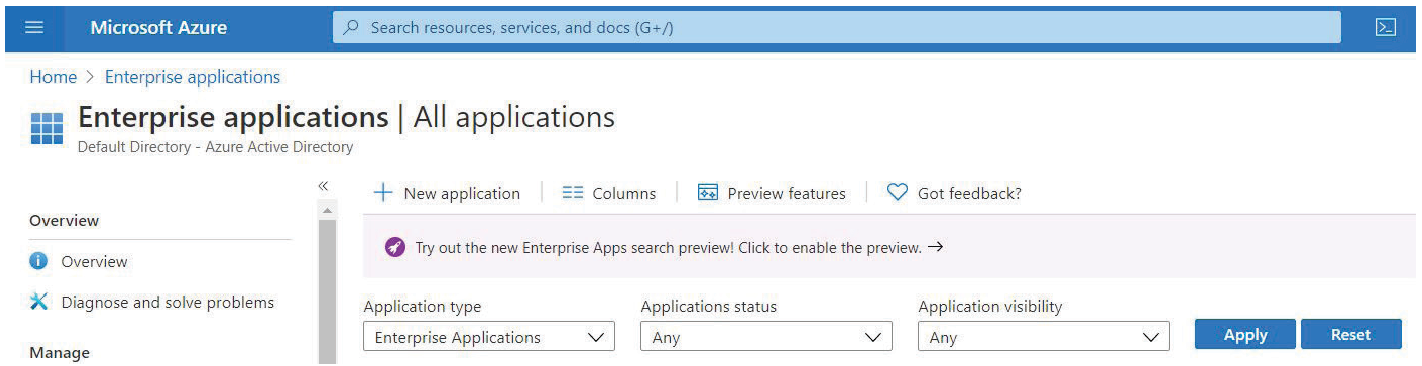
- Go to Enterprise applications.
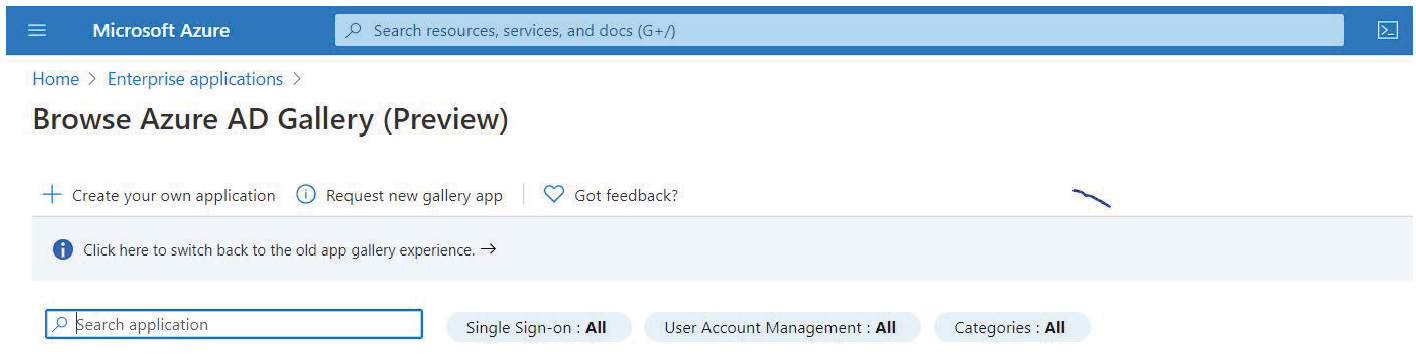
- Choose New application if you see this option (otherwise, go to the next step).
- Choose Create your own application.
- Choose Integrate any other application you don't find in the gallery and pick a name (e.g. OWS).
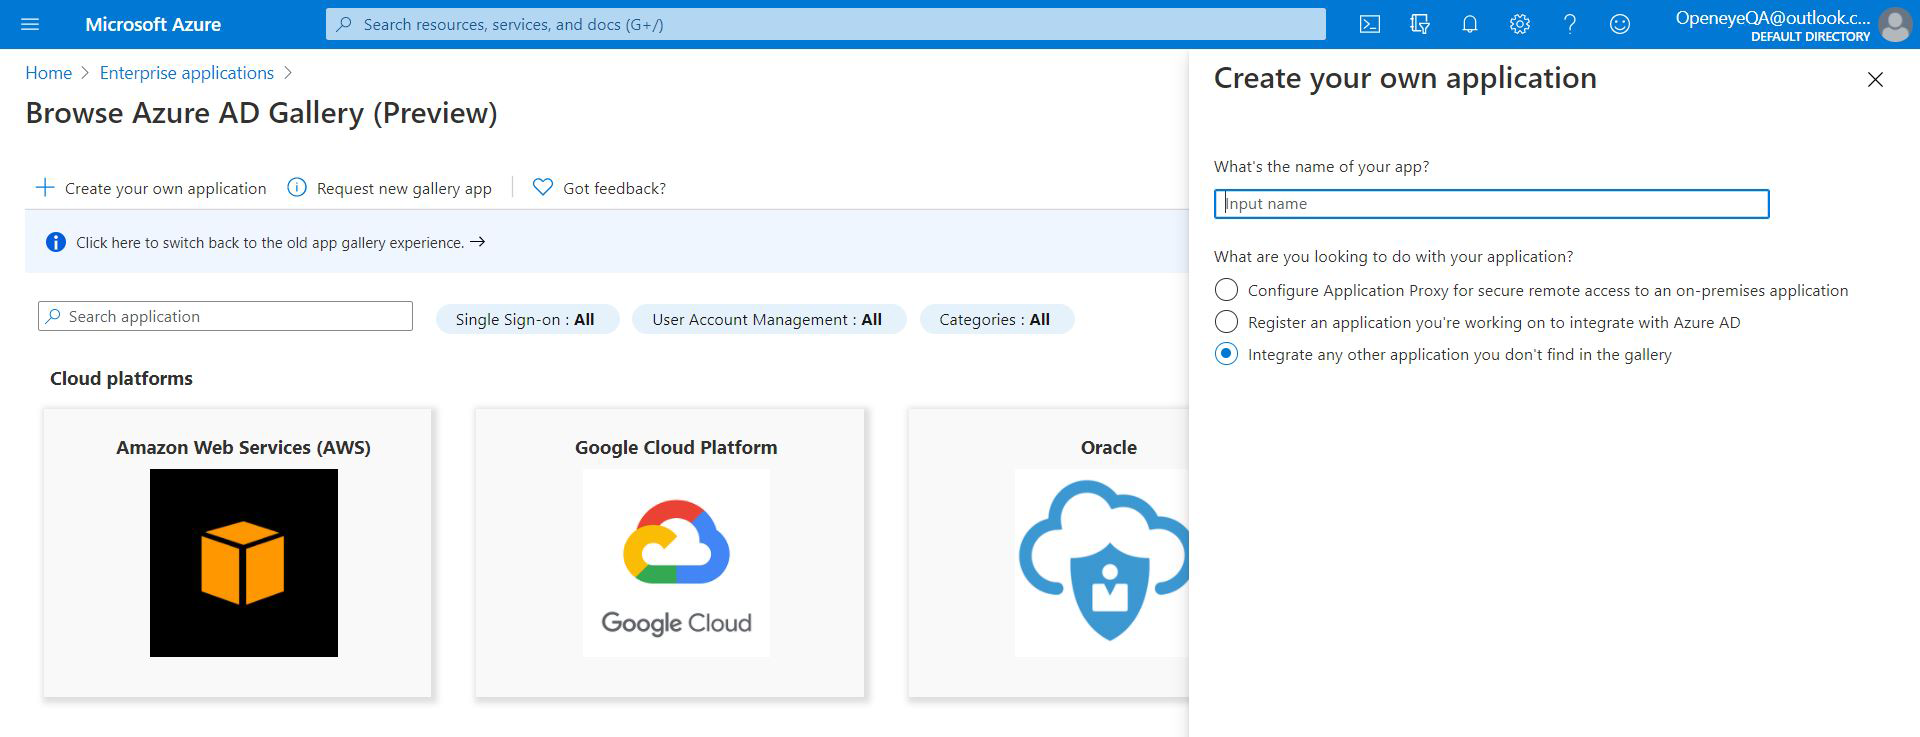
- Click Create.
- Go to Manage > Single sign-on.
- Choose SAML.
Basic SAML Configuration
Under BASIC SAML Configuration:
- Click Edit.
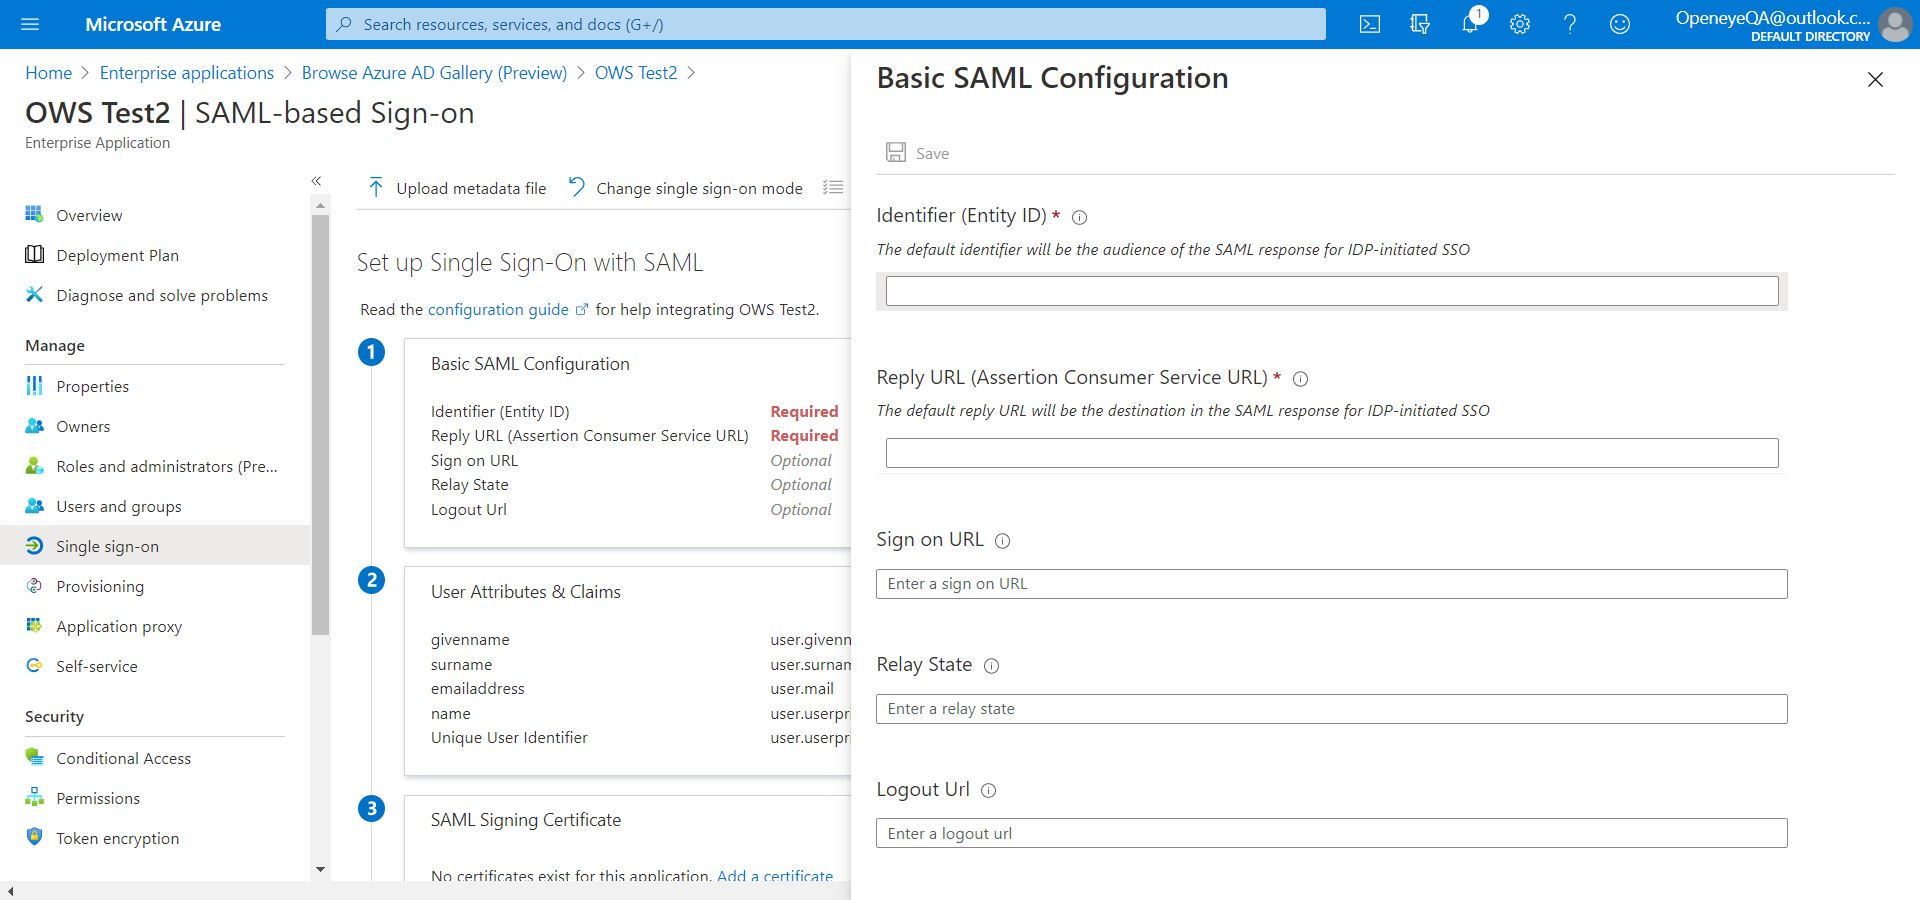
- On the WS side, grab the Audience URI (SP Entity ID) URL and copy it to the Identifier (Entity ID) field in Entra ID.
- On the WS side, grab the Single sign on URL (ACS URL) URL and copy it to the Reply URL (Assertion Consumer Service URL) field in Entra ID.

- Click Save.
User Attributes and Claims Configuration
This may be left as-is with this consideration:
- User Unique Identifier (Name ID) must be the intended unique user email address that will be utilized in OWS. This may be user.userpincipalname or user.mail depending on how your Entra ID is administered.
- Click Add a group claim.
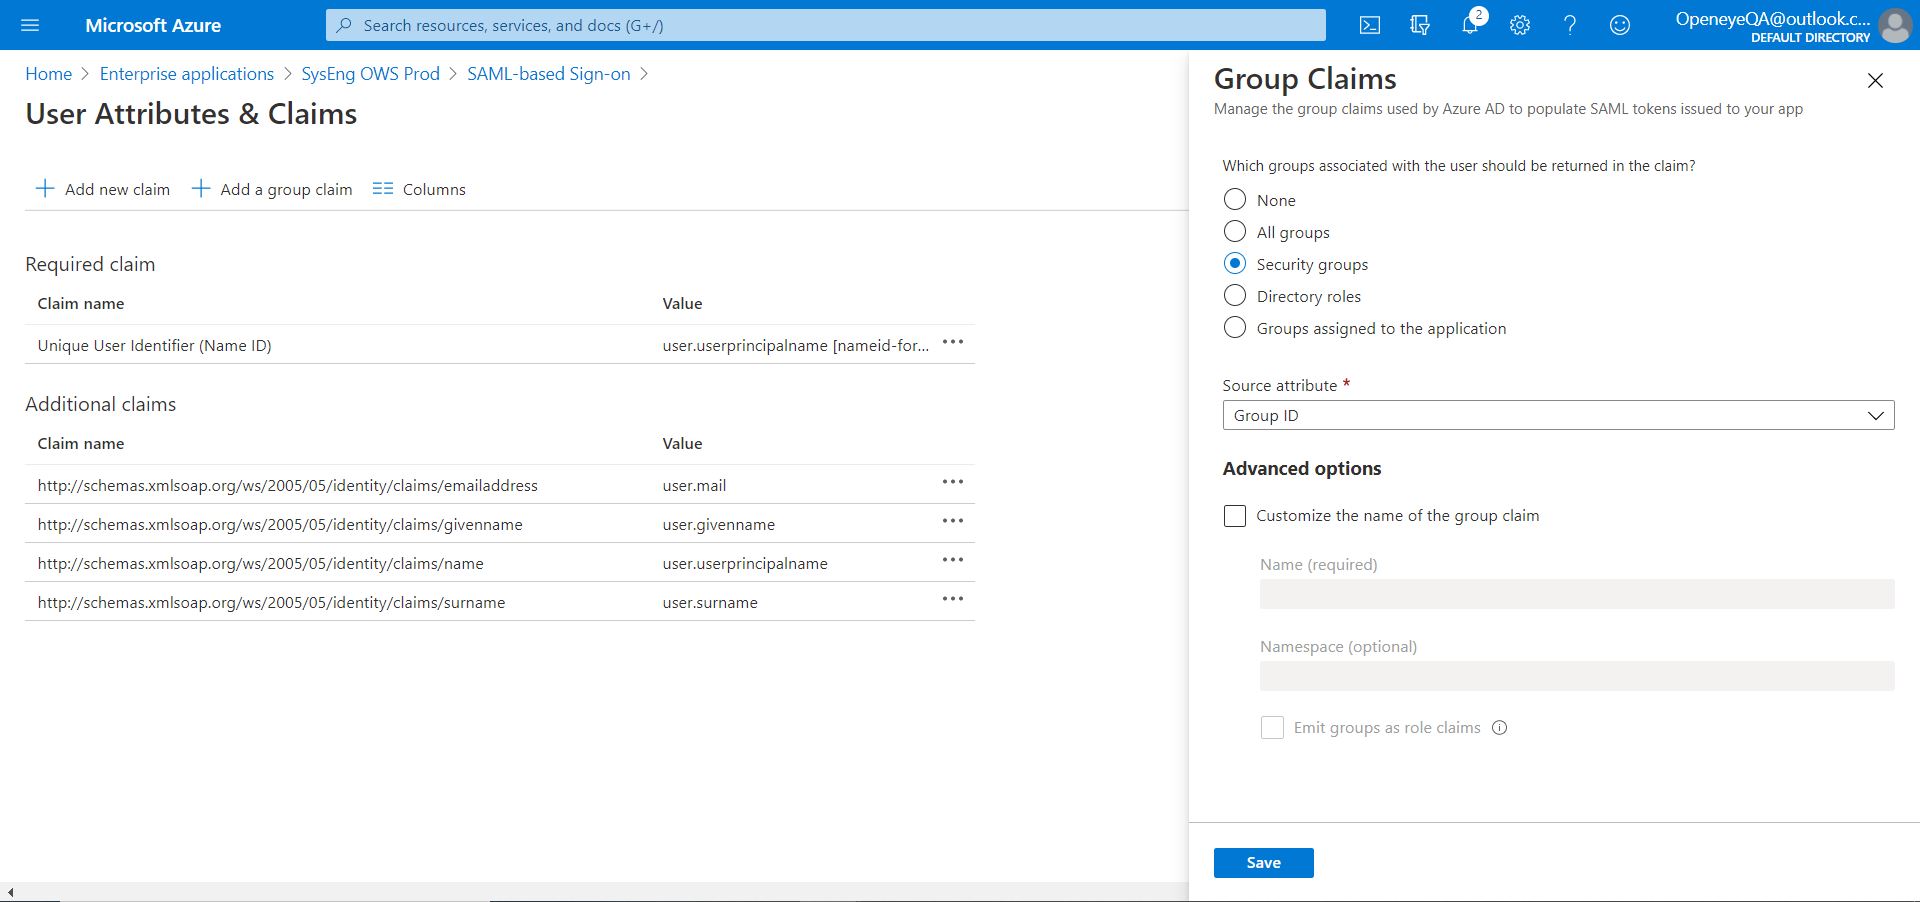
- Check Security groups.
- Leave Group ID as the default for Source Attribute.
- Click Save.
SAML Signing Certificate Configuration
Download the Federation Metadata XML file here and copy the contents into the Identity Provider Metadata field in OWS and click Save on the OWS side.
Single Sign-On (SSO) Complete
Single sign-on setup is now complete minus provisioning. Some form of provisioning will likely be required. Automatic Entra ID Provisioning is supported.
Entra ID Automatic Provisioning Configuration
To configure provisioning via Entra ID, remain on the same setup page in OWS as per the SSO setup instructions and do the following:
- In Entra ID, go to Manage > Provisioning.
- Click Get started.
- Choose Automatic for Provisioning mode.
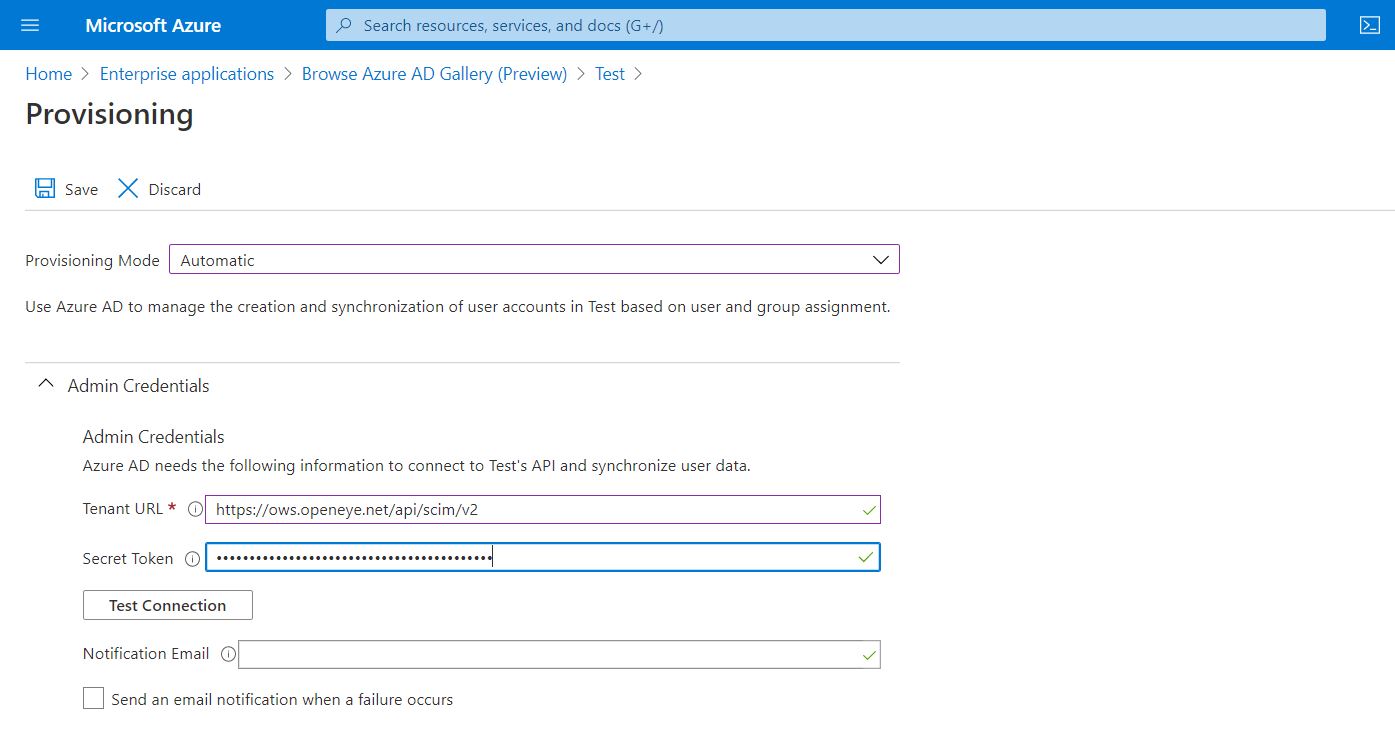
- For Tenant URL put in the URL found in OWS under Base URL (SCIM v2 API) (e.g. https://www.wscloudenv.net/api/scim/v2).
- For Secret Token put in the value found in OWS under API Token (SCIM v2 API). Generate this token if necessary via SCIM API Token button.

- Click Save.
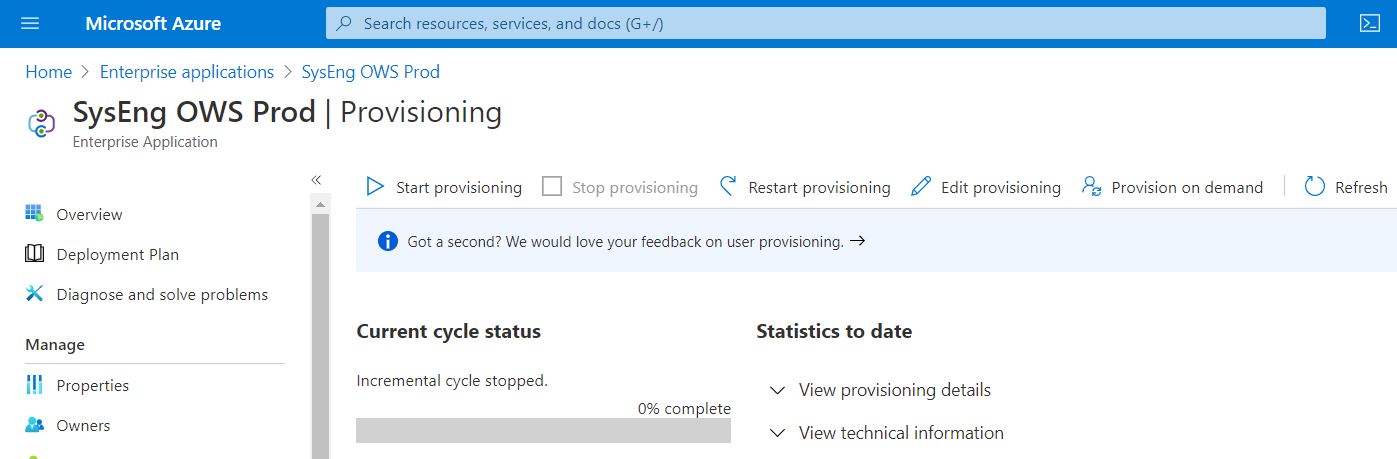
- Go back to the main page of the Enterprise Application that you are managing and go to Manage > Provisioning.
- Click Start provisioning to initiate the provisioning process. There may be a delay of up to 40 minutes for provisioning updates but the initial provisioning cycle usually begins in less than 5 minutes.
Enable Entra ID Integration
Follow these instructions to Enable an Identity Management Integration.