How to Replace a Camera on a Recorder
Replacing a Camera
Disabling the Old Camera
- Go into the Setup
 menu.
menu. - Select the Cameras option on the side menu.
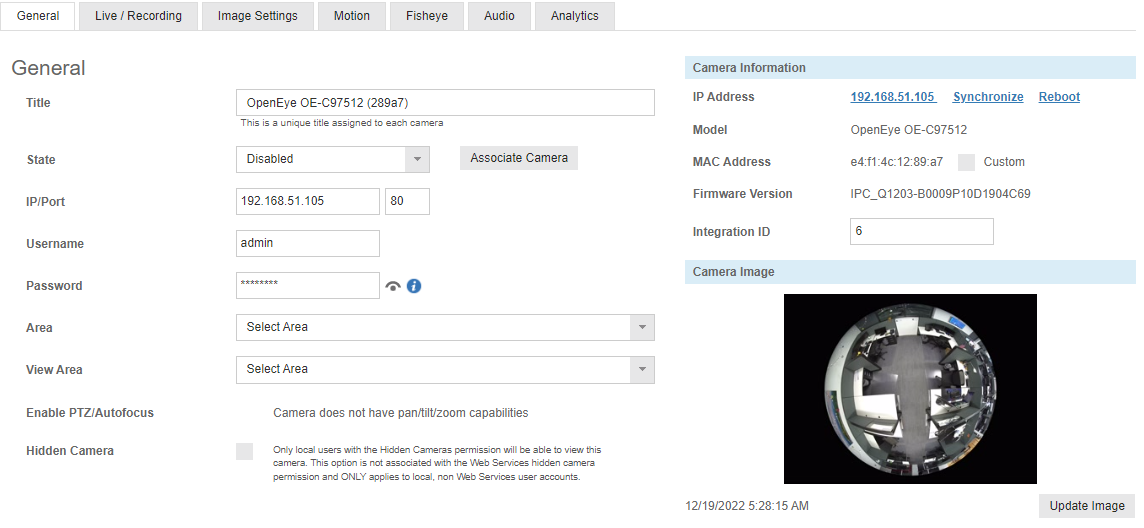
- Select the camera from the list.
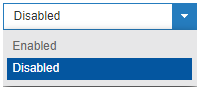
- Use the dropdown to change the state of the camera from Enabled to Disabled.
Manually Adding a New Camera
Follow instructions for Adding Cameras Manually to add the replacement camera to the recorder.
Associating Cameras
Associating a camera, in simple terms, is linking an old camera with its replacement.
Items of Note:
- To avoid issues that can occur with camera association, please make sure the replacement camera is fully functioning and recording before completing the camera association.
- Merging the cameras will create a duplicate of the new camera that is disabled and be called <camera name>_Temporary. This duplicate will contain any video that was recorded between when the new camera was added to the software and when the old and new cameras were merged. The option to create this duplicate is selected by checking the box for ‘Save current video for this camera.’
- There may be gaps in video from the time the target camera stopped recording and when the camera association takes place. This can occur for many reasons such as the camera failed and could not be replaced for a few days, the stream settings are not being detected by Apex from the new camera, or the new camera's login is incorrect.
- If the same camera is associated with itself, it will pull in all the video and previous stream settings from the target camera.
- If the target camera's profile is broken, the camera association may corrupt the newly added camera's profile. If this ends up being the result of the merger, disable the camera added as the result of the merger to keep the previous video. Then add the new camera under a unique name. Once the video from the failed camera is no longer needed, delete the disabled camera.
*** Note: this process cannot be undone. ***
- Once added, select the new camera and click the Associate Camera button.
NOTE: This will tie the old footage with the new camera.
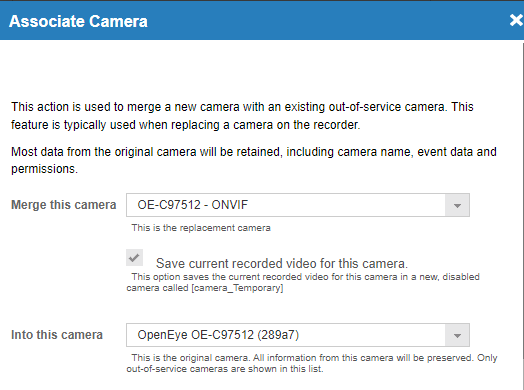
- On the Associate Camera pop-up for Merge this camera, select the new camera you just added selected.
- Select the original camera that is disabled under the Into this camera field.
- If you have recordings from the new camera that overlap with the camera you are replacing, you can check the Save current recorded video for this camera.
NOTE: This will generate a new disabled camera entry that will have all the recorded video from that new camera before it was merged.