Live View Camera Controls
Video View Camera Controls
Live View Controls include Grid, View, Stream, PTZ, Sequence, Audio, and 2-Way.

Grid
The Live screen display can be adjusted to show live video for 1, 2, 4, 6, 9, 10, 13, 16, 17, 20, 21 25, 36, 49, 64 and 81 camera tiles simultaneously.

- In the Live screen, click Grid.
- Click on the desired camera grid. The layout will automatically apply.
- Adjust the Camera Tiles as desired.
NOTE: Grid values for Intel-based hardware without a discrete GPU (Nvidia/AMD) range from 1-25 to align with the web client. Workstations with discrete GPU's will continue to have access to 1-81 grids.
View
The Live screen view affects the camera tiles and the Aspect Ratio / Format of the live video being displayed.
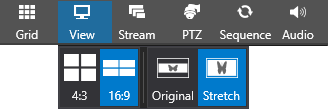
- In the Live screen, click View.
- Click the desired Aspect Ratio and Format. The Live screen display will automatically adjust to the changes made.
NOTE: See the Live screen section for more detailed information about Aspect Ratio and Format.
Stream
The Stream Quality affects the resolution of live video as seen on the Live screen. The Stream Quality can be set to low, medium, high, or auto.
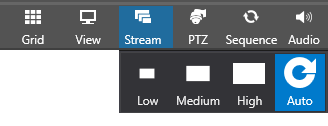
- In the Live screen, click Stream.
- Click the desired Streaming Resolution. The live screen will automatically adjust to the changes made.
PTZ
The PTZ view mode allows you to control PTZ cameras using the mouse.

- In the Live Screen, click PTZ.
- Using your mouse, click and drag to reposition the camera as desired.
- Using your mouse wheel, zoom in or out as desired.
- When you have finished positioning the camera, click the PTZ button again to return to normal mouse function.
NOTE: PTZ for the individual cameras must be enabled in Apex setup under Cameras and General.
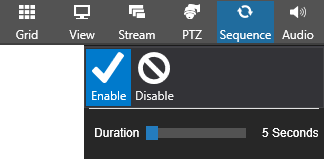
Sequence
The sequence option will cycle through grids in live view.
- Add cameras to live.
- Change the live grid to the desired grid to be sequenced.
- In the Live Screen, click Sequence.
- Modify the duration if needed.
- Click the Enable button to start sequencing live.
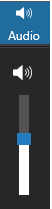
Audio
You can control the live audio volume by selecting the live audio icon and moving the slider bar or mute by selecting the speaker icon.
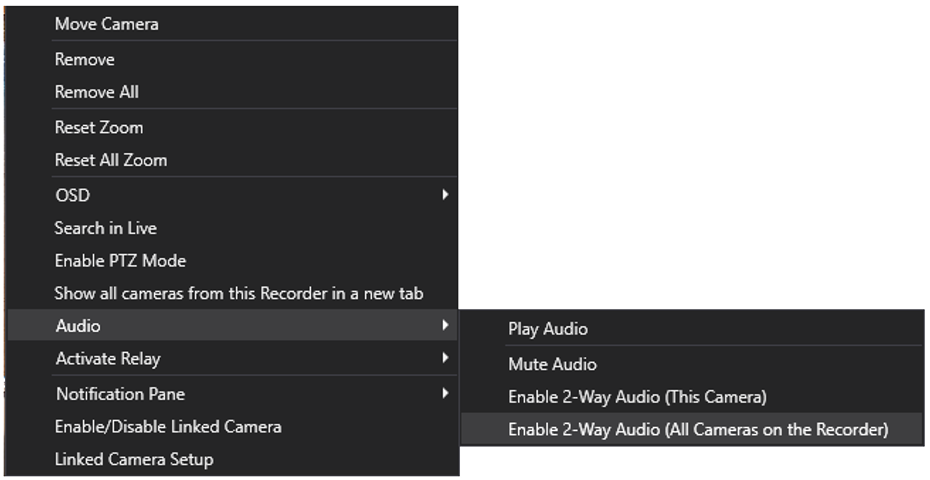
2-Way
Enable 2-Way Audio for compatible cameras by clicking on the 2-Way icon.
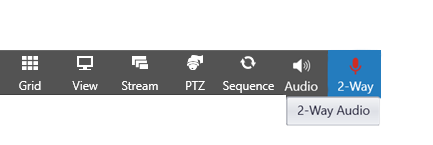
Right click in the viewing pane of a compatible camera to enable 2-Way Audio in that camera or for all compatible cameras on the same recorder.