Enabling Sensor Alerts for Axis Door Stations
Enabling Sensors for Axis Door Stations
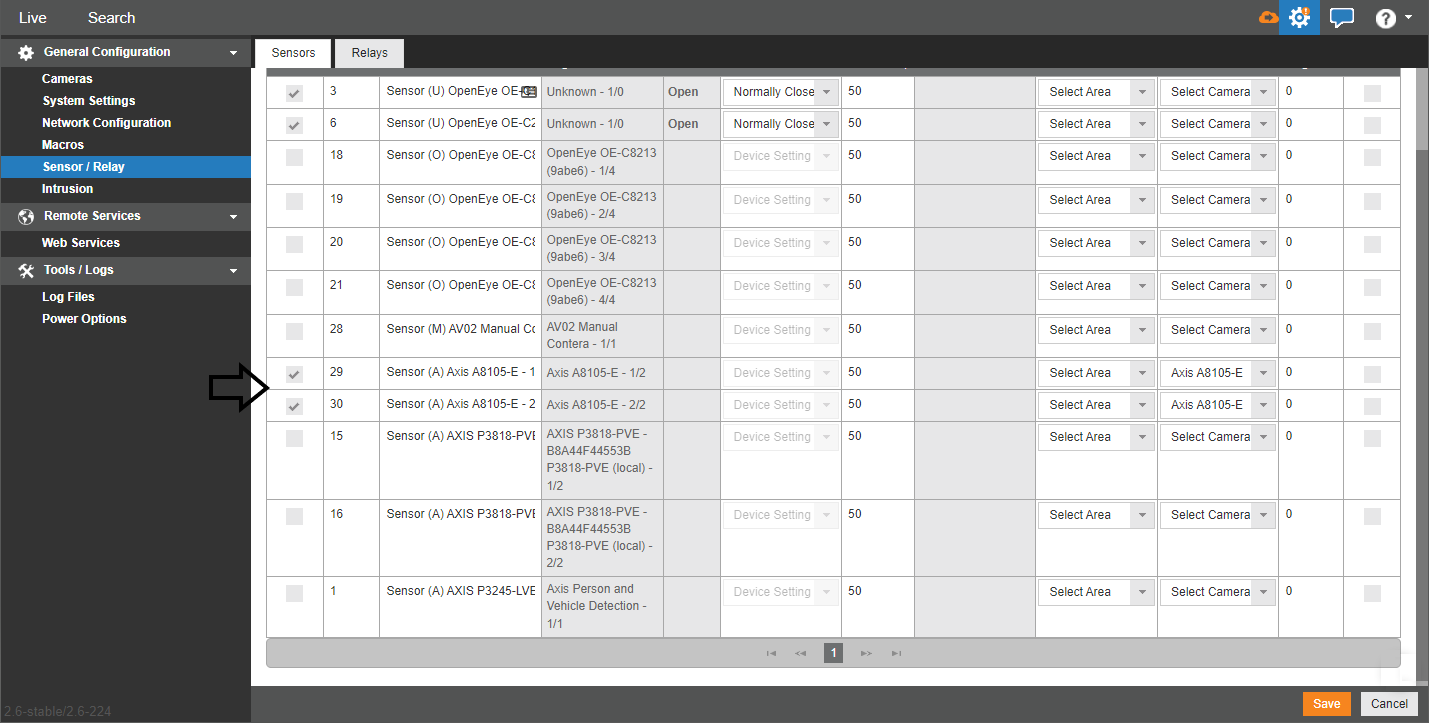
To generate events, make sure that the recorder sensors are enabled for the Axis Door Stations:
- Click Setup
 > General Configuration > Sensor / Relay.
 - Check both sensors for the Axis Door Station.
- Click Save.
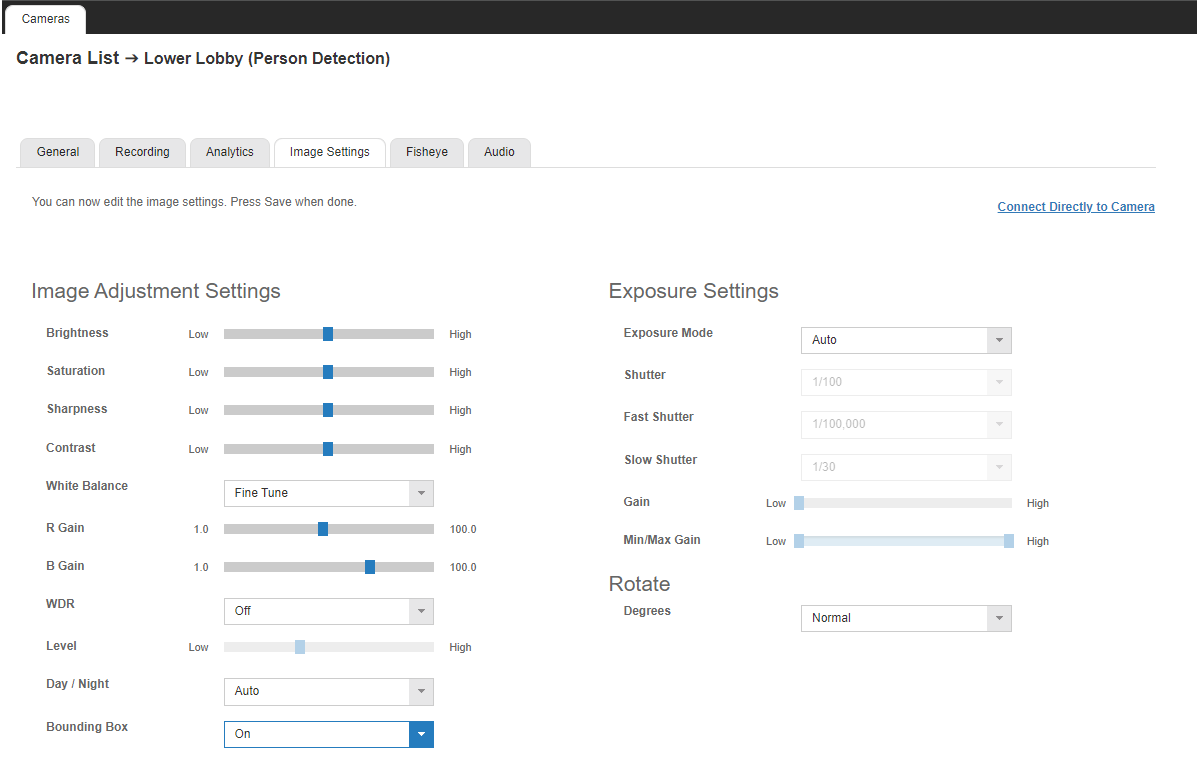
How to Access the Axis Door Station from the Recorder
The Axis Door Station will be recognized as a camera and appear in the camera list on the recorder.
- Click Setup (Gear Icon).

- Under General Configuration, navigate to the Cameras menu.
- Select a camera by clicking on it.
- Click the Image Settings tab.
- Click Connect Directly to Camera.
Configuring Ports on the Axis Door Station
- Go to System Options > System > Accessories.
- Change Port 2 from an INPUT to an OUTPUT.

Create a Sensor Alert Rule
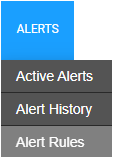
- Within the Alerts tab in the OWS Cloud Portal, select Alert Rules from the dropdown menu.
- Click Add New Rule.

- Select Sensor from the pop-up menu.

- Click Next.

- Name the alert and give it a Description as desired.
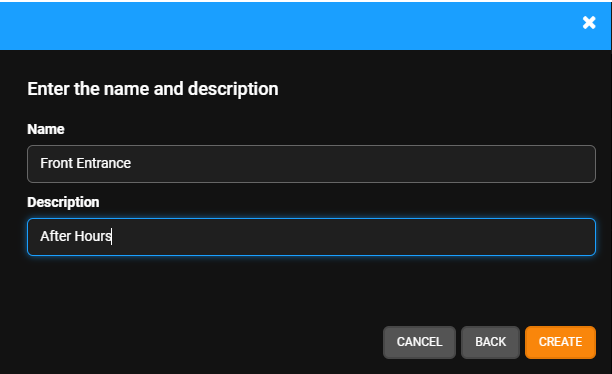
- Click Create.

Defining a Sensor Alert

- Enter the Time of Day range that this rule should be active for.
- Check the boxes beneath the Days of the Week on which the rule should be active.
- Select the minimum Sensor Duration necessary before sending an alert.
NOTE: It is recommended to set the Sensor Duration to a low value (0 or 1 second) in order to trigger an event even if the door station button is only momentarily pressed.
- Select Armed and Disarmed, Armed, or Disarmed from the Intrusion Area Armed dropdown. See Location Arming for more information.
- Active Alert (Optional) - Check the Active Alert box to add the alert to the Active Alert Dashboard and tag it as an Active Alert in email notifications.
- Activate Relay on originating device (Optional) - Check the Activate Relay on originating device box to activate a relay when an alert is generated. See Activating a Relay for an Alert Rule for more information.
- Send To 3rd Party Integration (Optional) - Check the Send To boxes to send the alert to the associated 3rd party integration.
- Click Save.
Adding Sensors to an Alert Rule
- Click Sensors on the navigation sidebar.

- Click Add Sensor.

- Click the Add button next to each device you'd like to be included in the Alert.

NOTE: To apply the rule to every Recorder, check the box next to Automatically include all recorders in this Alert Rule.
-
Click Add when finished.

Add Users to an Alert Rule
NOTE: Adding Users to a rule automatically grants them permission to view alerts for cameras and recorders they have access to based on their User Group permissions.
- Click Users/Notifications on the left-hand menu.

- Click Add User or Add Group.

- Click + next to each User or Group to send emails and push notifications when the alert is triggered.
- Click Add when finished.
NOTE: To receive email, push or client alert notifications, the Email Alert, Push Alert or Client Alert box must be checked. Simply adding a user only gives them access to see this alert’s history. See Alert Notifications for details.
Deleting an Alert Rule or Updating, Disabling, Clearing All Active Alerts
- Click General Info on the navigation sidebar.

- Edit the Name and Description as desired.

- Click Disable Rule to turn the Alert Rule off without deleting it.
- Click Delete Rule to permanently remove the Alert Rule and delete all history associated with it.
- Click Clear All Active Alerts to permanently remove only the Active Alerts from the history associated with the Alert Rule.
- Click Save when finished.
NOTE: The Name given to an alert will appear as the subject line of email notifications sent by that alert.
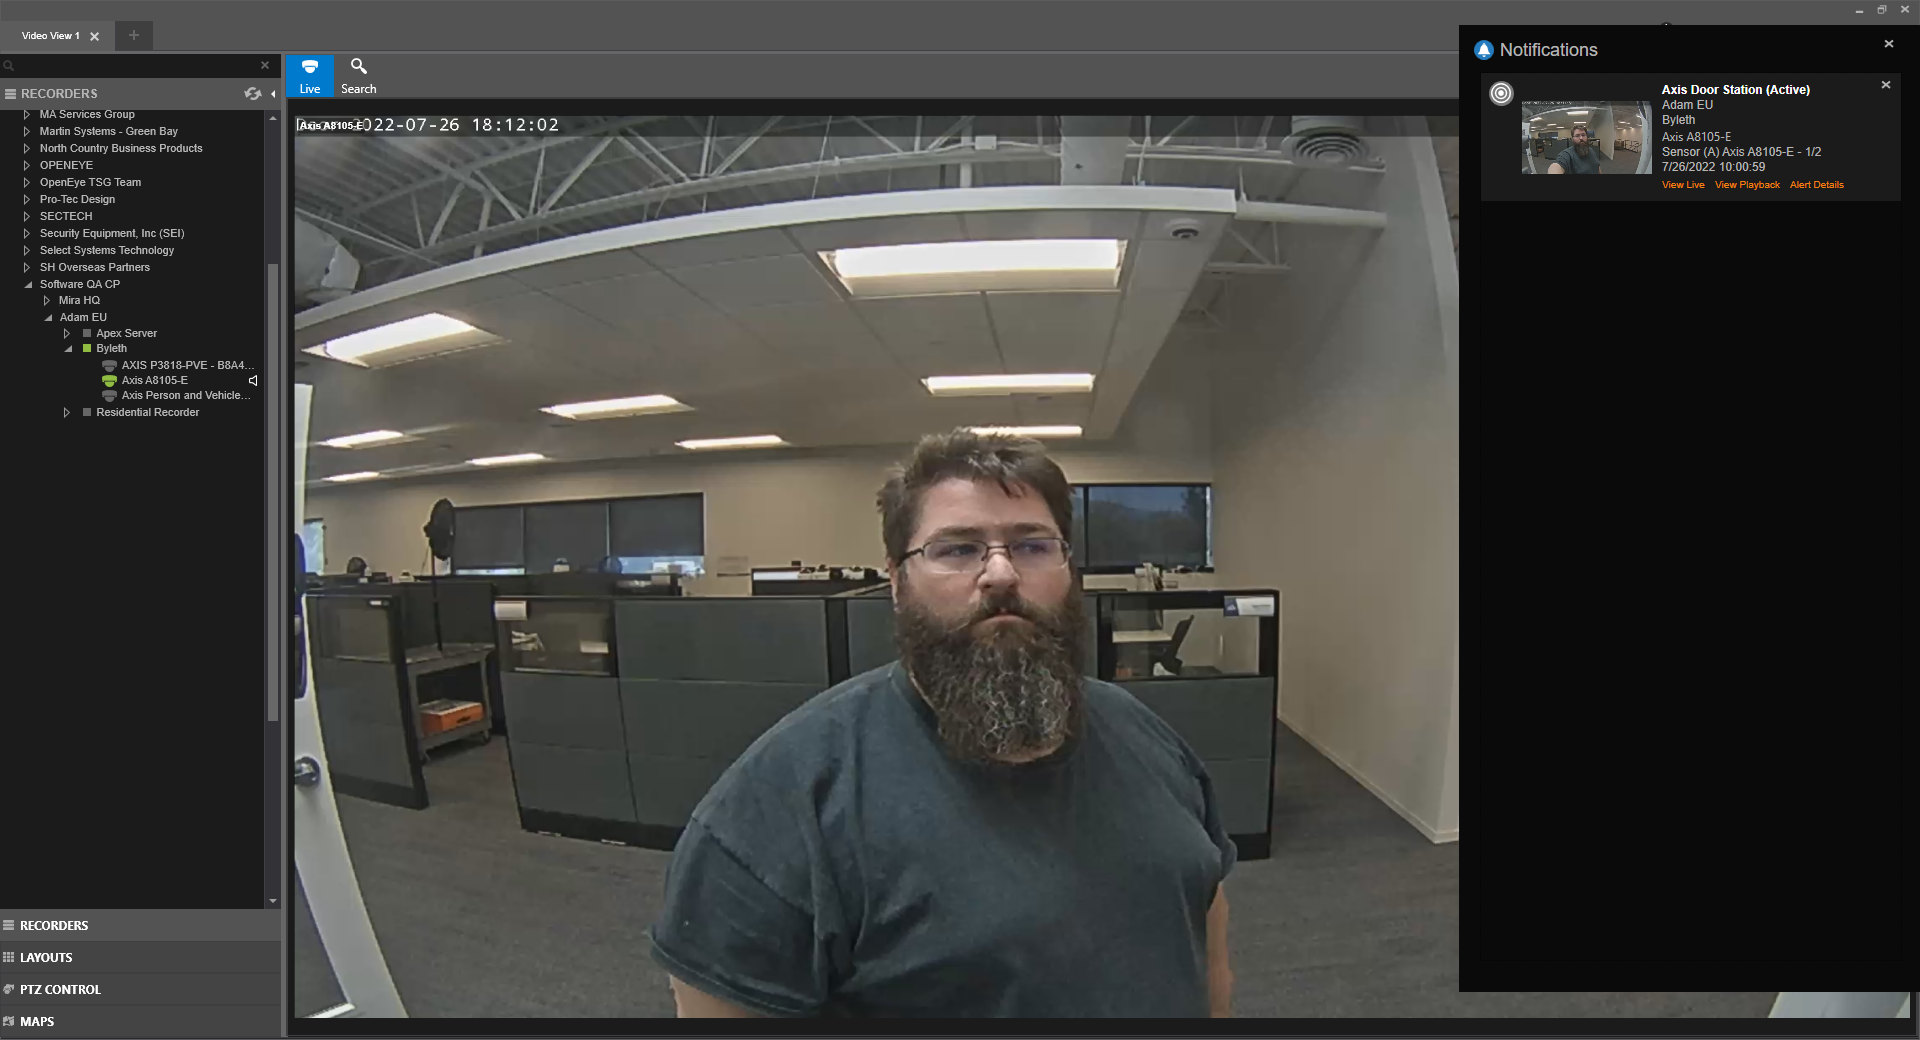
Command Station Notifications
When a a sensor event occurs, an icon ![]() will appear in the upper right-hand corner of the Command Station screen. Click on the icon to view notifications.
will appear in the upper right-hand corner of the Command Station screen. Click on the icon to view notifications.
The notification lists alert name, recorder name, camera name, date, time, and account.