OE-C9912M20 Quick Start Guide
OE-C9912M20 Quick Start Guide Hard Copy
Click the link if you need to download the original hardcopy of the OE-C9912M20 Quick Start Guide included with the boxed contents.
Box Contents
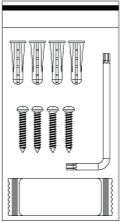
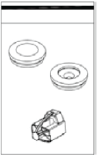
OE-C9912M20 cameras come with a mounting accessory kit, grommets, mounting template, and PoE Injector. Identify the following components to make sure everything has been properly included with your new recorder. If any of the following items are missing, contact the dealer to arrange a replacement.
|
OE-C9912M20 Multisensor Camera |
Mounting Accessory Kit and Desiccant |
|
Rubber Grommets |
Mounting Template |
|
PoE Injector |


Connections
Camera Cables
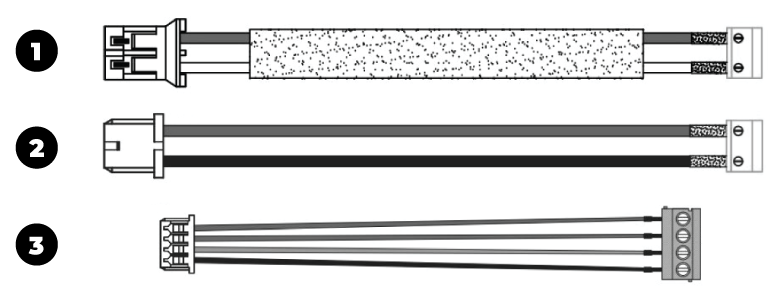
| 1 | Power (12vDC) | Red | 24vDC + |
| White | GND - | ||
| 2 | Audio I/O | Red | Audio Out + |
| Black | Audio Out - | ||
| Audio I/O | Red | Audio + | |
| Black | Audio - | ||
| 3 | Alarm I/O | Red | Alarm Out + |
| Purple | Alarm Out - | ||
| Orange | Alarm In + | ||
| Black | Alarm In - |
Alarm Connections
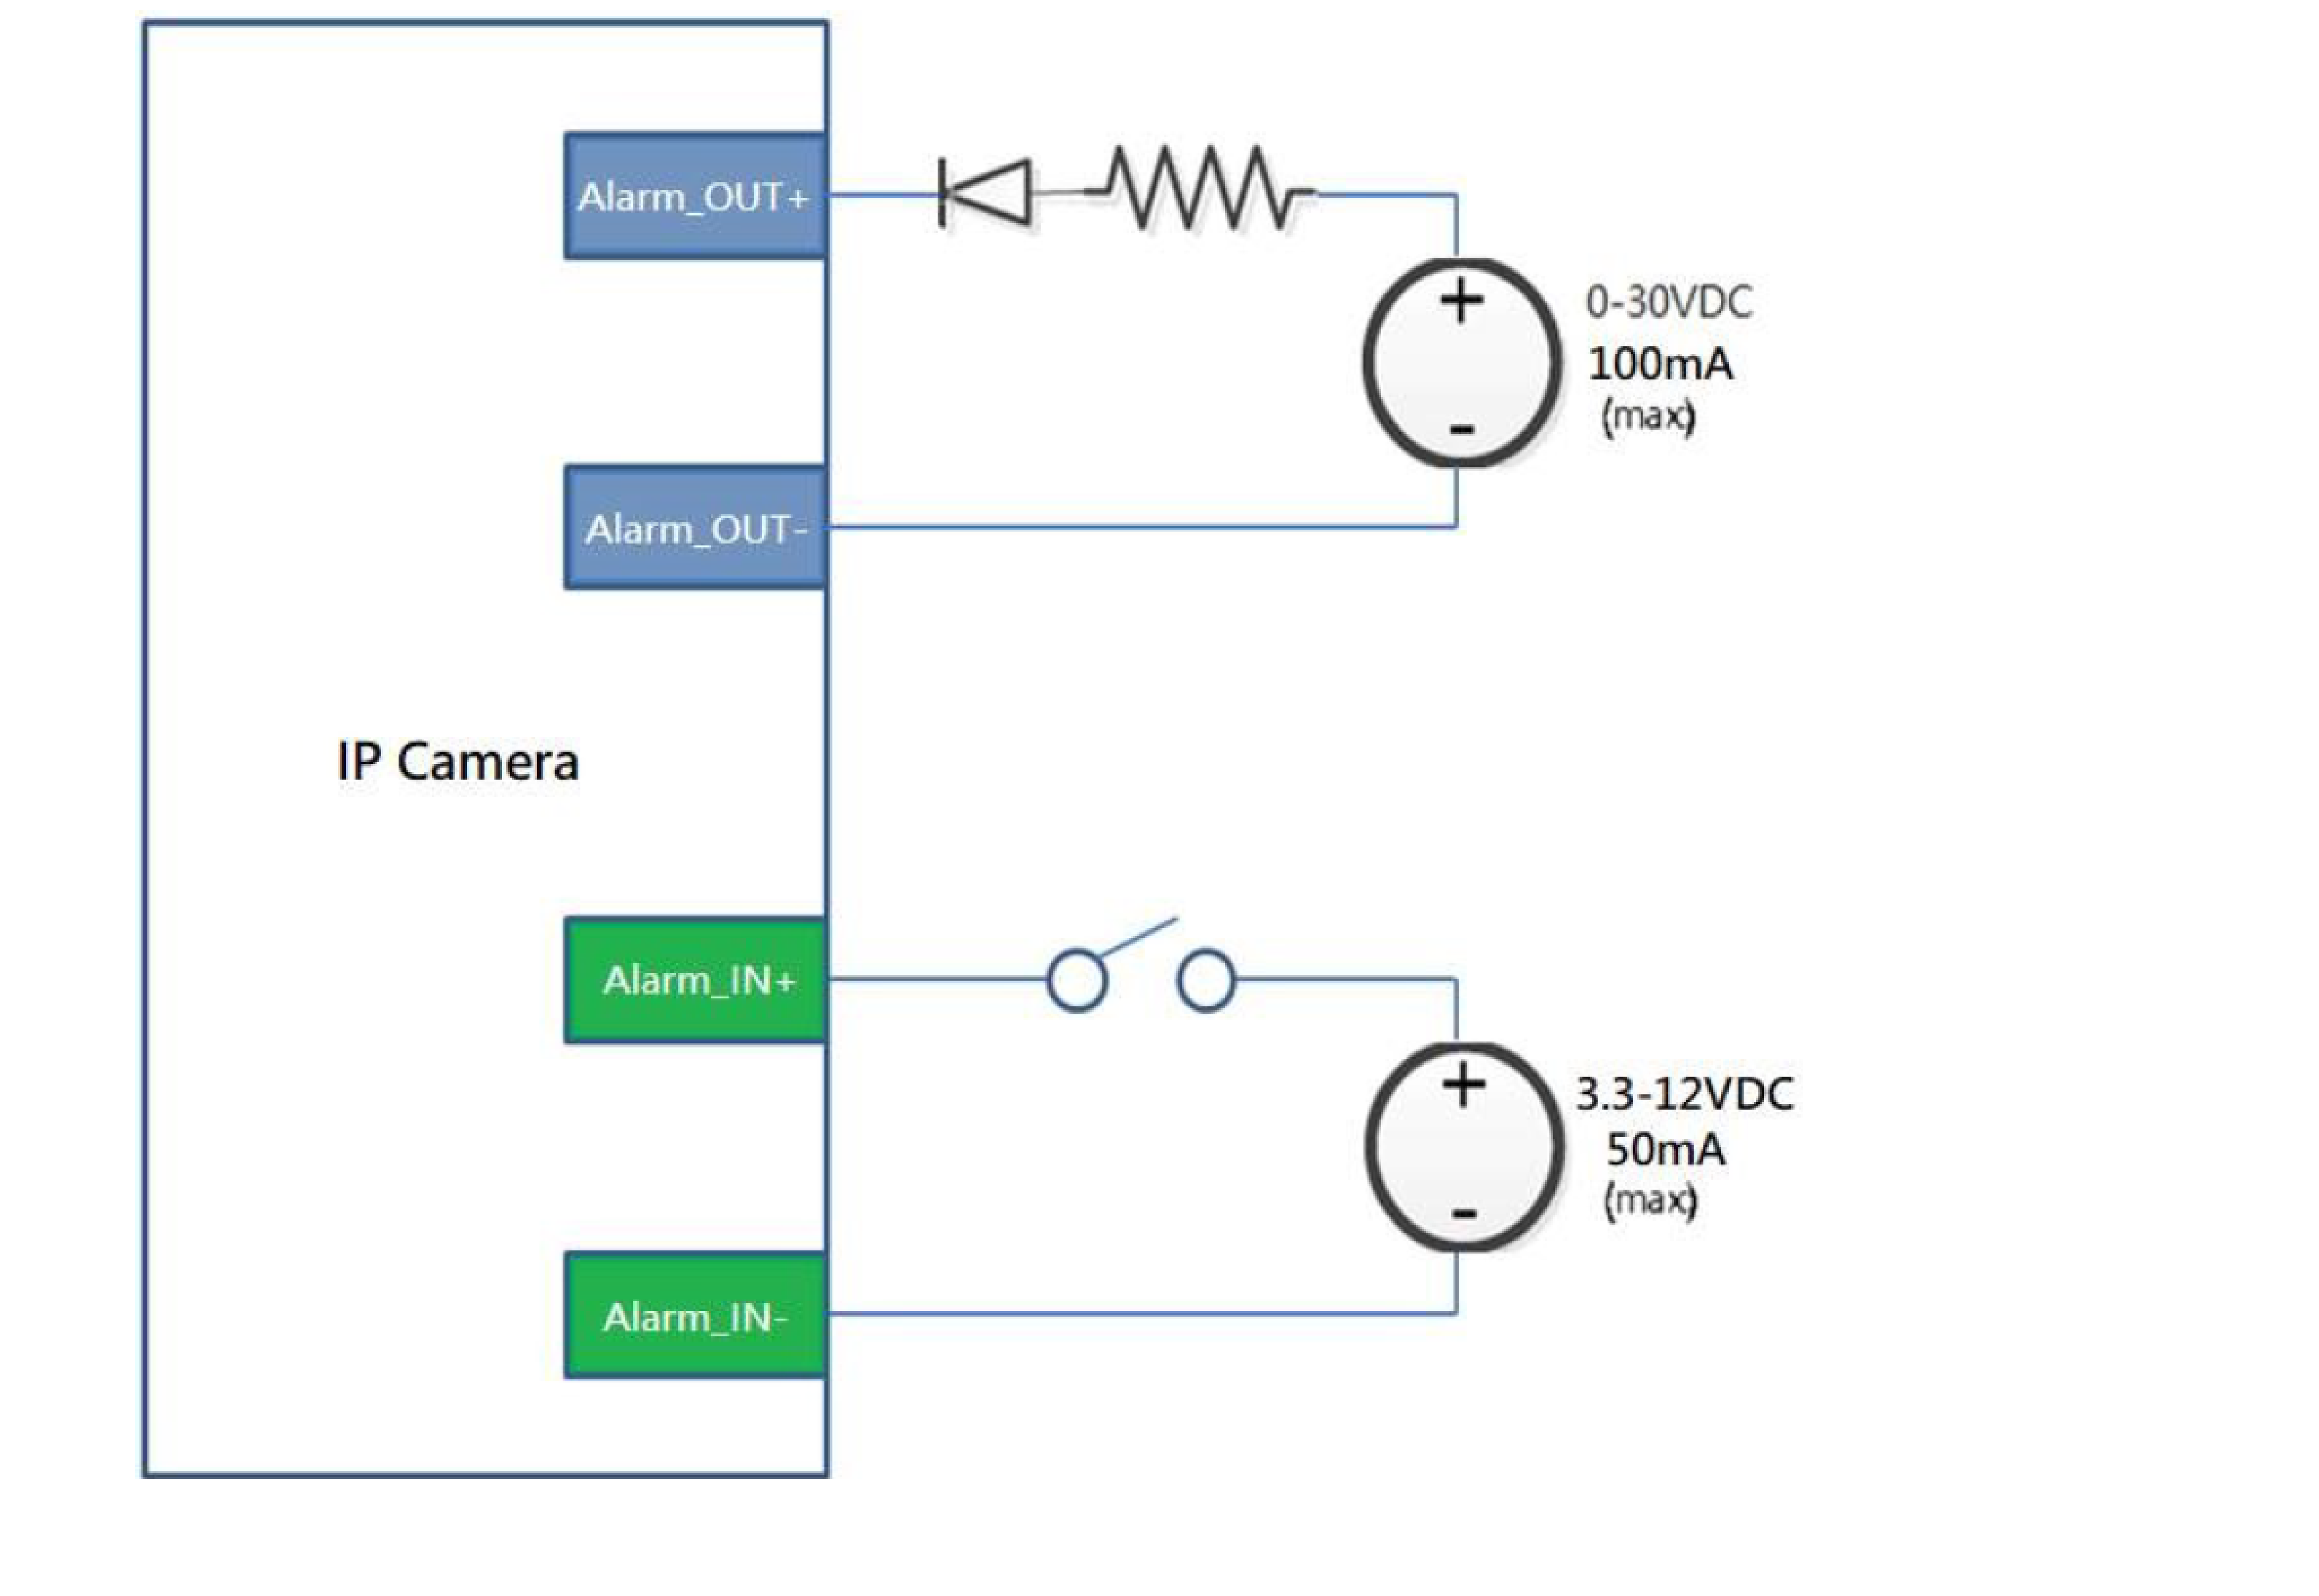
| NOTE: An external power source is required for alarm in and alarm out. | |
| Alarm In | 3.3V - 12V Max |
| Alarm Out | 30V Max |
Camera Connections

| RJ-45 | For network and PoE connections |
| Power (24vDC) | Power Connection |
| Alarm I/O | Alarm Connection |
| Audio In | Audio In |
| Audio Out | Audio Out |
| MicroSD Card Slots (2) |
Supports up to 512GB microSD card for Edge storage. Do not or remove the microSD card when the camera is powered on. |
| Reset Button |
Press and hold the reset button for 3 seconds to restore all settings to default, excluding network and credentials. Press and hold the reset button for 6 seconds to restore the camera to factory default state. |
Power Connection
For an adequate power connection, use a 12vDC or 24vAC adaptor. Alternatively, you can power the camera by PoE++ using the PoE power injector provided with the camera, or if a Power Sourcing Equipment (PSE) switch is available.
NOTE: OpenEye recommends against using more than one power source at a time.
Installation
To prepare the camera for wall of ceiling installation with accessories, see instructions on the Quick Installation Guide.
Default Username and Password
Assigning an IP Address
OpenEye IP cameras are set to DHCP by default. If a DHCP server is not detected after 2 minutes, the camera will default to IP address 192.168.51.2. If you are not using a DHCP server, NCM will allow you to batch configure a static IP address. The default IP address for the camera network on your recorder is 192.168.51.1.
Selecting multiple cameras and entering IP address 192.168.51.2 will set an IP address on all selected cameras, starting at 192.168.51.2 and increase per camera.
- Open the Network Camera Manager application.
- Select applicable camera(s).
- Input starting IP address, Subnet Mask, Gateway, DNS.
- Apply changes.
- Wait 60 seconds before refreshing NCM.
NOTE: See Network Camera Manager for more information.
Connecting to the IP Camera
To access the camera setup menu, you need to open Network Camera Manager (NCM) utility. NCM is pre-installed on all OpenEye Recorders and is also available for download on the OpenEye website for installation on your personal computer or laptop.
- Open Network Camera Manager.
- Locate your camera on the Network Camera Manager list.
- To open the web browser, select the camera and click LOAD.
Product Features
Camera
| Maximum Resolution | 2592 x 1944 |
| Frame Rate at Maximum Resolution | 30FPS @ 20MP x 4 channels | H.264 |
| Total Streams | Three per Image Sensor |
| ONVIF | Profile S / G / T Compliant |
| Day / Night | Day / Night / Auto |
| Wide Dynamic Range | True WDR |
Environmental and Power
| Power Consumption | Max 40W |
| Input Voltage | 24vDC / PoE |
| Operating Environment | -40°F ~ 131°F (-40°C ~ 55°C) (IR OFF) |
| IP Rating | IP66 |
| Impact Rating | IK10 |