Image Settings
To configure Image Settings for an individual camera, connect to a recorder, click Setup > Cameras and select the camera you want to configure from the Camera List. Click on the Image Settings tab and click Edit to change the settings.
Image Adjustment Settings
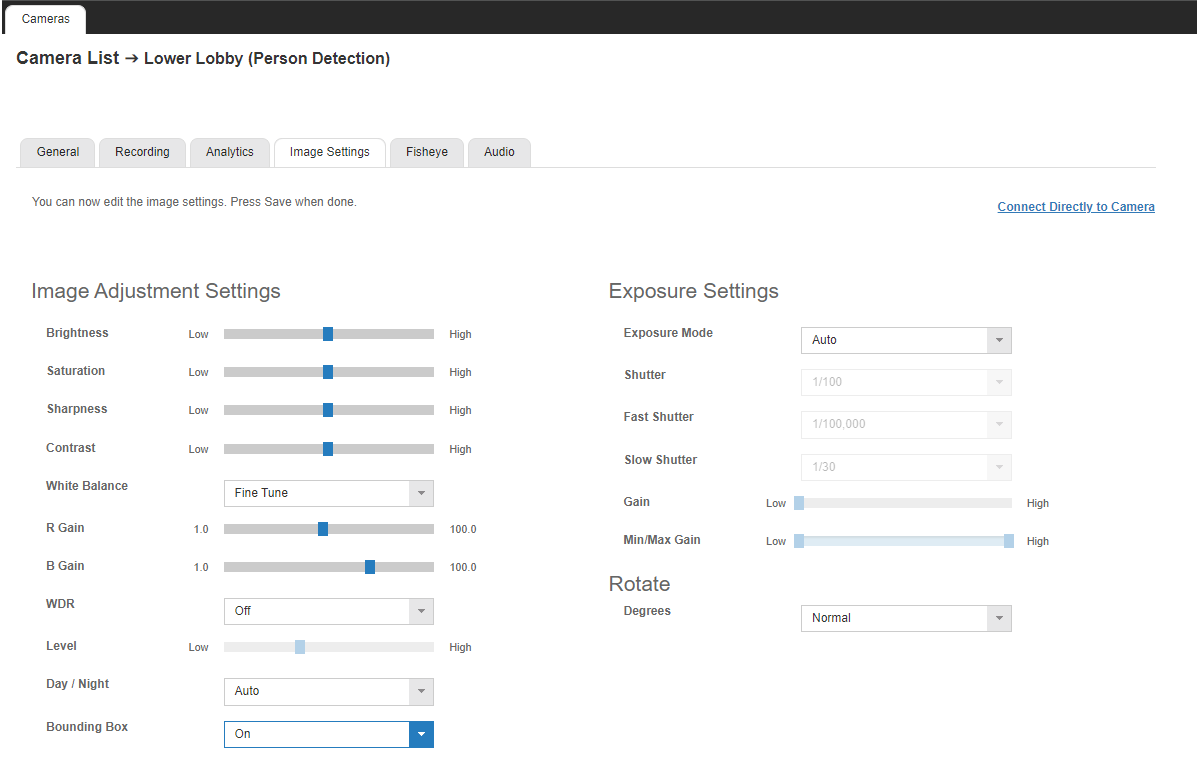
Brightness – Depth of light and shadow in the image. This option can drastically affect the quality of recorded video. The default value is recommended.
Saturation – Depth of color in the image. This option can drastically affect the quality of recorded video. The default value is recommended.
Sharpness – Manage image texture, particularly visible in dark scenes. This option can drastically affect the quality of recorded video. The default value is recommended.
Contrast – Adjust the difference between bright and dark areas of the image. This option can drastically affect the quality of recorded video. The default value is recommended.
Hue – Adjust all of the colors of an image. Available only on analog cameras with the MA series recorders.
White Balance – Adjust preset colors corresponding to natural or artificial lighting for the most accurate color representation.
WDR (Wide Dynamic Range) – Enhance details both in the foreground and background. Using this option results in improved video quality but increases recorded video file size.
Day / Night (IR Function) – Activate the camera IR (infrared) lights if available, for use with night-time recording.
Bounding Box – Enable or disable analytics detected object bounding boxes for compatible cameras.
Exposure Settings
Shutter – Designate shutter speed. Longer shutter speed will increase visibility at night, but also result in blurred movement in the frame. Using this option results in improved video quality but increases recorded video file size.
Rotate
Rotate – Flip the camera image 90, 180 or 270 degrees.
Connect Directly to Camera or Camera Link
Camera Link allows users to remotely access the firmware on their cameras directly through the server software. This gives users the ability to configure the camera and update settings without needing to open any ports or change any network security settings. View more details here.