How to use Macros to Send Events to the CHeKT Video Verification Bridge
Add the CHeKT Video Verification Bridge to Your Apex Server Software Recorder
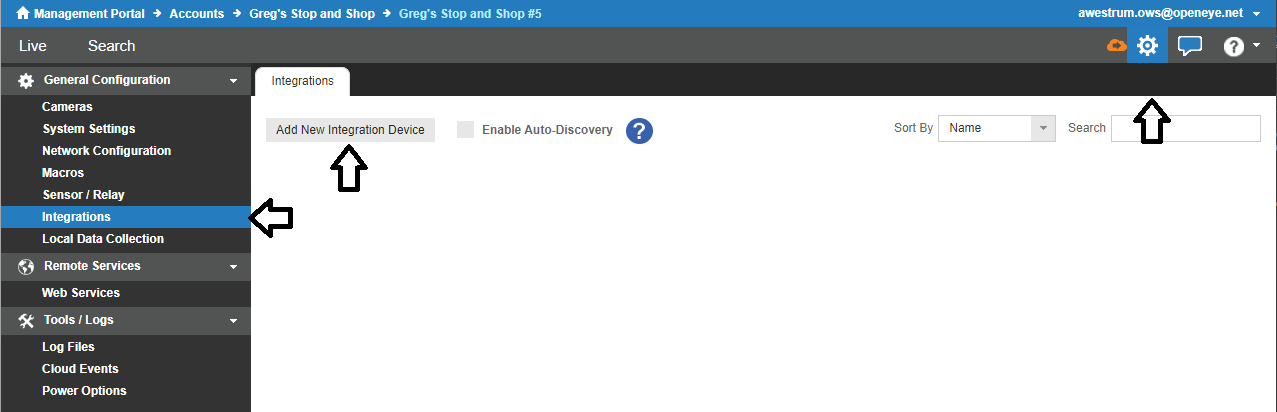
- Access the configuration menu of the recorder then click Integrations.
- Click Add New Integration Device.
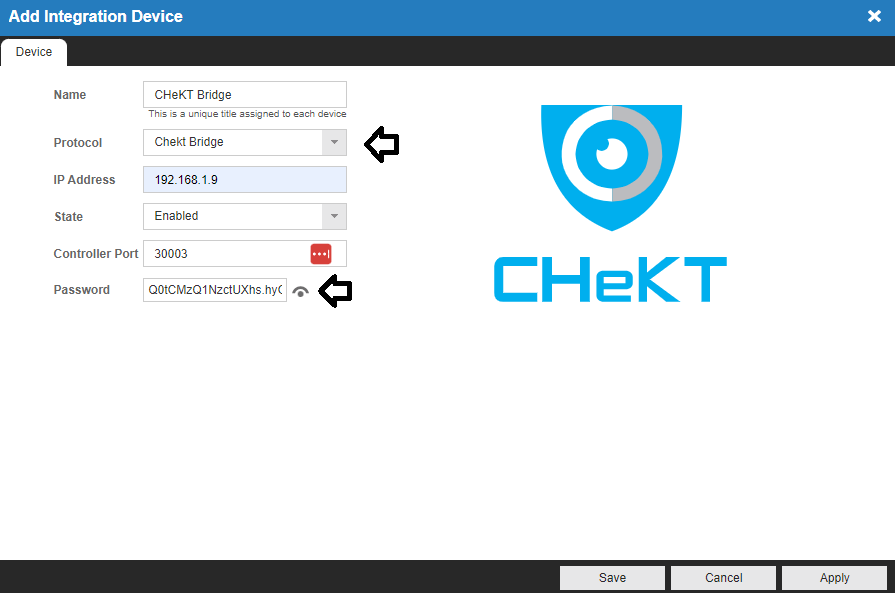
- Enter a desired Name for the CHeKT Bridge.
- Click the Protocol dropdown menu and select CHeKT Bridge.
- Enter the IP Address of the CHeKT Bridge.
- Click the State dropdown menu and select Enabled.
- Click the Controller Port field and enter the port number that was set on the CHeKT Bridge in Step 6 of Configuring the CHeKT Bridge to Receive Events.
- Click the Password field and enter the API Key that was set on the CHeKT Bridge in Step 6 of Configuring the CHeKT Bridge to Receive Events.
- Click Save.
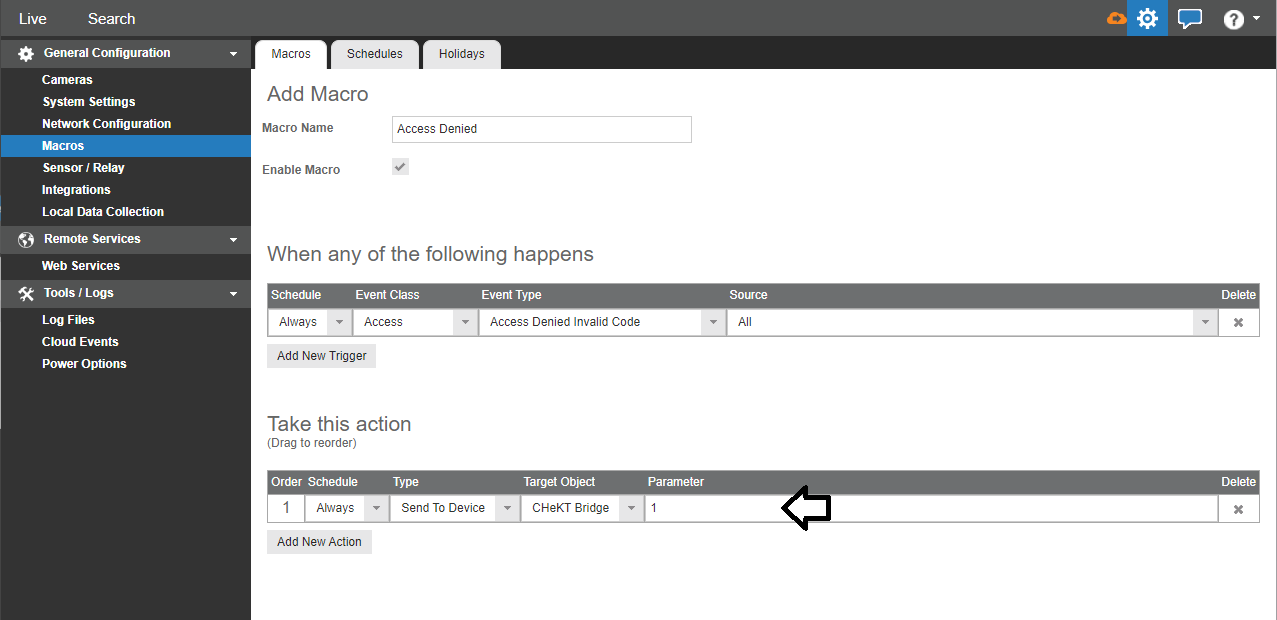
Configure a Macro to Send Events to the CHeKT Bridge
- Access the configuration menu on the recorder, then click Macros.
- Click Add Macro.
- Enter the desired trigger.
NOTE: Refer to the Macros guide for more information on triggers.
- Click the Type dropdown menu under Take this action and select Send To Device.
- Click the Target Object dropdown menu and select the name of the CHeKT Bridge that was set in step 3 of the Adding a CHeKT Bridge to your Apex Recorder section above.
- Click the Parameter field and enter the channel number of the CHeKT Bridge that you would like to receive events from the macro.
- Click Save.