How to Assign a Static IP Address on a Linux-based Recorder
The instructions below apply to all of our Linux-based recorders.
Login to the recorder using an admin account.
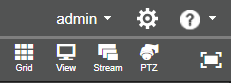
Click on the gear icon in the top right corner to access the Setup.
Navigate to Network Configuration on the left side of the screen.
Select the Adapters tab at the top to manage network adapters.
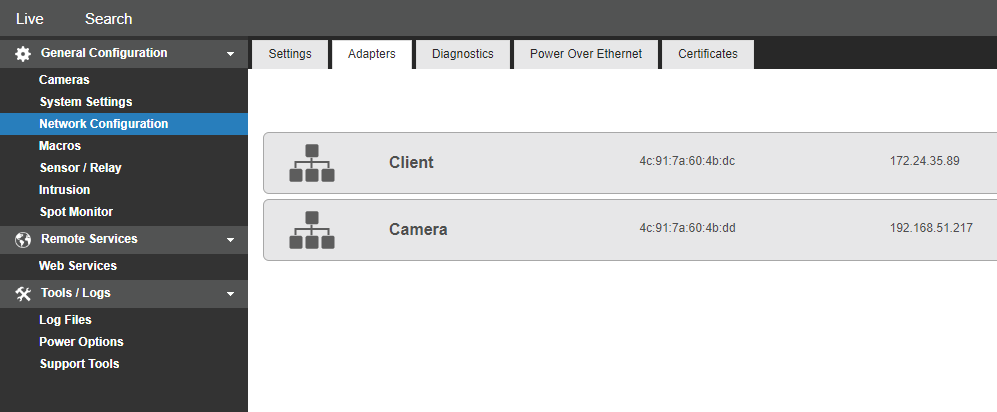
Choose the specific adapter you want to modify.
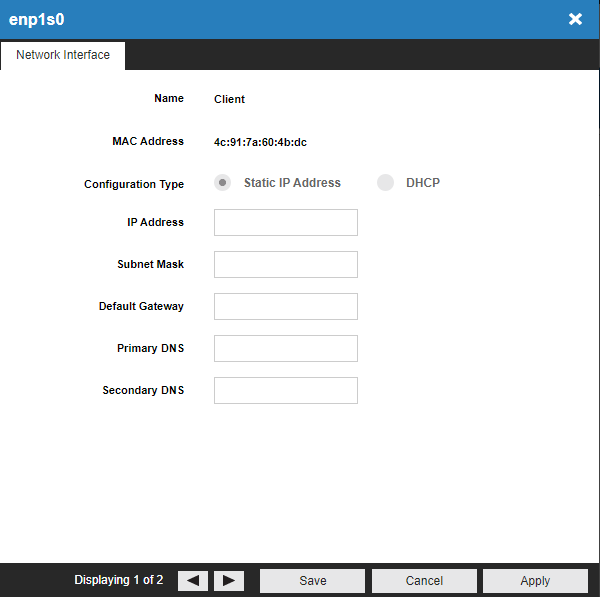
A window will appear with options at the top.
Select the Static option to configure a static IP address.
Enter the required information, including the IP address, subnet mask, default gateway, and DNS server.
Note: The Camera Adapter should only need an IP Address and Subnet Mask.
Double-check the entered values for accuracy and ensure they match the desired configuration.
Save or Apply the changes.