Windows Spot Monitor
The Spot Monitor for Windows enables spot monitor video functionality locally or remotely for recorders. You can use this utility to view video from specific camera channels over the network using Web Services account credentials. This software can run locally on any Windows web services recorder and connect remotely to any Linux web services recorder.
Installation
Download Windows Spot Monitor.
- Double-click the application install and follow the installation wizard setup instructions.
- Once installation is complete, double-click the Spot Monitor desktop icon.
![]()
Configuring the Spot Monitor
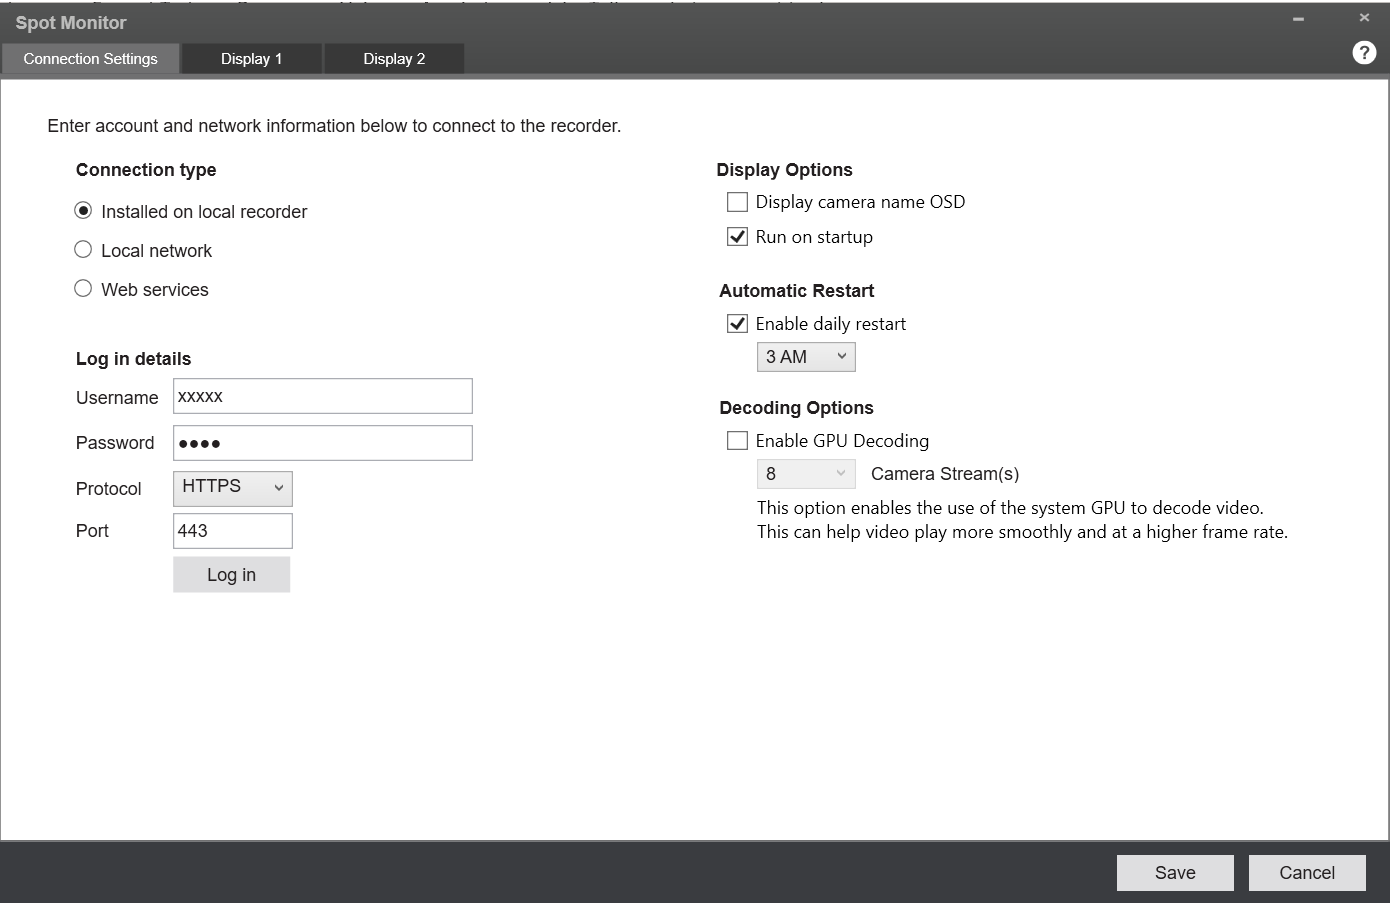
Connection Methods
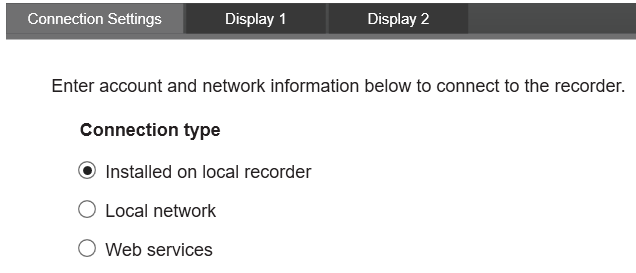
Installed on Local Recorder - Use this connection when running the Spot Monitor on the local recorder.
- Enter the Username and Password for the recorder.
- Enter the Port number if the default Port number (80) has been previously modified.
- Click Log in.
Local Network - Use this connection when connecting to a recorder over the local network from a Windows PC.
- Enter the Username and Password for the recorder.
- Enter the IP address of the recorder you wish to connect to.
- Enter the Port number if the default Port number (80) has been previously modified.
- Click Log in.
Web Services - This method uses Web Services account credentials to connect to the internet to access all recorders in the account.
- Enter the Email and Password for your Web Services account.
- Click Log In.
- Select the Company you wish to use, and then select the Recorder form the dropdown.
Other Options
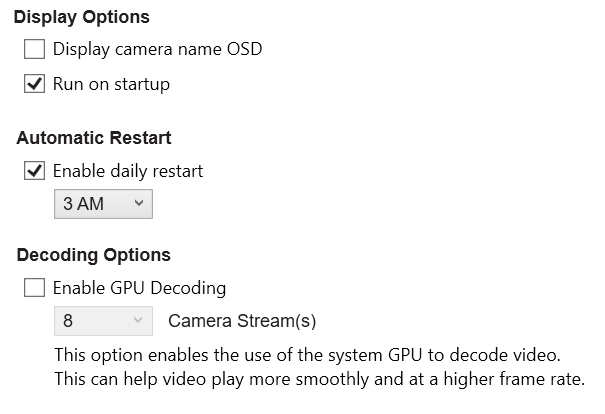
Check the options to enable them and use the dropdowns to set time or number.
- Display Options:
- Display camera name OSD - This enables the camera On-Screen Display on Live video.
- Run on startup - This will launch Spot Monitor automatically upon Windows startup.
- Automatic Restart - This will reboot the application at a specific time each day.
- Decoding Options - This option enables the use of the system’s GPU to decode video.
Display 1 & 2 Settings
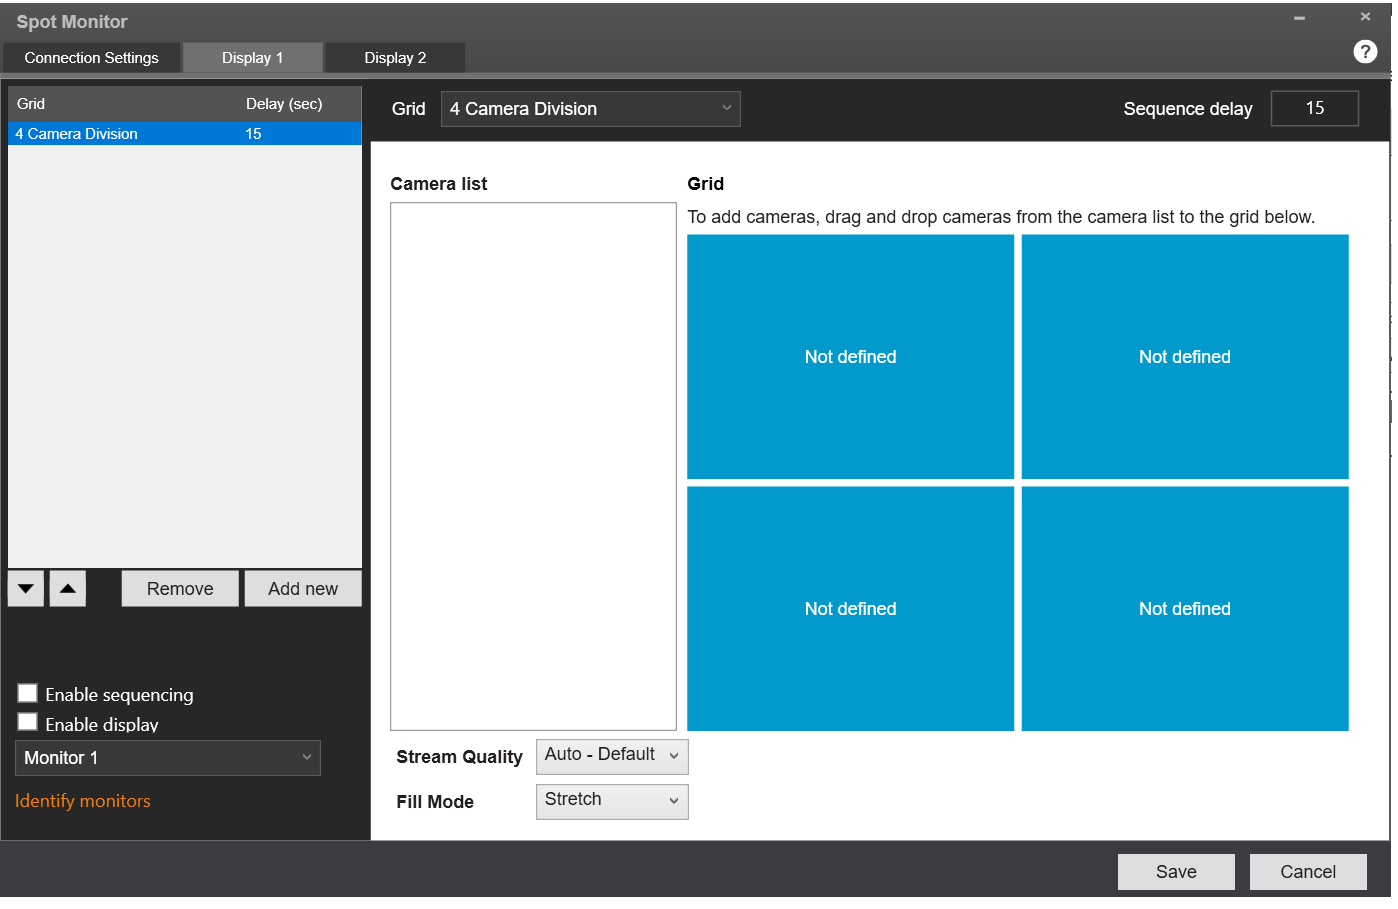
Set Up Camera Divisions
- Click Add New.
- Select a Camera Division from the Grid dropdown.
- Drag and drop cameras from the Camera list to the desired division windows.
- Click Save.
Select the Display Output
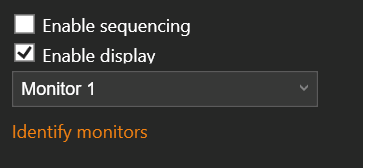
- Click the Identify monitors link to identify the display number.
- Select the Monitor number from the dropdown.
- Click Enable display to start display video on the selected monitor.
Set Up Auto Sequence

- Enter the time interval (in seconds) in the Sequence delay.
- Click Save.
- Click Enable display.
- Click Enable sequencing and then Save.
NOTE: To setup a secondary monitor follow the steps above on the Display 2 tab.
NOTE: Check the System Requirements of your remote device before running Windows Spot Monitor.