Archive Export
How to Create an Archive
1. In Timeline Search, add cameras to the search Grid.
2. Click the Export button and select the Archive option.
3. Check the cameras listed and click Next.
4. Set the Start & End Date/Time and click Next.
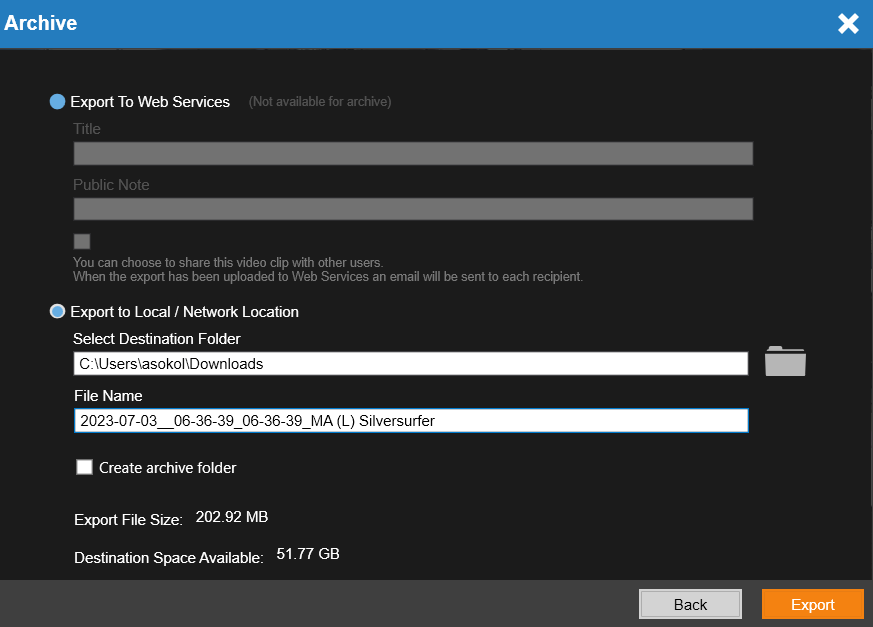
5. Choose the local or network location by clicking the folder icon.
6. Click Export.
NOTE: The Archives function exports up to 24 hours of data in the native format when using Command Station or on the console using a USB thumb drive.
Exporting 24 Hours of Footage Using Native Format With Command Station
Once you've verified that you're on the same local network as your recorder, the search function in Command Station can be used to export 24-hour video clips.
- Select the Export option on the bottom right of your Command Station menu, and select Archive as your export option.
- Select the desired camera/s that is needed for export.
- Select the specified times and dates you would like to export.
.png?revision=1)
- Select Export to Local / Network location and click Export.
Access or View Archives
To download a copy of this viewer to use, you will want to first connect to and log into your recorder from a web browser. Once connected, you will click the Search button at the top of the screen. From there, select the Export Manager button in the lower right-hand corner of the screen.

In the new screen, you will see a link in the bottom, right-hand area of the screen for Download Archive Viewer. Click this link to download a copy of the archive viewer.

By default, the Archive or Export Viewer will download into your Downloads or the default folder that your web browser uses.
Export from an Archive
Video Clip
The Archive Viewer supports exporting single camera MP4s locally.
1. In the Search screen, perform the desired Timeline search, and then click Export.
2. Select the Single Camera export icon.
3. Specify the Start / End time and Video Quality, and then click Next.
4. Select the Export Locally option and browse to the desired location.
5. Click Export.
Snapshot
The Archive Viewer supports exporting snapshots locally.
1. In the Search screen, perform the desired Timeline search or narrow a Thumbnail search.
2. Click Export.
3. Click Snapshot in the Export window.
4. Click the folder button and then specify a local file save location.
5. Click Export.
|
|