OE-C8213 Hardware Manual - Features and Contents - Discontinued
OE-C8213 Hardware Manual - Features and Contents
Important Safeguards
View Important Safeguards before installing the camera.
Warranty
View the Product Warranty for the camera.
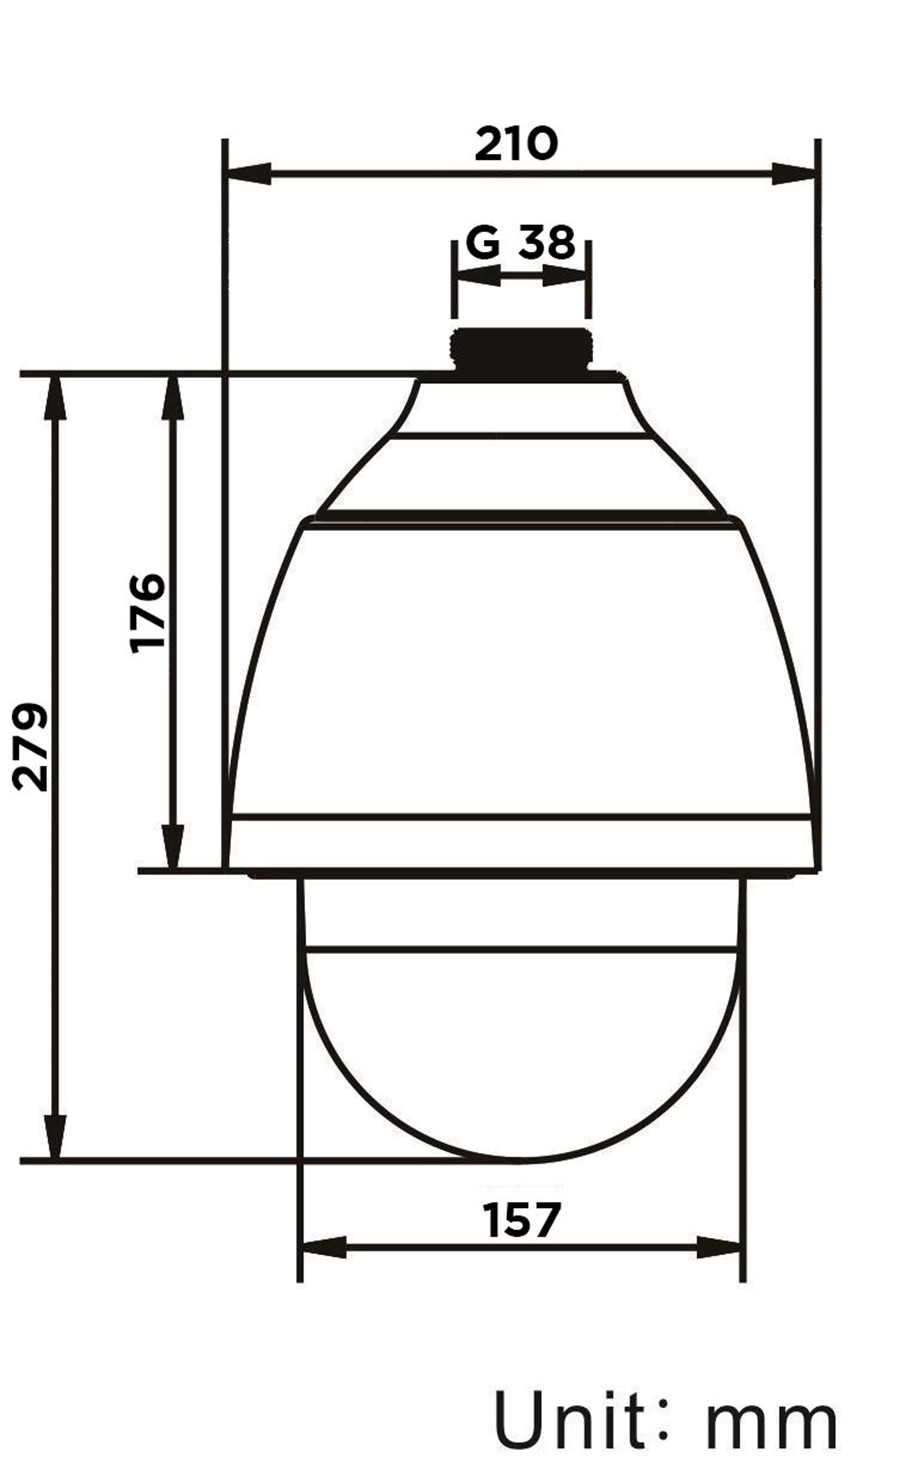
Camera Dimensions
Connections

| 1 | RJ-45 | For network and PoE+ connections |
| 2 | Power Connector (AC24V) | Power supply to camera for non-PoE installations |
| 3 | I/O Connections | Alarm and RS 485 I/O connections |
| 4 | Reset Button |
To restore the camera to factory defaults:
|
| 5 | microSD Card Slot |
Supports up to 128GB microSD card for Edge storage. Do not add or remove the microSD card when the camera is powered on. |
Dome Setup and Cable Connection
Before installing or connecting the dome camera, please refer to this section and complete preparations for dome setup and all switch settings.
Dome Cable Definition and Requirements
For operation, the IP dome camera requires a network cable to carry the video signals to the remote viewing site and a power cable to power the dome.
Cable Requirements
For operation, the OE-C8213 can be powered with PoE+ and/or 24vAC if the heater is used.
Power Wire Length Specifications
| Wire Gauge | Maximum Distance | Wire Gauge | Maximum Distance |
| 22 | 27 feet | 14 | 175 feet |
| 20 | 44 feet | 12 | 279 feet |
| 18 | 69 feet | 10 | 444 feet |
| 16 | 110 feet |
NOTE: Ensure that the power supply corresponds with the dome's power requirement or the camera may be damaged. Contact a qualified maintenance engineer with any problems.
Network Cable Length Specifications
| Cable Type | Maximum Distance | Wire Gauge | Maximum Distance |
| CAT5 | 300 feet | CAT6 | 300 feet |
| CAT5e | 300 feet | CAT6a | 300 feet |
NOTE: An Ethernet crossover cable can be used to connect the camera directly to a PC during configuration.
Camera Cabling Considerations
The OE-C8213 has an IP66 Outdoor rating to prevent water from entering the camera. However, proper installation is required for this rating. To ensure that the camera is as water resistant as possible, follow these tips:
- Place all cables and the adapter in a dry and well-insulated environment, such as waterproof boxes. The purpose of the waterproof box is to prevent moisture accumulation inside the camera and moisture penetration into the cables.
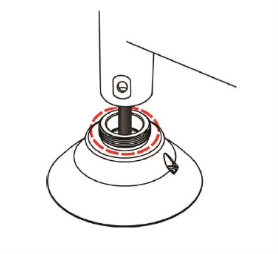
- While running cables, slightly bend the cables into a U-shaped curve to make a low point (as illustrated below). The purpose is to prevent water from entering the camera along the cables from above.

To ensure a watertight seal, the cable entry hole of the outdoor mounting kit needs to be sealed with thread seal tape to avoid water from entering the camera.
Power Connection
This camera is compatible with 24vAC and Power over Ethernet (PoE+). Connect power to the camera using the provided power connector lead, or the terminal connector blocks. If you are connecting 24vAC power, verify the polarity of the power connection. If you are using PoE+, make sure the Power Sourcing Equipment (PSE) is in use in the Network.

- Connect POSITIVE 24 volt AC power to pin 1.
- Connect ground wire to pin 2.
- Connect NEGATIVE 24 volt AC power to pin 3.
NOTE: Be careful not to pull the cables improperly during installation. Fasten the cables after installation is complete.
NOTE: The GND (ground) wire must be directly connected to the middle pin of the 24vAC power connector. Failure to connect the ground can cause damage and failure of the camera, and may void the warranty.
14-Pin Alarm Input/Output & RS-485 Connection
Using the 14-pin connector, installers can connect 4 digital alarm inputs and 2 digital alarm outputs. The alarm pins are serviceable for connecting alarm input and output devices such as sensors, sirens, or flashing lights to the surveillance system. For the definition of each pin, refer to the list below.
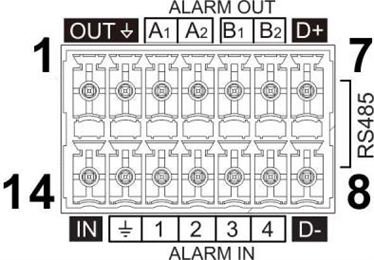
| 1 | - |
| 2 | - |
| 3 | Alarm OUT A1 |
| 4 | Alarm OUT A2 |
| 5 | Alarm OUT B1 |
| 6 | Alarm OUT B2 |
| 7 | RS-485 D+ |
| 8 | RS-485 D- |
| 9 | Alarm IN 4 |
| 10 | Alarm IN 3 |
| 11 | Alarm IN 2 |
| 12 | Alarm IN 1 |
| 13 | Ground (Alarm I/O & RS-485) |
| 14 | - |
Features
- 3MP (2048x1536) Maximum Resolution
- 30 IPS
- 4.3 – 129mm Focal Length (30x)
- True Day/Night (IR Cut Filter)
- True Wide Dynamic Range
- Full PTZ Operation Over PoE+*
- Relay / Sensor Connections
- 1.5-inch standard threaded mount type
- ONVIF Profile S Compliant
- IP66 Outdoor Rating and Heater
- Sunshield
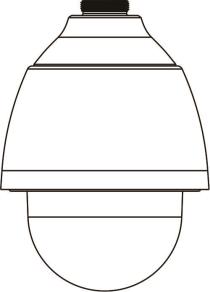
Box Contents
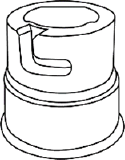
OpenEye C8213 cameras come with screws and rubber washers, 3-Pin power terminal block, threaded mount adapter, 14-pin alarm I/O terminal block, and a torx tool. Identify the following components to make sure everything has been properly included with your new recorder. If any of the following items are missing, contact the dealer to arrange a replacement.
|
OE-C8213 Camera |
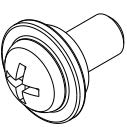
M4 Screw with Rubber Washer |
|
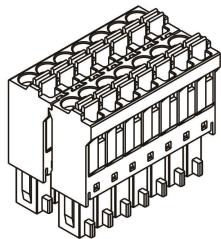
14-Pin Alarm I/O Terminal Block |
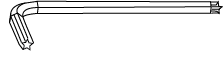
Torx Tool |
|
3-Pin Power Terminal Block |
Threaded Mount Adapter |