Patriot Systems Integration Instructions
Patriot Systems Integration Instructions
Patriot Systems integrates with OpenEye by requesting video over OpenEye Web Services. To accomplish this, follow these instructions:
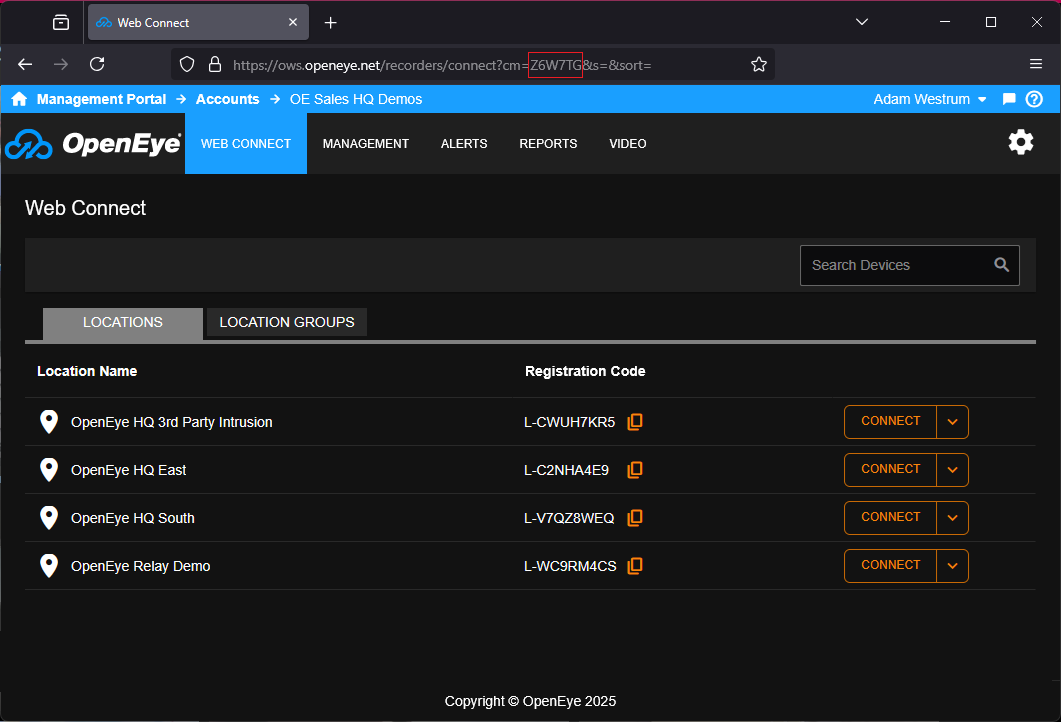
Find Your Company ID
-
To acquire your Company ID, log in to OWS and check the URL. The Company ID is the letters following cm=
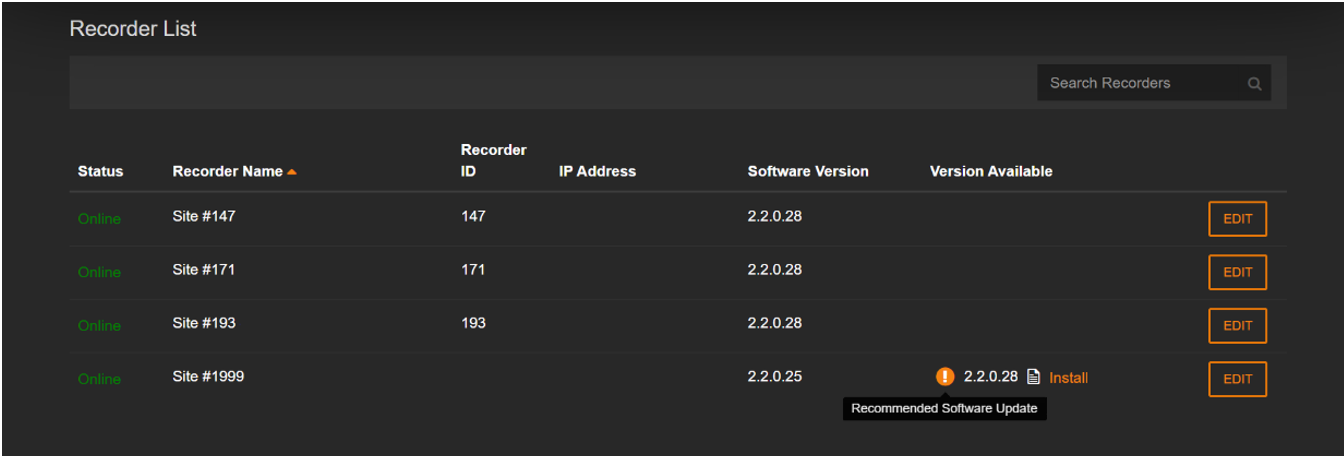
Find Your Device ID
- In OWS, select Management > Recorders > Recorders.
- Select recorder in question and click
 .
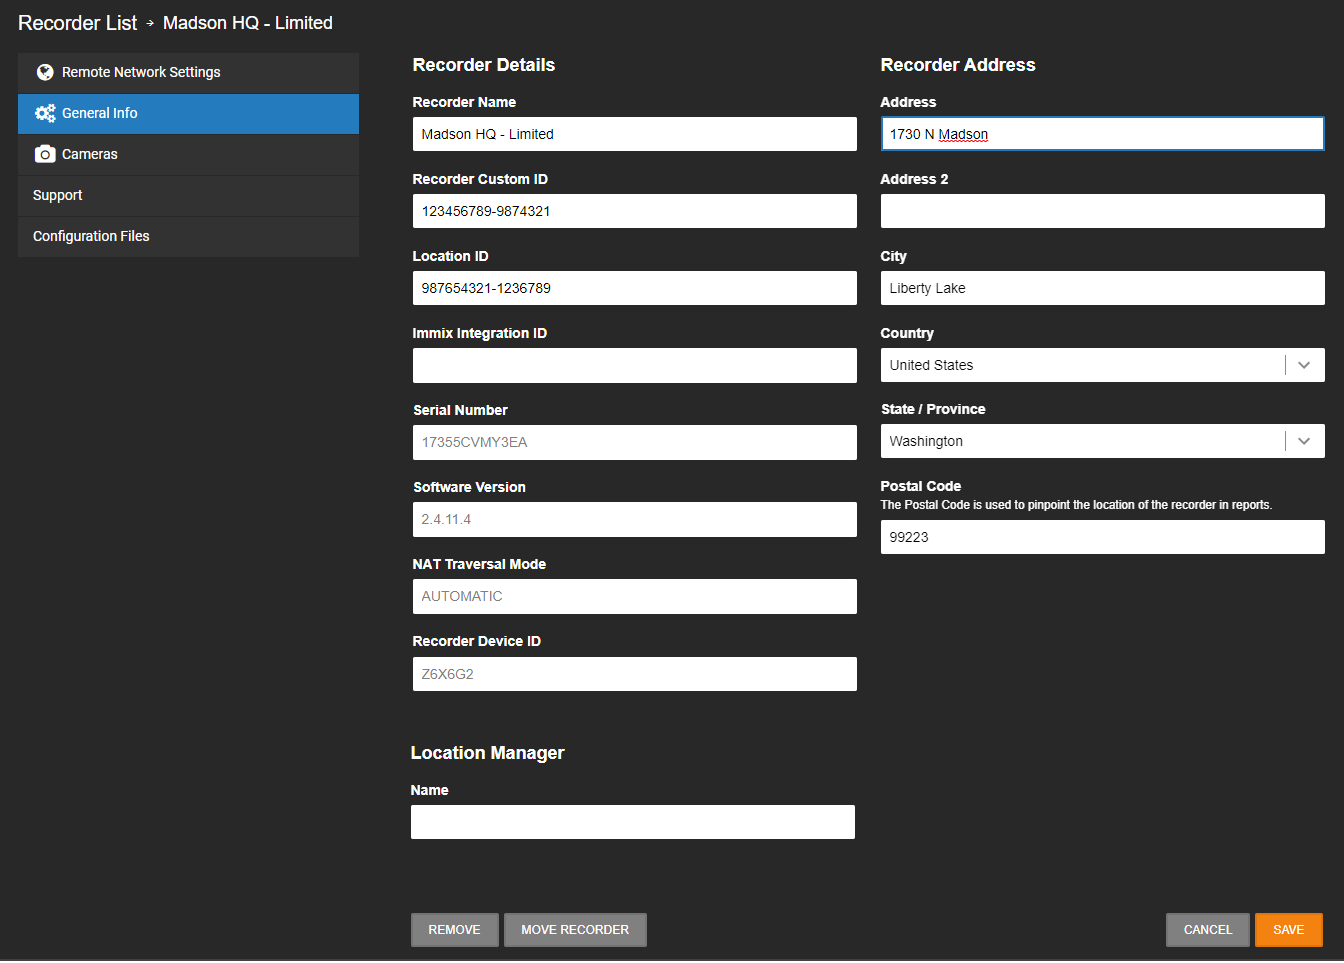
. - Click General Info.
- The ID can be found under Recorder Device ID.
Find Your Camera Integration ID
- In OWS, select Management > Locations > Locations.
- Select the location to be used and click Cameras.

- Locate the camera to be used and note the Integration ID column

NOTE: Cloud Cameras also support Manitou. Their Integration ID is always 1, but each Cloud Camera will have its own OWS Device ID
Enable Alert Feed
NOTE: There is no naming convention when entering an Alert Feed name, but the name should be one that is easily identifiable.
As a web services administrator:
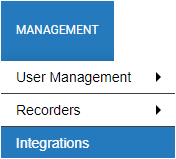
- Go to Management > Integrations.
- Click the Add New Integration button.

- Select Alert Feed from the list of Integrations.
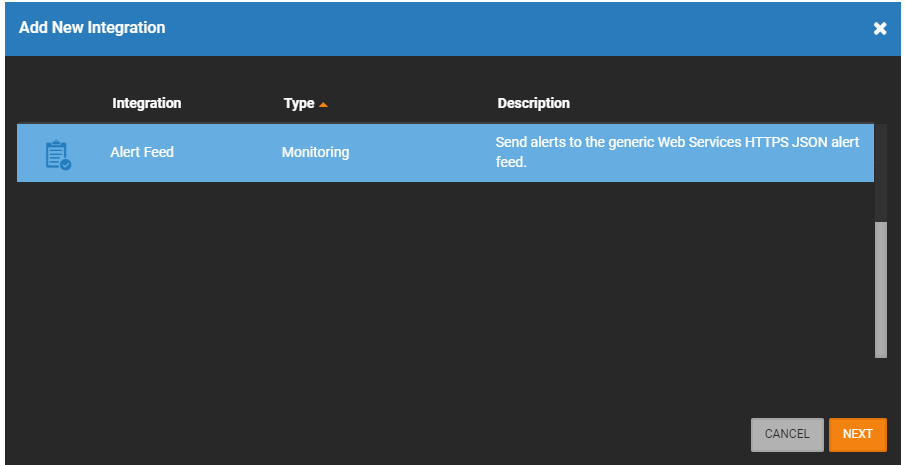
- Click Next.

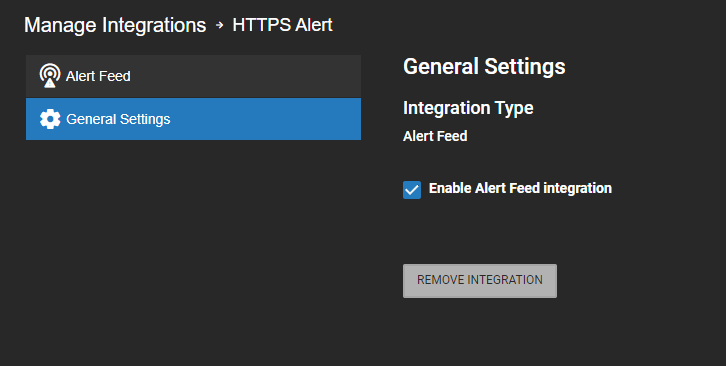
- In the General Settings tab, the Enable Alert Feed integration will already be checked by default. Leave it checked.
- Select the Alert Feed tab.
- Enter a Name and Address for either an Alert Push or an Alert Feed.
NOTE: More than one Alert Push can be created by clicking add ![]() .
.
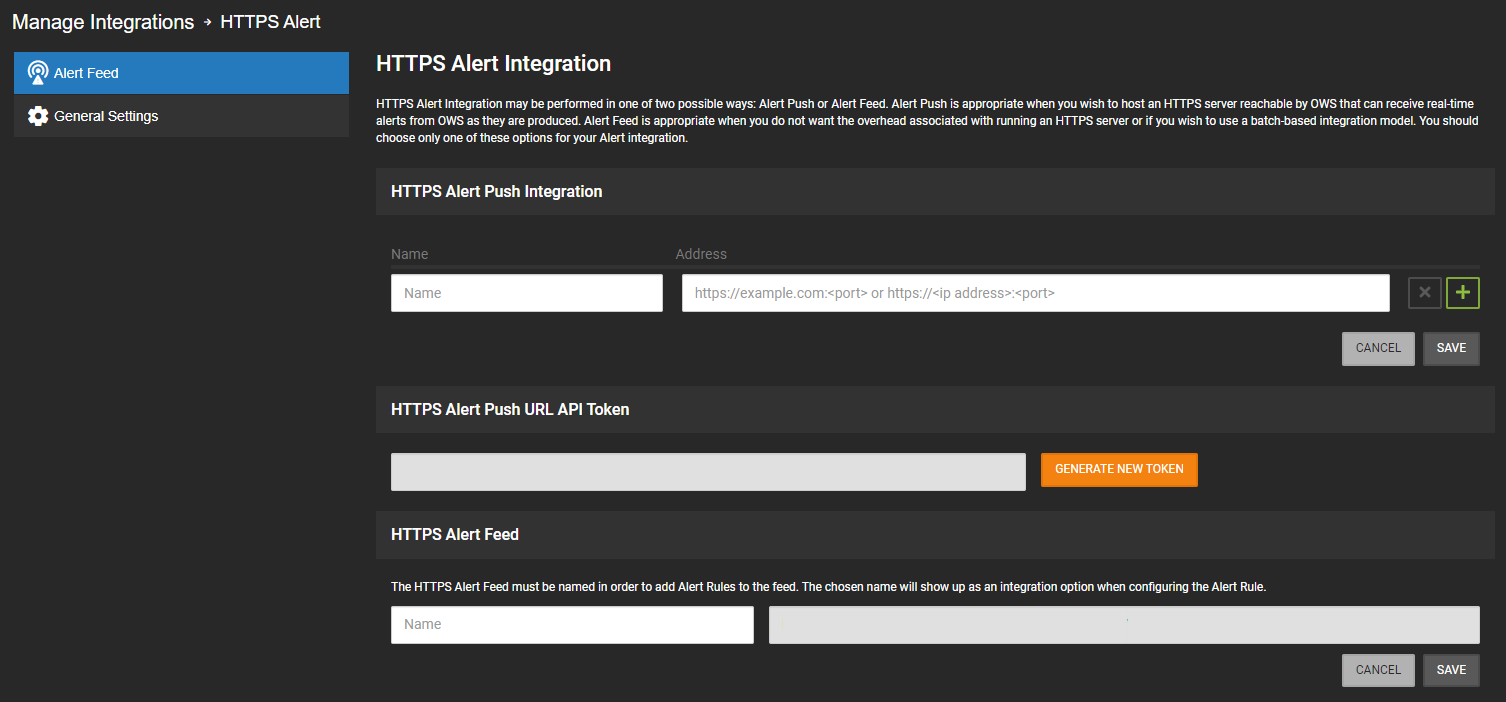
- For Alert Push, select Generate New Token to generate a token.

- Click Save.

Create an Alert Rule and Send the Alert to the Alert Feed
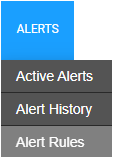
- Within the Alerts tab in the OWS Cloud Portal, select Alert Rules from the dropdown menu.
- Click Add New Rule.

- Select an Alert Type from the pop-up menu.

- Click Next.
- Name the alert and give it a Description as desired.
- Click Create.

When creating your Alert Rule, select the Send to Alert Feed option under Take This Action.
NOTE: The name of the Alert Feed will be whatever was set when you enabled the Alert Feed.

Patriot Client Setup
NOTE: This feature requires the Open Eye module added to your Patriot Systems license. Contact Patriot Systems for assistance.
Initial Steps
- Download Patriot Systems OpenEye Client Files.
-
Extract the Open Eye Client Files and place the whole OpenEye folder into the Camera Viewer Client installation folder of each workstation that will view the Open Eye CCTV. The default folder is:
C:\Program Files (x86)\Patriot Systems\Patriot Version 6 Client\CameraViewer\x64\OpenEye\
Task Setup
- In the Patriot 6 client, navigate to System, then Tasks, then Task Settings.

- Create a new task.
- Select Task Type of OpenEye and click Next.
- Configure the following fields:
- Cloud URL = https://gp4f.com or https://ows.openeye.net
- Company ID = The ID from Find your Company ID
- STUN Server = stun.u5fgb.com
- NOTE: If your device does not have P2P Enabled, or if P2P is not functioning for your device, leave this field blank
- User Name = The OWS email address used to access the recorder
- Password = The password for your OWS account
- Configure any other desired fields and click Save.

Zone Setup
- In the Clients menu, select Zones.
- In the Camera section, configure the following settings:
- Camera = OpenEye
- Camera Stream = SubStream
- Device ID = The ID from Find your Device ID
- Task = The task configured under Task Setup
- In the Zones section, click Insert.
- Select the General tab.
- In the Zone No field enter the Camera Integration ID for the camera you would like to view in the Patriot Client.
- Select the Cameras tab.
- Click the Camera Enabled checkbox.
- Configure any other desired tabs and fields.
- Click Save.
