Export Bar
Export a Video Clip Locally Using the Export Bar
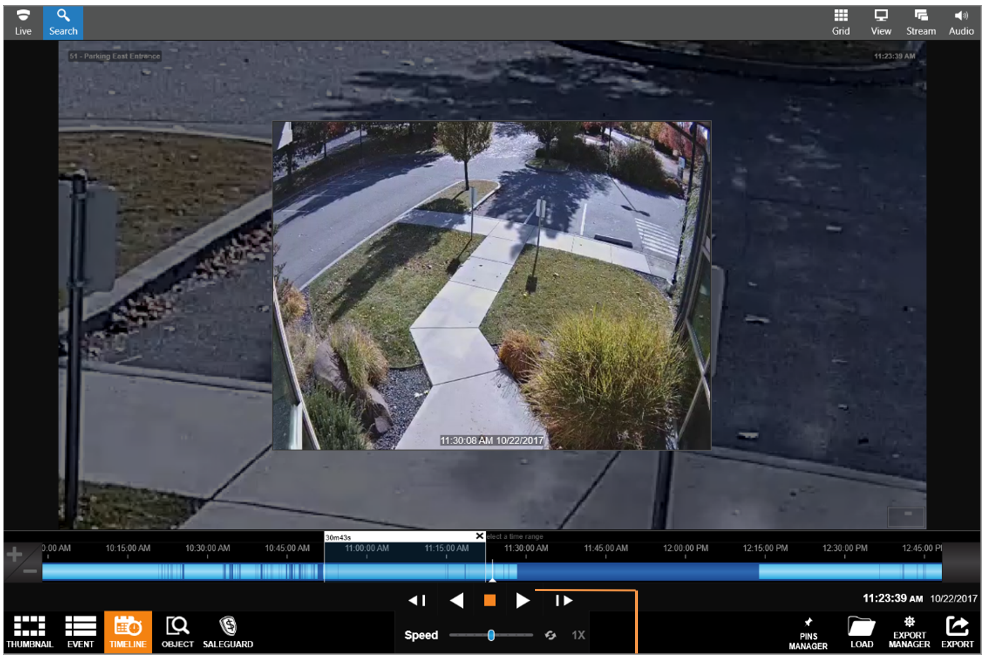
- In the Search screen, perform the desired Timeline search or narrow a Thumbnail search.
- Click in the Export bar at the desired start time, and then drag to the desired end time.
NOTE: Once a time range has been established on the export bar, you can click and drag either side of the selection to modify the time range.
- Right-click the created export clip, and then click Export Video.
- Customize the Start and End Date/Time, Video Quality, Video Resolution and audio under Other Options.
- Click Next.
- Select Export to Local / Network Location and select the folder icon to search Select Destination Folder.
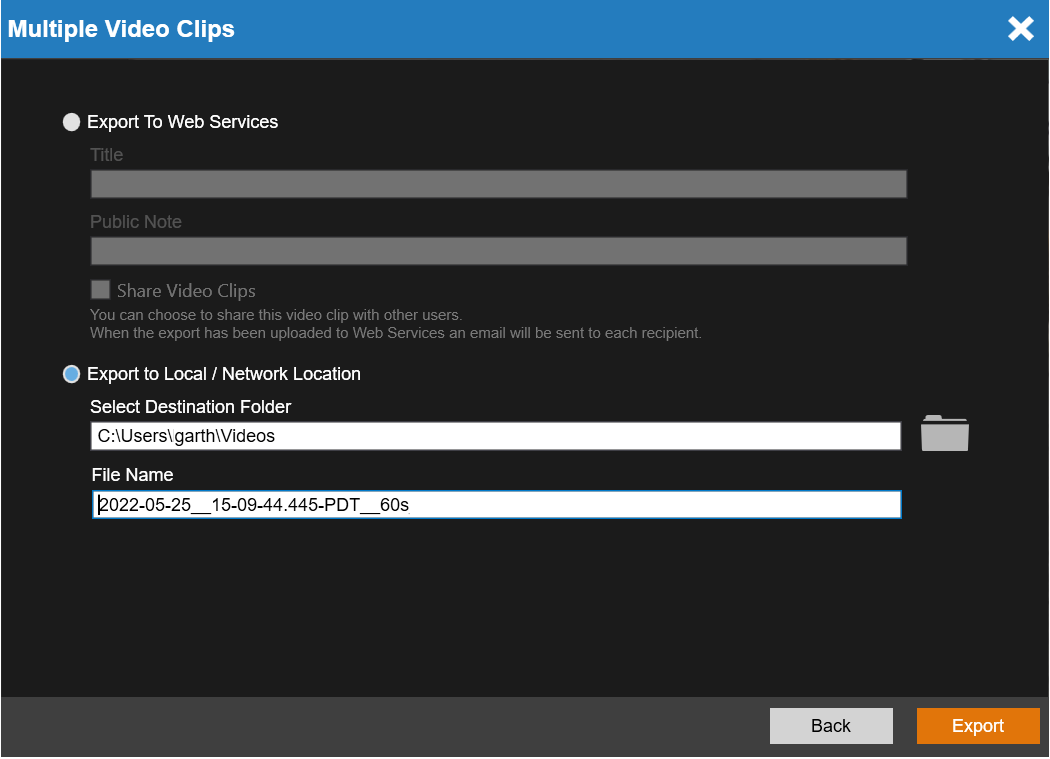
- Type in a File Name.
- Click Export.
NOTE: A maximum of four hours can be exported at one time.
Export to Web Services Using the Export Bar
- In the Search screen, perform the desired Timeline search or narrow a Thumbnail search.
- Click in the Export bar at the desired start time, and then drag to the desired end time.
NOTE: Once a time range has been established on the export bar, you can click and drag either side of the selection to modify the time range.
- Right-click the created export clip, and then click Export Video.
- Customize the Start and End Date/Time, Video Quality, Video Resolution, and audio under Other Options.
- Click Next.
- Select Export to Web Services and type a Title and Public Note.
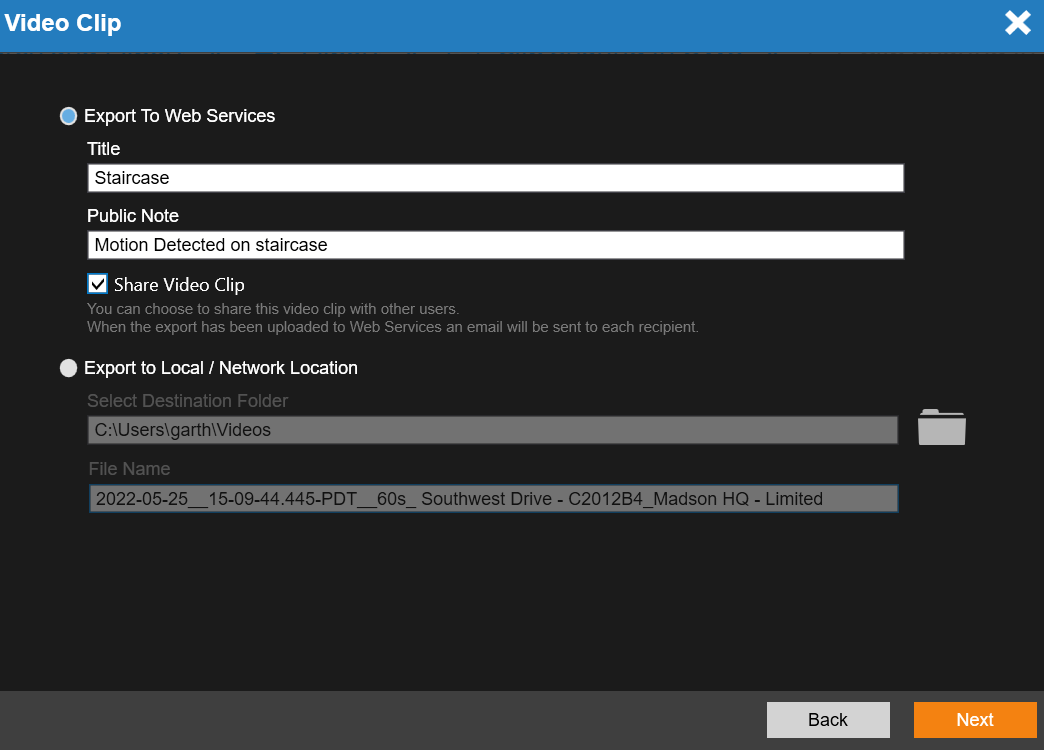
- Click Export.
NOTE: A maximum of four hours can be exported at one time.
NOTE: Check Share Video Clip to share with other users.