Export and Clip Sharing from the Video Player
Export Video
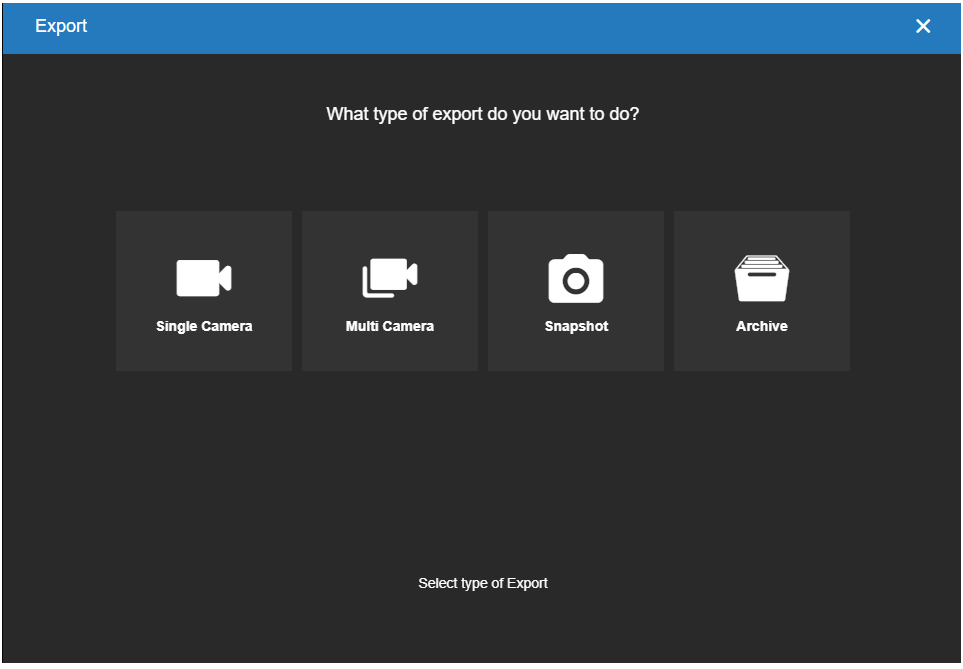
- Click Export on the video player.

- Select an Export Type: Single Camera, Multi Camera, Snapshot, or Archive.
Export Single Camera
- Select the Date / Time, Duration, Video Quality and Video Resolution. Check to include Audio if available.

NOTE: Longer Duration and higher Video Quality will result in larger video files.
- Click Next.
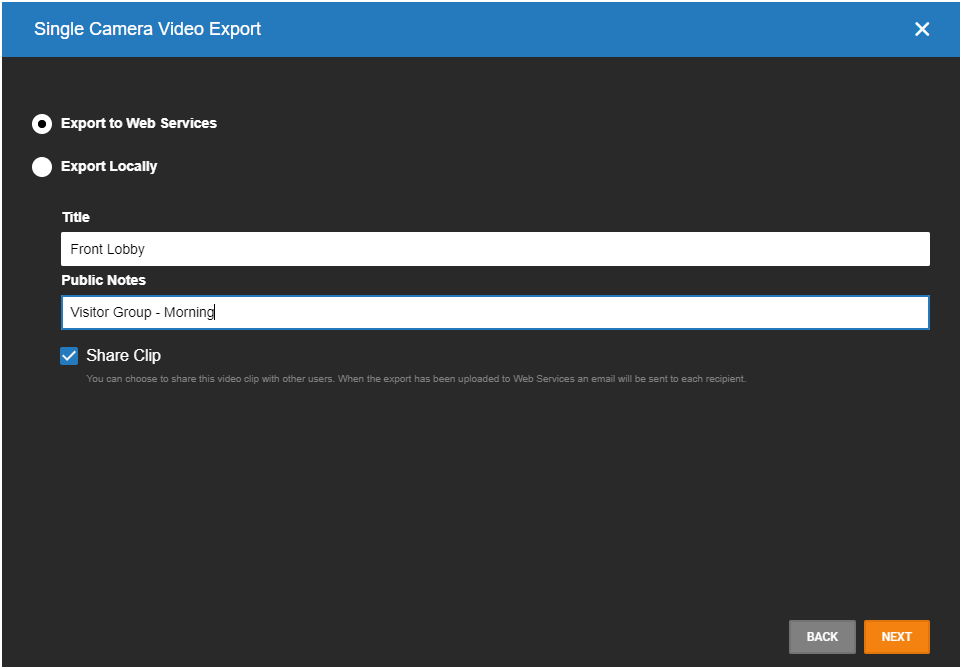
- Select Export to Web Services.
- Enter a Title and any Public Notes if needed.
- Click Next.
NOTE: Video clips saved under Export Locally in the Downloads folder are MP4 files by default.
- Check Share Clip.
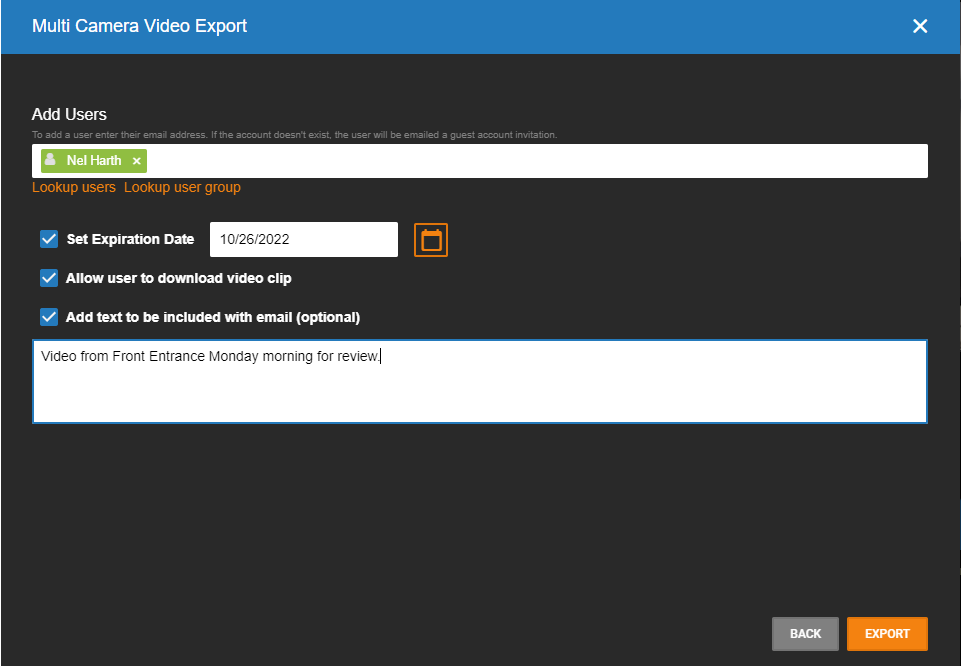
- Add Users by entering email addresses. If an account doesn't exist, the user will be emailed a guest account invitation.
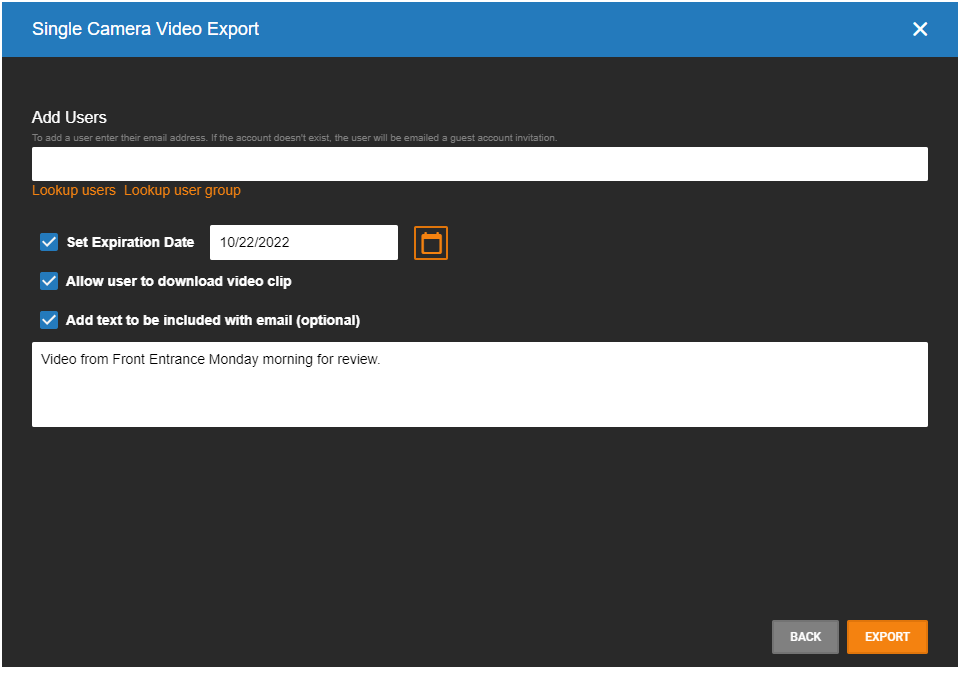
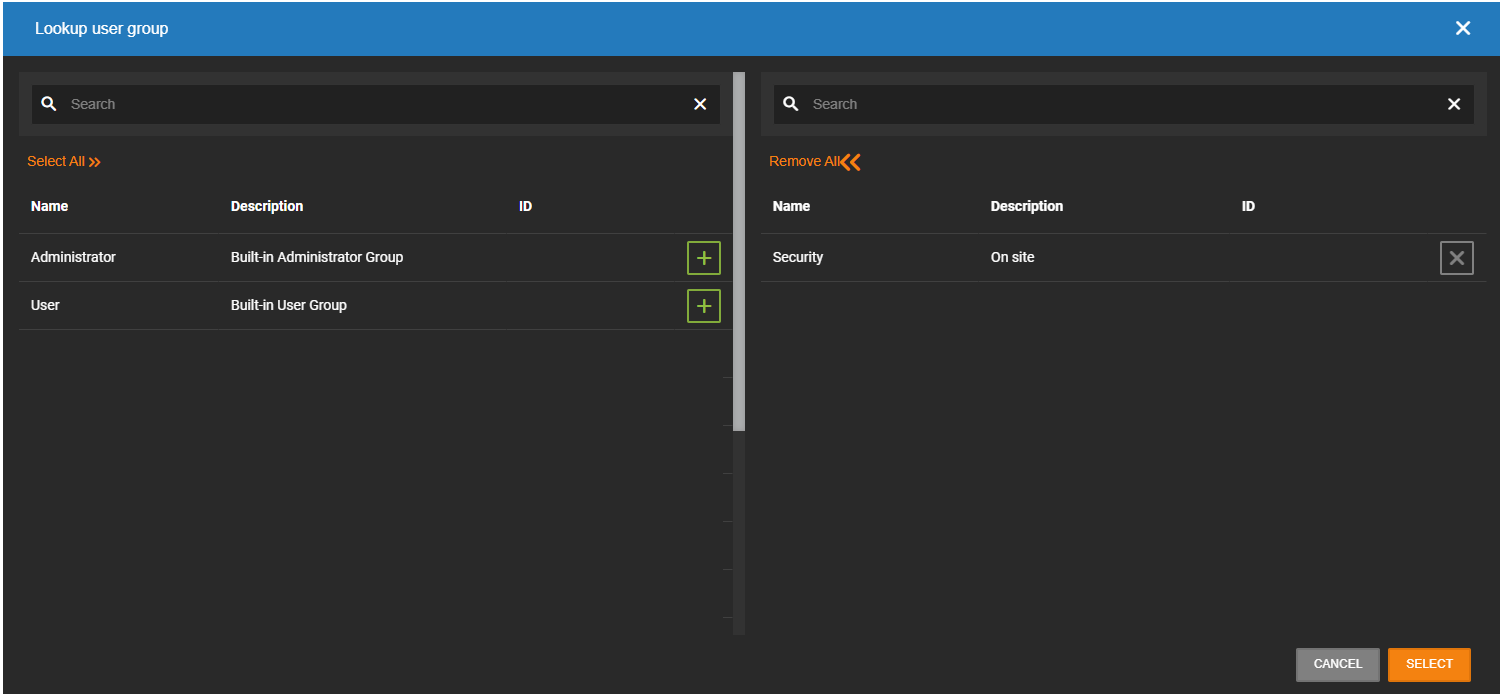
- If a User or User Group is associated with the account, click on Lookup users or Lookup user group.
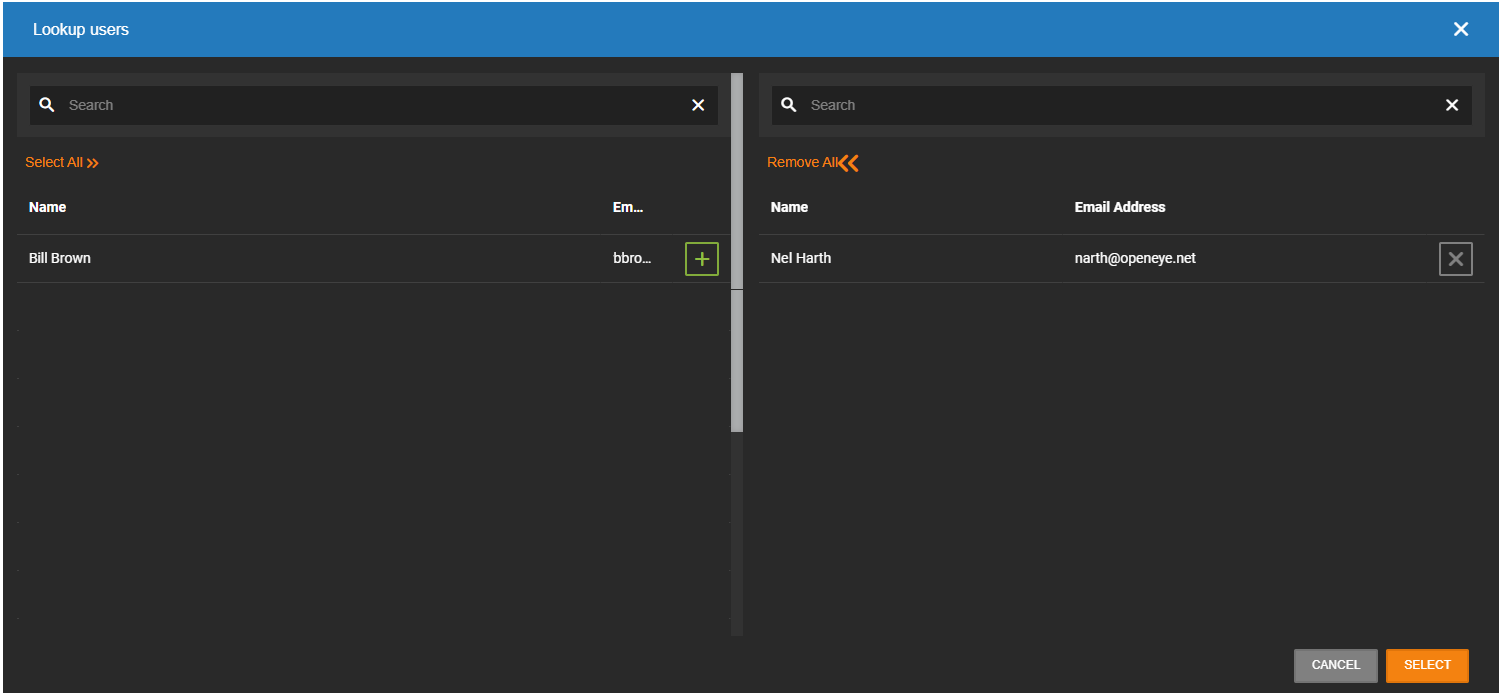
- Select All to include all Users or User Groups or click +
 to add specific users. When Users have been added, click Select.
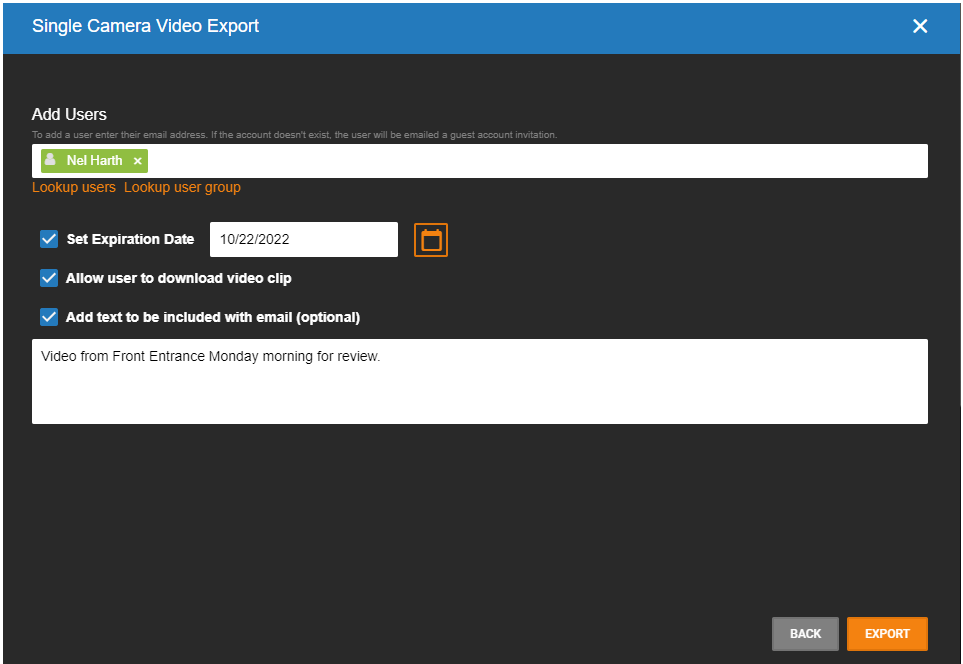
- Select additional options to Set Expiration Date, Allow user to download video clip, or Add text to be included with email (optional).
- Click Export.
Export Multiple Cameras
- Check the cameras to include in the export. Check Select All Cameras in Grid to select all.

- Click Next.
- Select the Date / Time, Duration, Video Quality and Video Resolution. Check to include Audio if available.
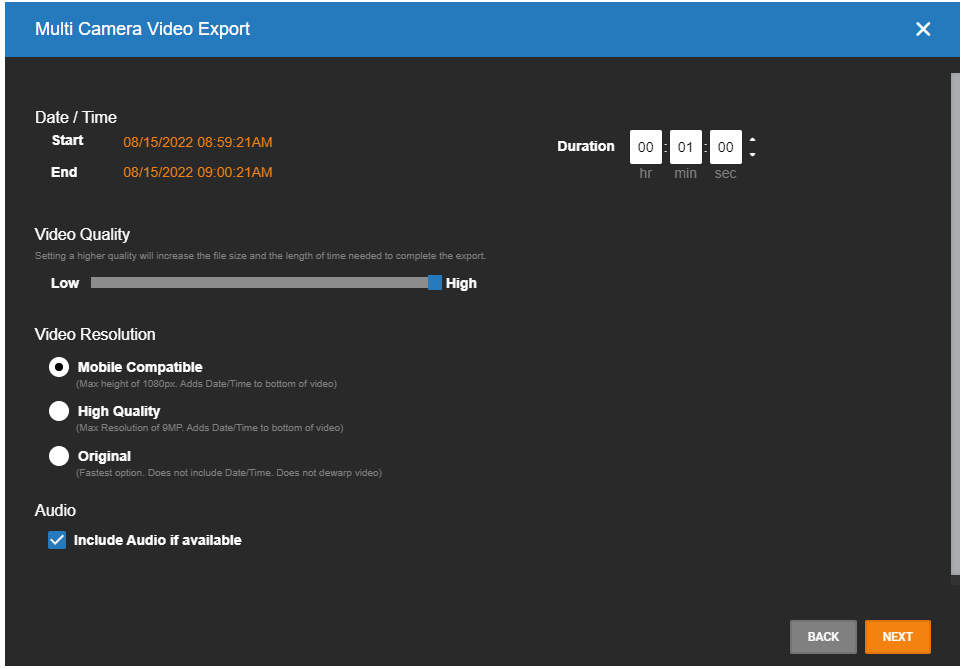
NOTE: Longer Duration and higher Video Quality will result in larger video files.
- Click Next.
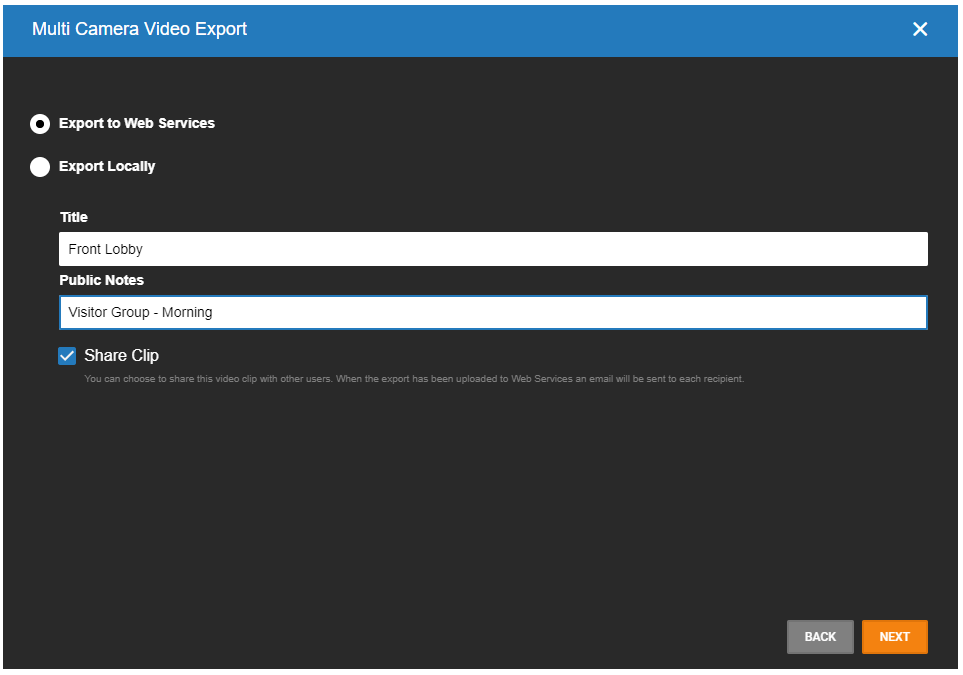
- Select Export to Web Services.
- Enter a Title and any Public Notes if needed.
- Click Next.
NOTE: Video clips saved under Export Locally in the Downloads folder are MP4 files by default.
- Check Share Clip.
- Add Users by entering email addresses. If an account doesn't exist, the user will be emailed a guest account invitation.
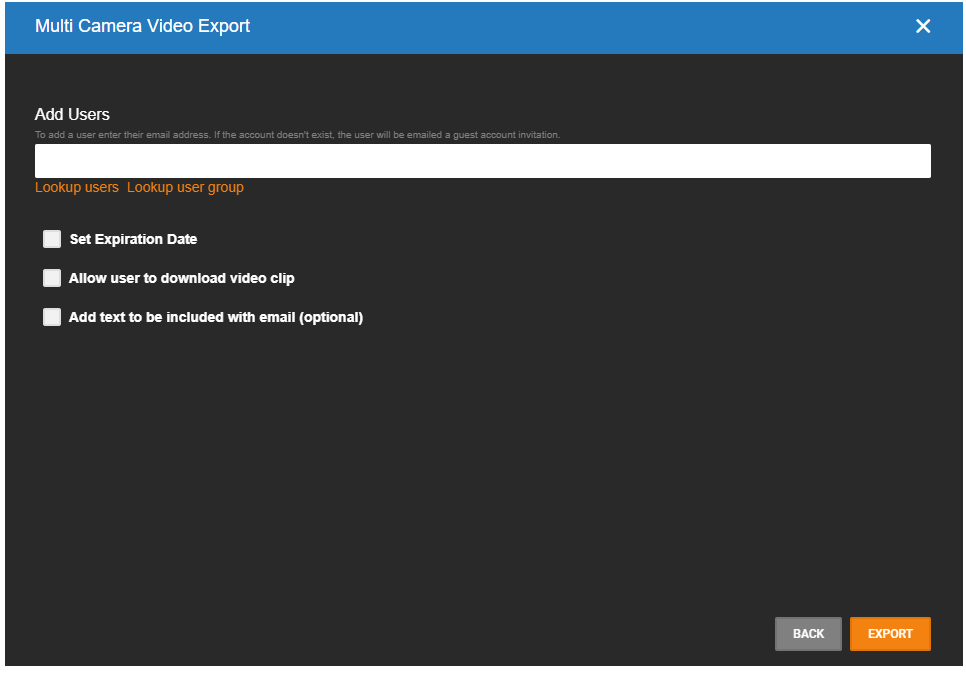
- If a User or User Group is associated with the account, click on Lookup users or Lookup user group.
- Select All to include all Users or User Groups or click + to add specific users. When Users have been added, click Select.
- Select additional options to Set Expiration Date, Allow user to download video clip, or Add text to be included with email (optional).
- Click Export.
Export Snapshot
- Enter a Filename.
- Click Export.

NOTE: Locally exported images are saved in the Downloads folder as JPEG files.
Export Archive
- Check the cameras to include in the export. Check Select All Cameras in Grid to select all.
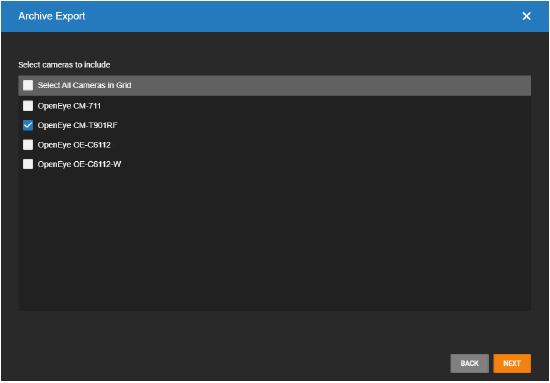
- Select the Date / Time and Duration.
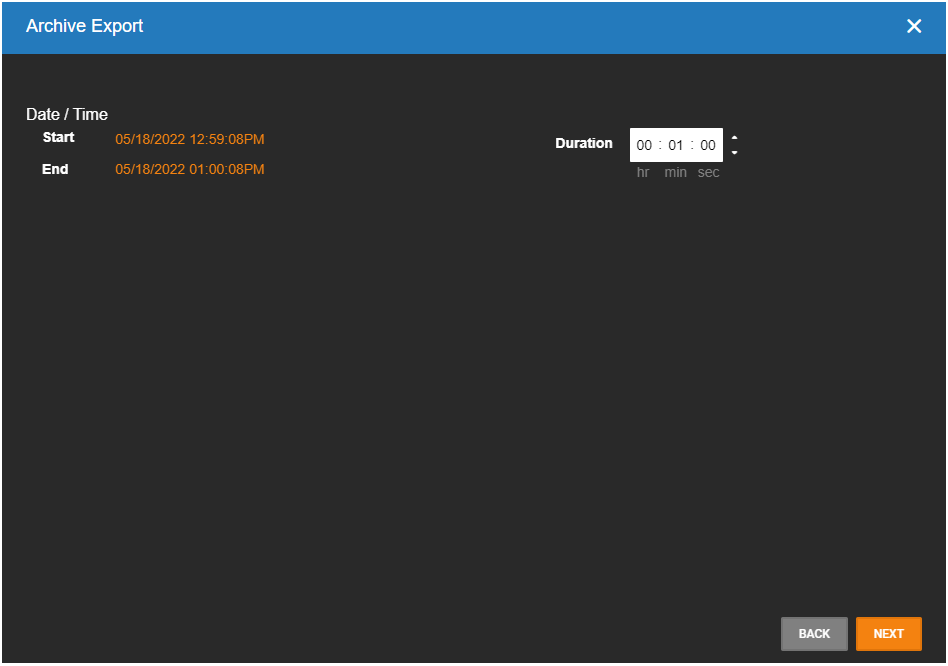
- Click Next.
- Enter the Filename and click Export.
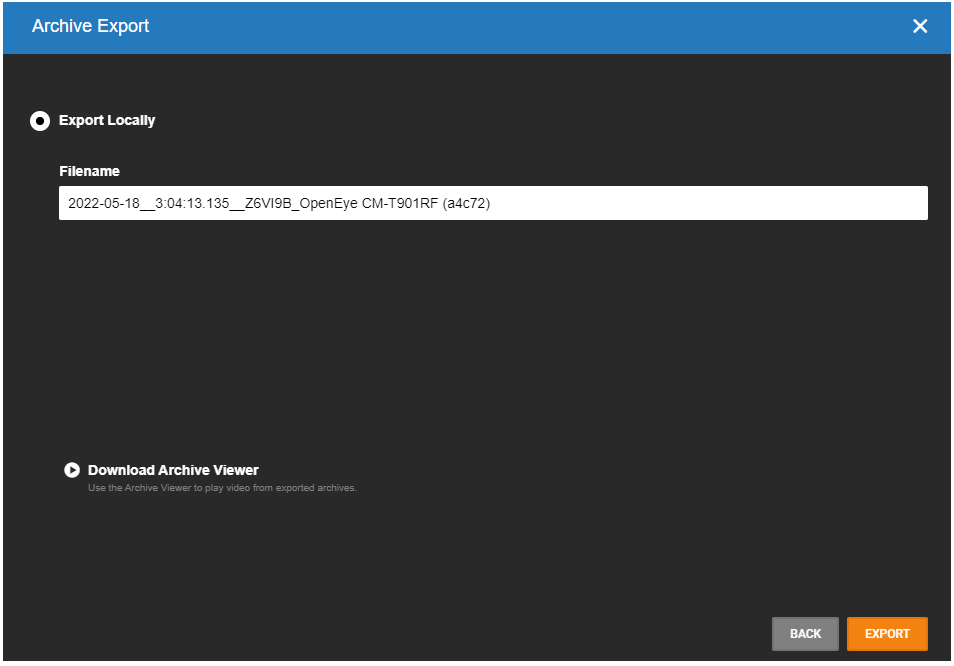
NOTE: Locally exported archives are saved in the Downloads folder as compressed files.
NOTE: Download Archive Viewer to view an Archive. The Archive Viewer is saved in the Downloads folder.