Camera List
NOTE: The following information is for the Camera List in Live and Search after connecting to a recorder via Web Connect (or the Apex Web Client). View Camera List details here for the Cloud Video Player under the Video tab in OWS.
Add a Camera to Live View Screen from Camera List
There are multiple methods to add a camera:
Click and drag a camera from the Camera List to the Viewing Pane to create a Camera Tile.
NOTE: Change the Live screen grid if more camera channels are desired
or
Click the desired camera on the Camera List to automatically add it to the Viewing Pane in an available Camera Tile. Each subsequent camera clicked will be added to the next available Camera Tile.
or
Drag one Camera Tile over in the Viewing Pane to swap their locations
Add All Cameras to Live View Screen
Click Cameras or the Camera List header  and drag to the Viewing Pane to load all cameras in live.
Remove a Camera from Live View Screen
There are multiple methods to add a camera.
Right-click in the desired camera tile to display the right-click menu, and then click Remove or Remove All.
or
Move the mouse to the top of the camera tile to display the tile toolbar, and then click the red ‘X.’
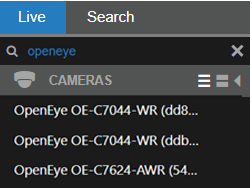
Search the Camera List
In the Web Client, typing the name associated with a camera in the search bar above the camera list will display the camera or cameras that match the search result.
Collapse the Camera List
Click the arrow on the Camera List header to collapse and  expand the Camera List.
View Thumbnail Images in the Camera List
Click the stacked icon ![]() next to Cameras or in the Camera List header
next to Cameras or in the Camera List header to view the camera list with thumbnail Images in both Live and Search.