Immix Integration Instructions
Add New Integration
- From the Cloud Portal, select the Management tab.
- Choose Integrations from the drop-down menu.

- Click on Add New Integration.

- Choose Immix and click Next.
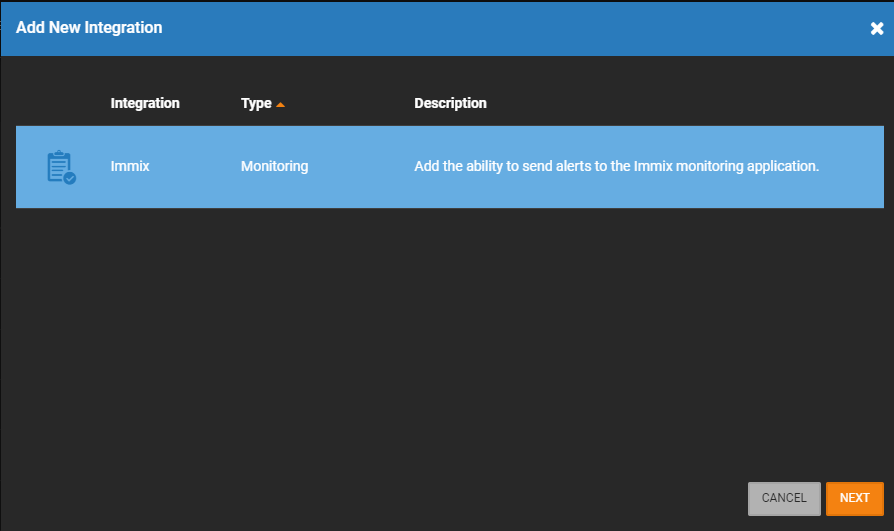
- The Immix Integration will be added to the Manage Integrations list.
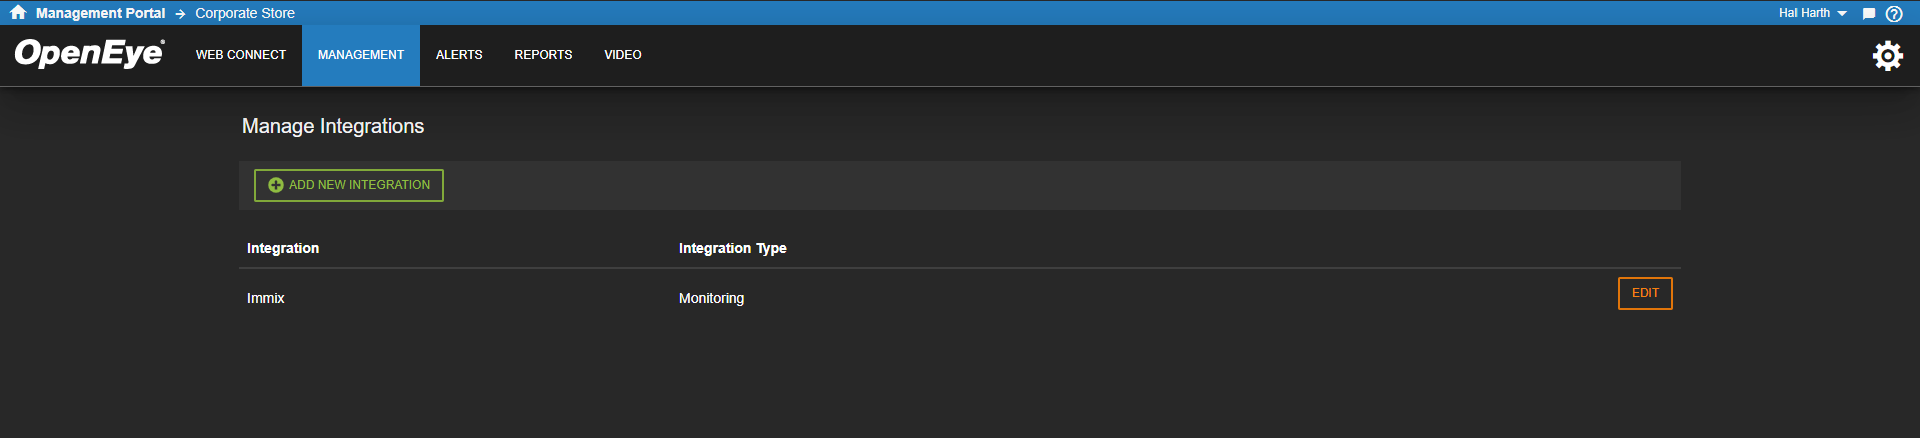
- Click Edit to enable or disable the Immix Integration in General Settings.

- Enter the IP Address or Domain Name and Port of the Immix Server in Alert Feed. To define the SMTP port, type a colon after the IP and enter the port.
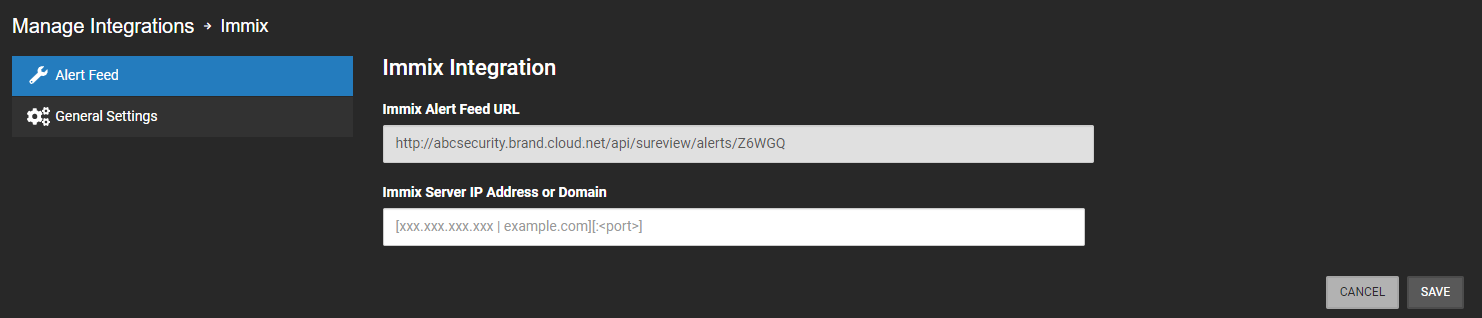
NOTE: If you enter an IP address, without defining the port the system will default to port 25.
- Click Save.
- Under Management > Locations > Recorders, find the recorder and click Edit.
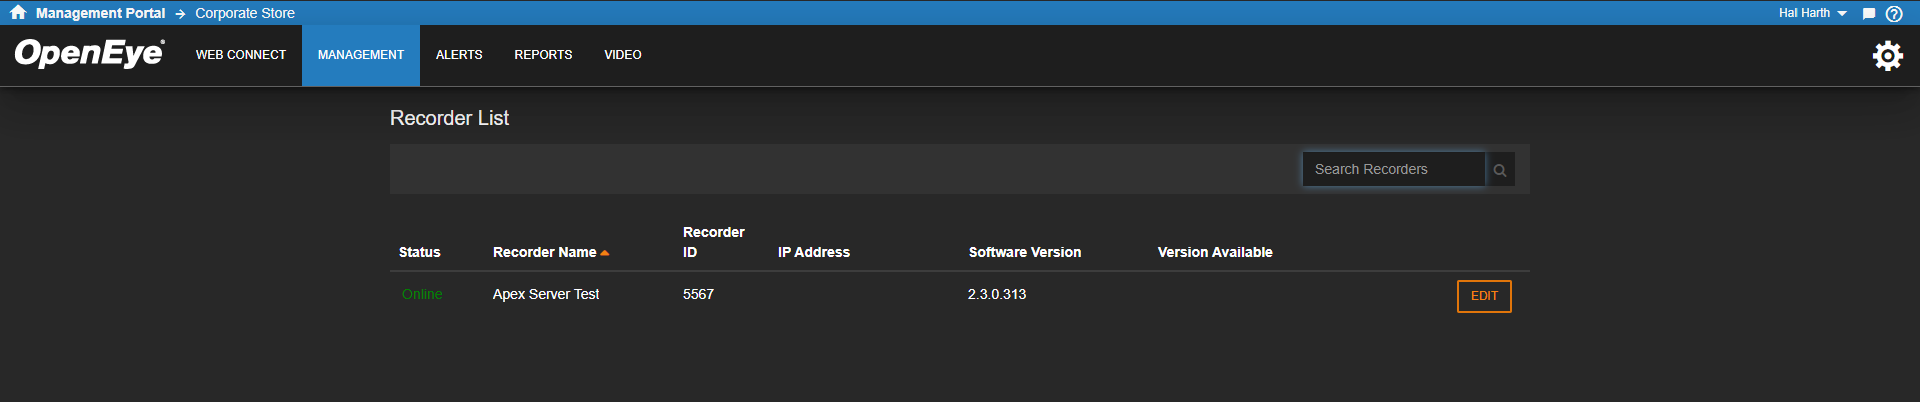
- Click General Info.
- Enter the Identifier from the Summary page in your Immix Details page into the Immix Integration ID.
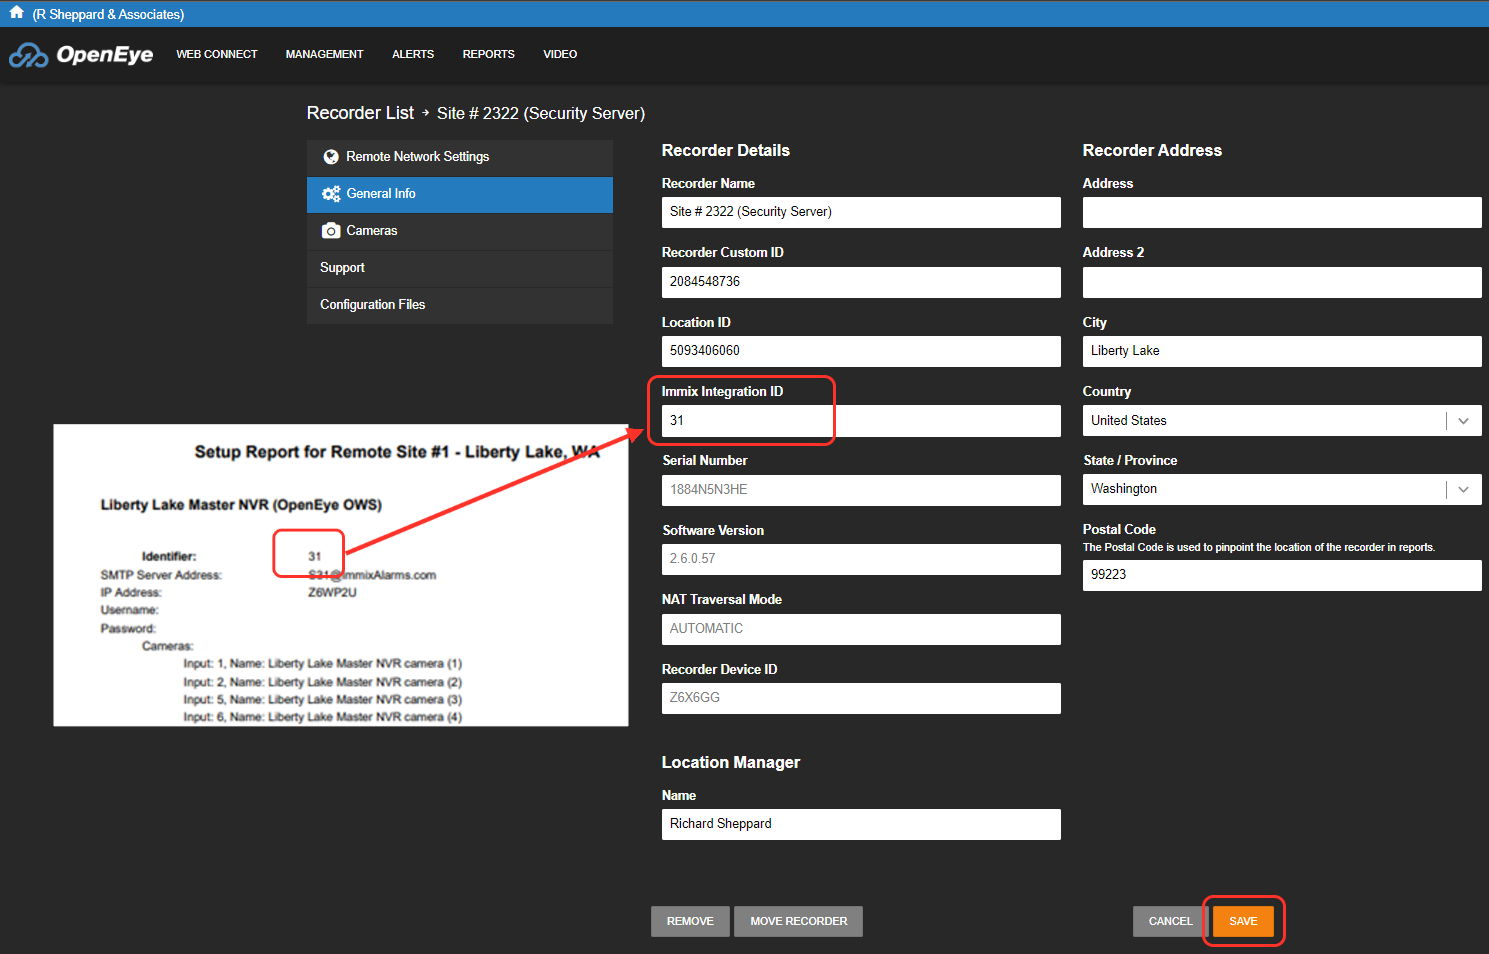
NOTE: Do not include the S. if the Identifier is S27, you should enter 27.
NOTE: The configuration for Cloud Managed Cameras is the same as for Apex Recorders
NOTE: The Device ID on the General Info page is needed for the IP/Host field in Immix. The Device ID is located in 3 places:
i. Management > Recorders > General Info
ii. Reports > Inventory Report > Last Column (lists Device ID of multiple recorders)
iii. Connected Recorder > Settings > Web Services
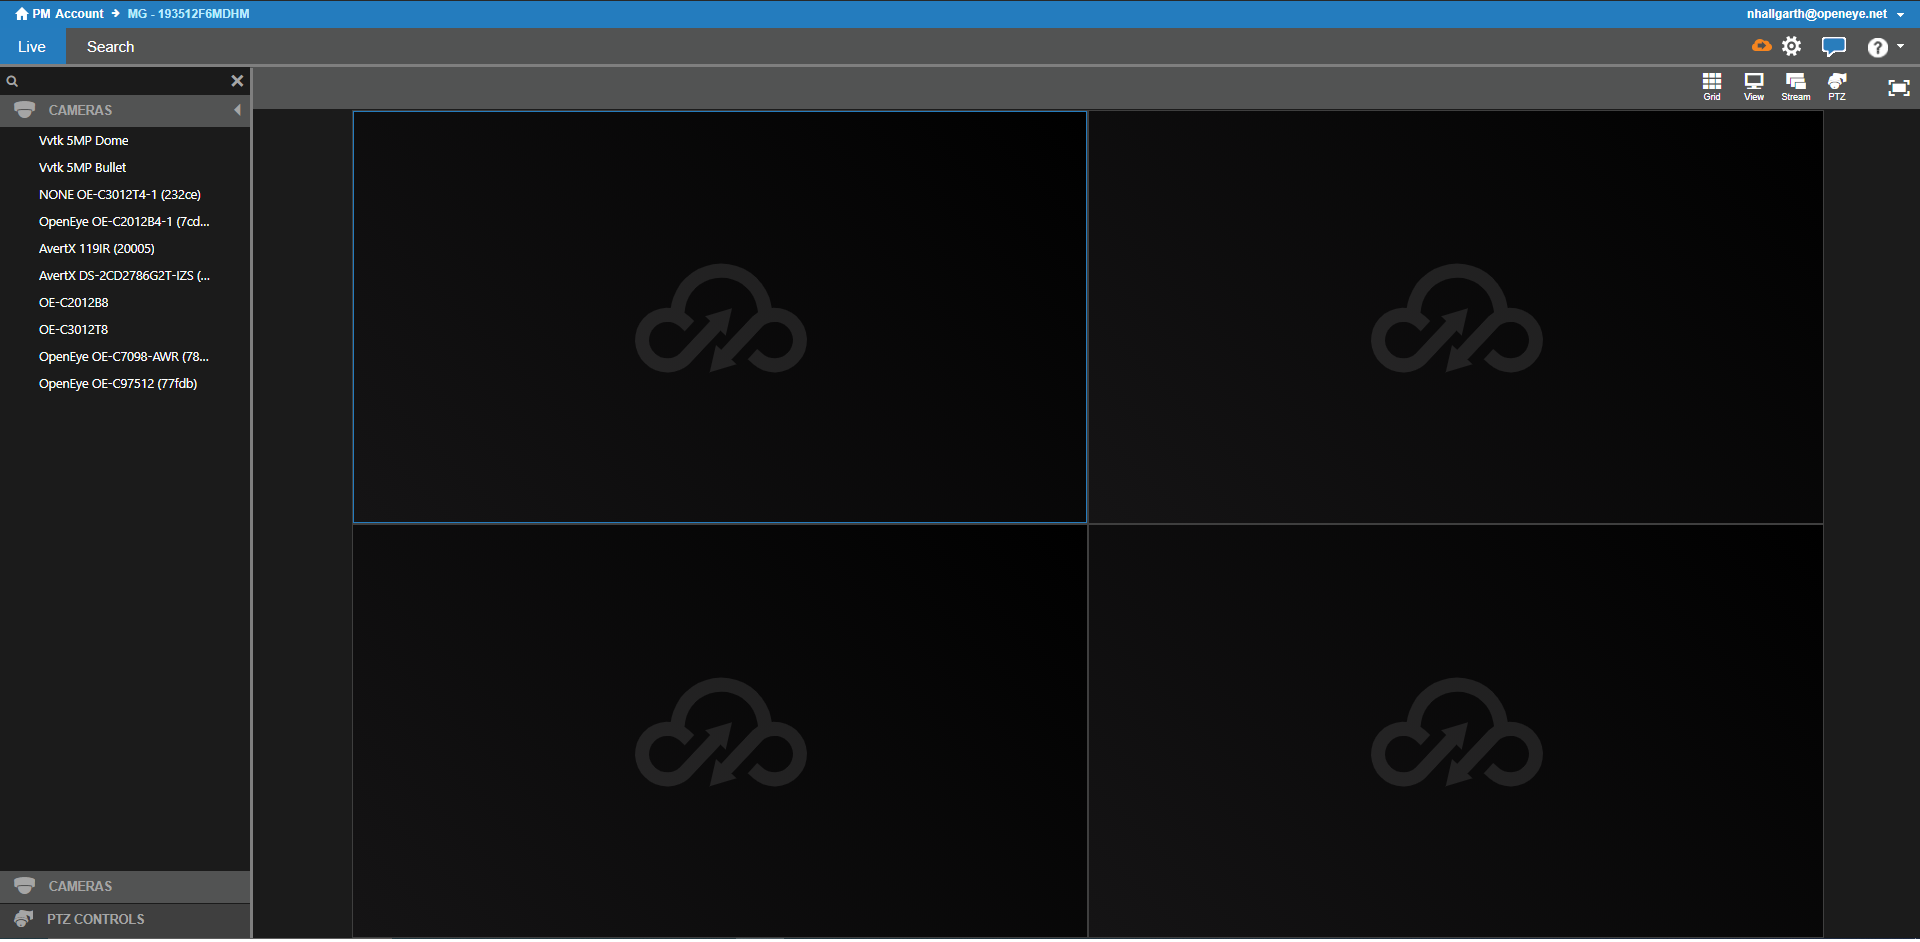
- Choose the recorder that will be sending the alerts to Immix and click the Connect button.

- Once connected to the recorder, click the Settings gear in the upper right.

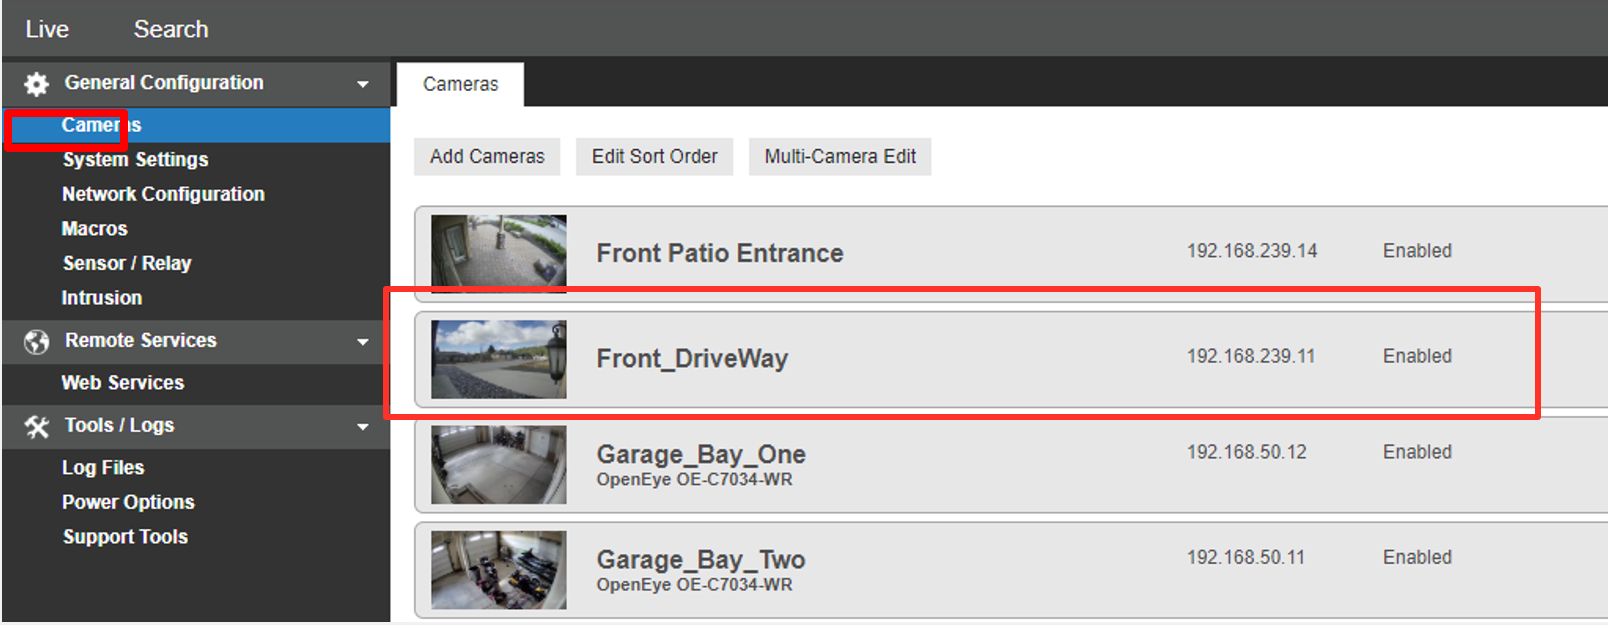
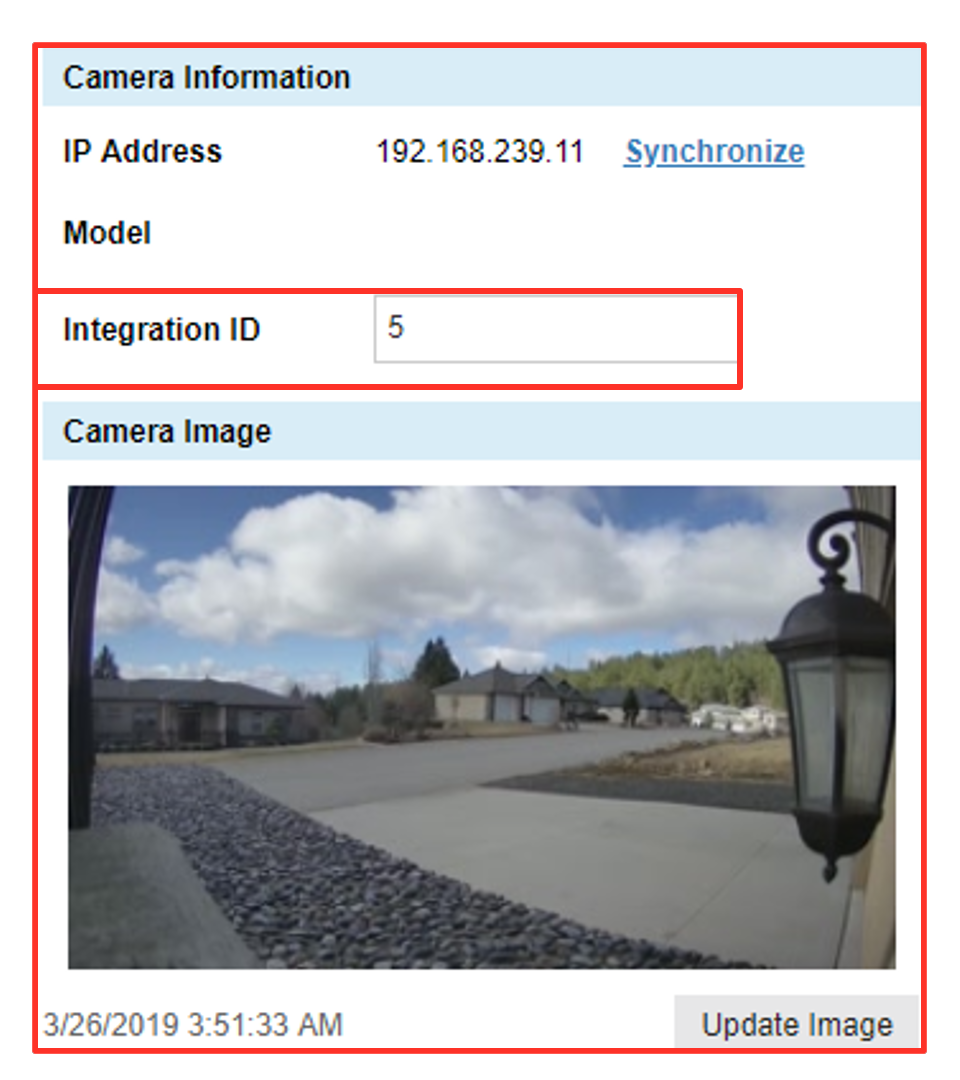
Acquire OpenEye Camera IDs
From the Cameras Settings Page, select a camera. You’ll see the Integration ID listed. These are the values you need to use in the Input field in the Cameras menu in Immix.
Add Device to Immix
To add a system to Immix, add the system as a device using the Device ID from Apex.
For OWS to send events to Immix, add two additional devices to act as a allowlist. These addresses are:
- 35.161.9.12
- 52.32.142.201
- In Immix, click Setup.
- Click Add a Site.
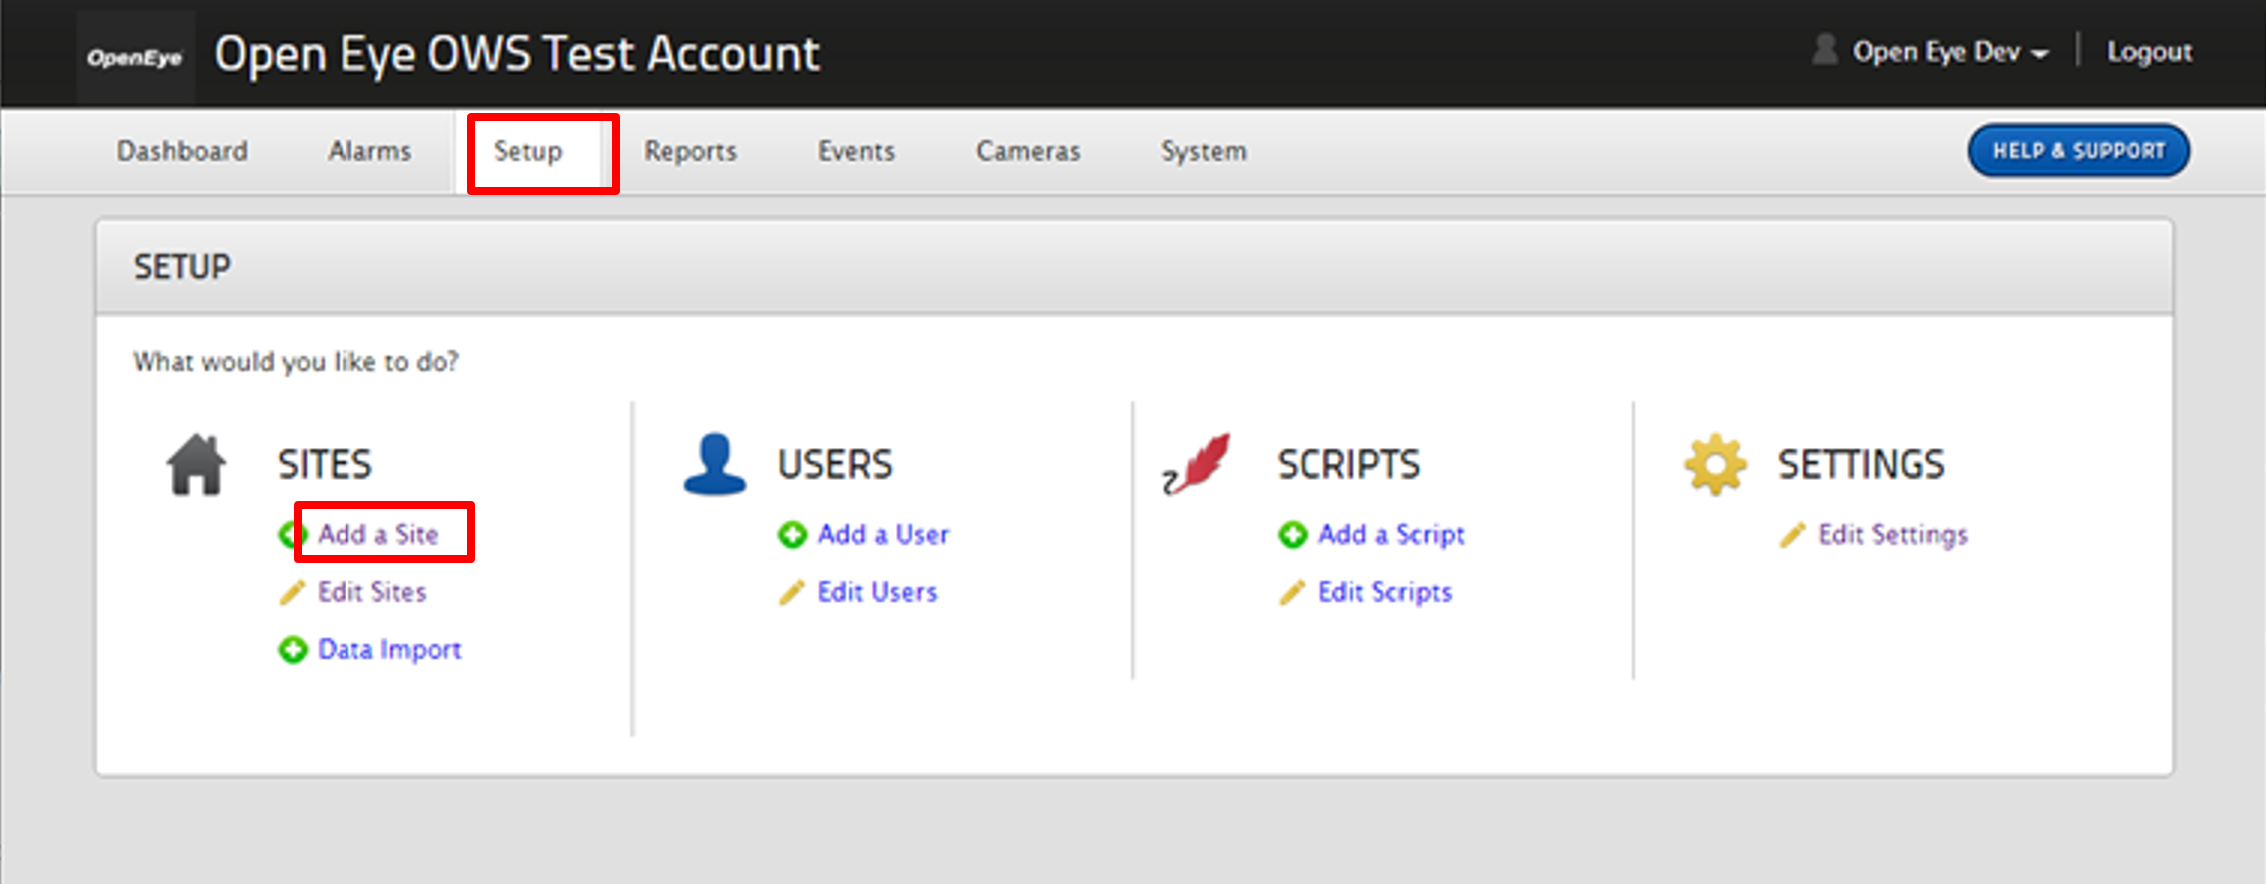
- Choose a parent site.
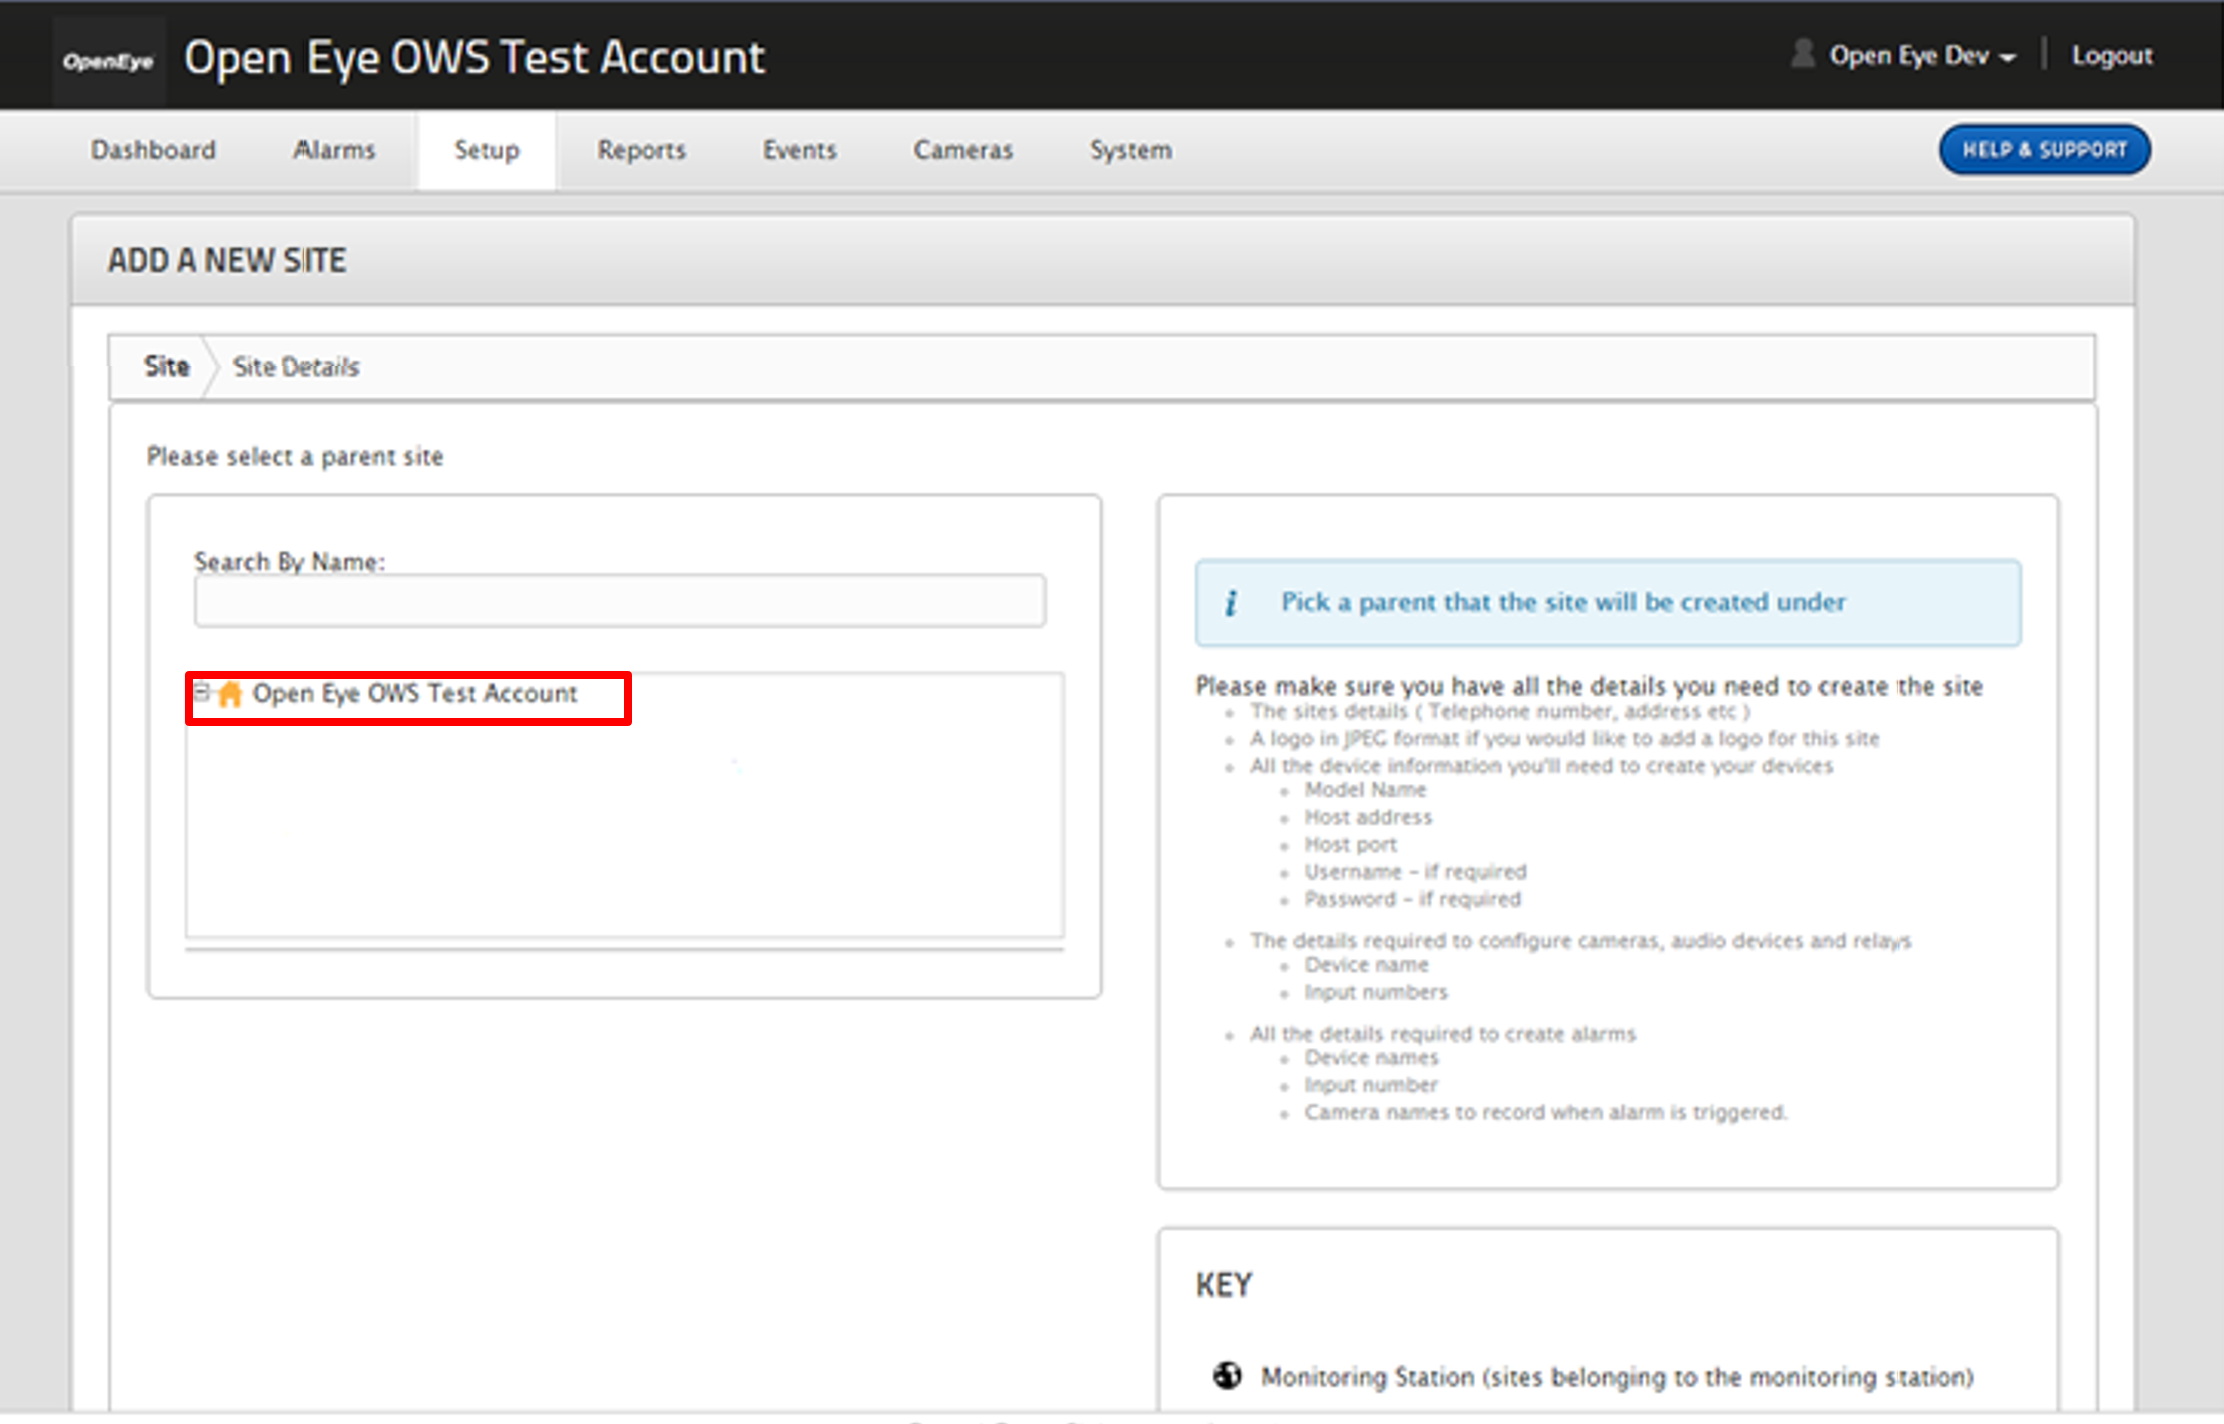
- Enter any information desired.
- Click Next and advance through the Logo and Notes page.
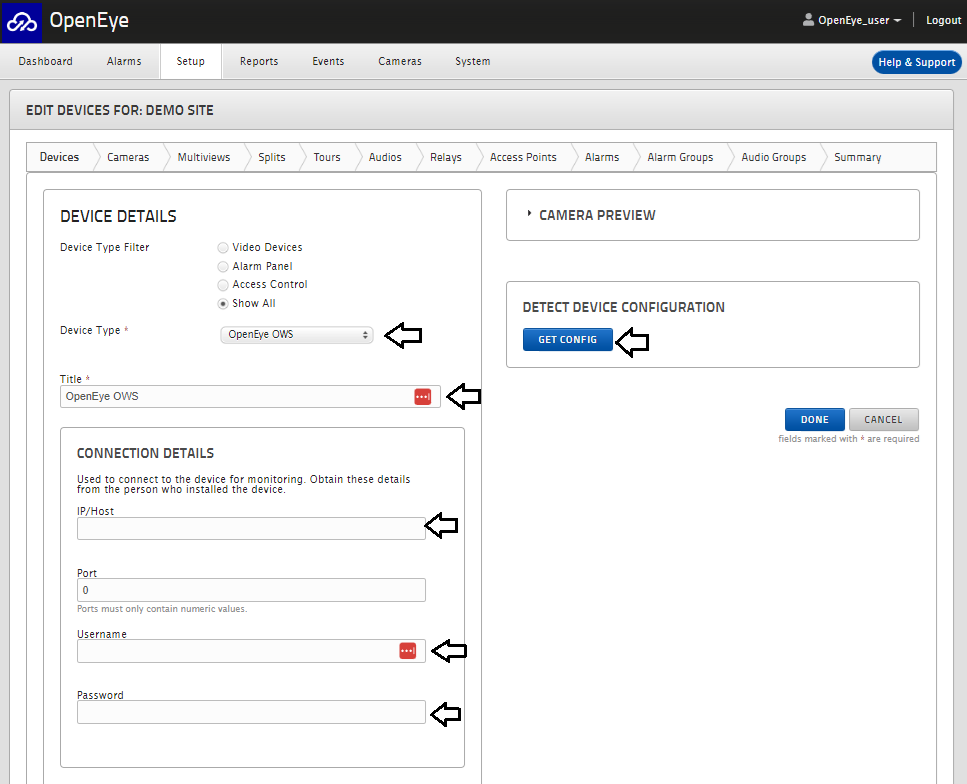
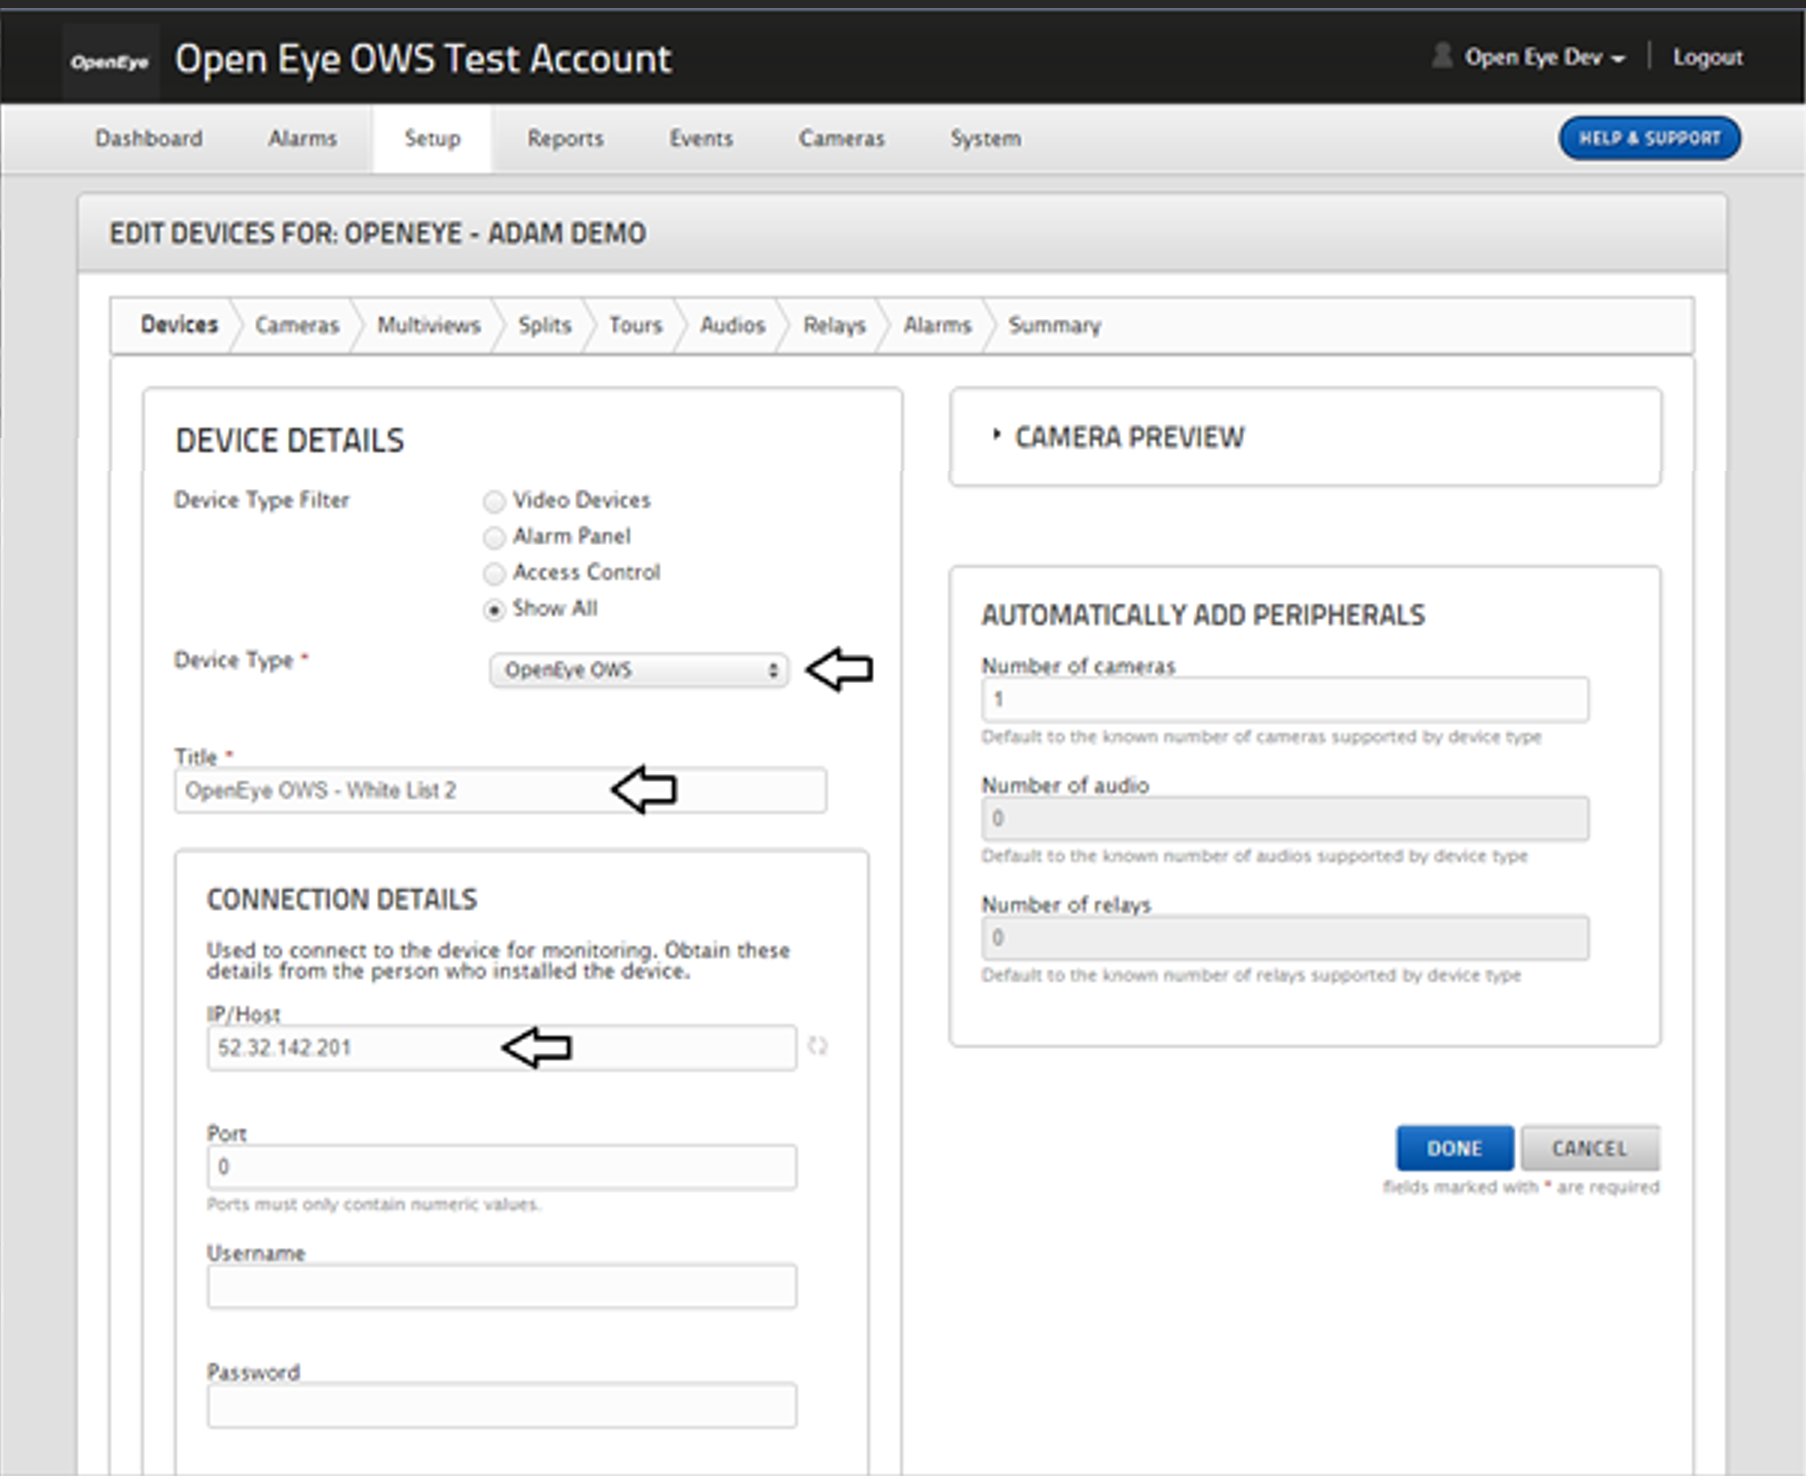
- In Device Type Filter, click Show All.
- Click Device Type drop down.
- Click OpenEye OWS.
- Enter a title into Title field.
- Enter the Device ID from the recorder.
- Enter the Username and Password for your OWS user account.
- Click Get Config
- Click Done
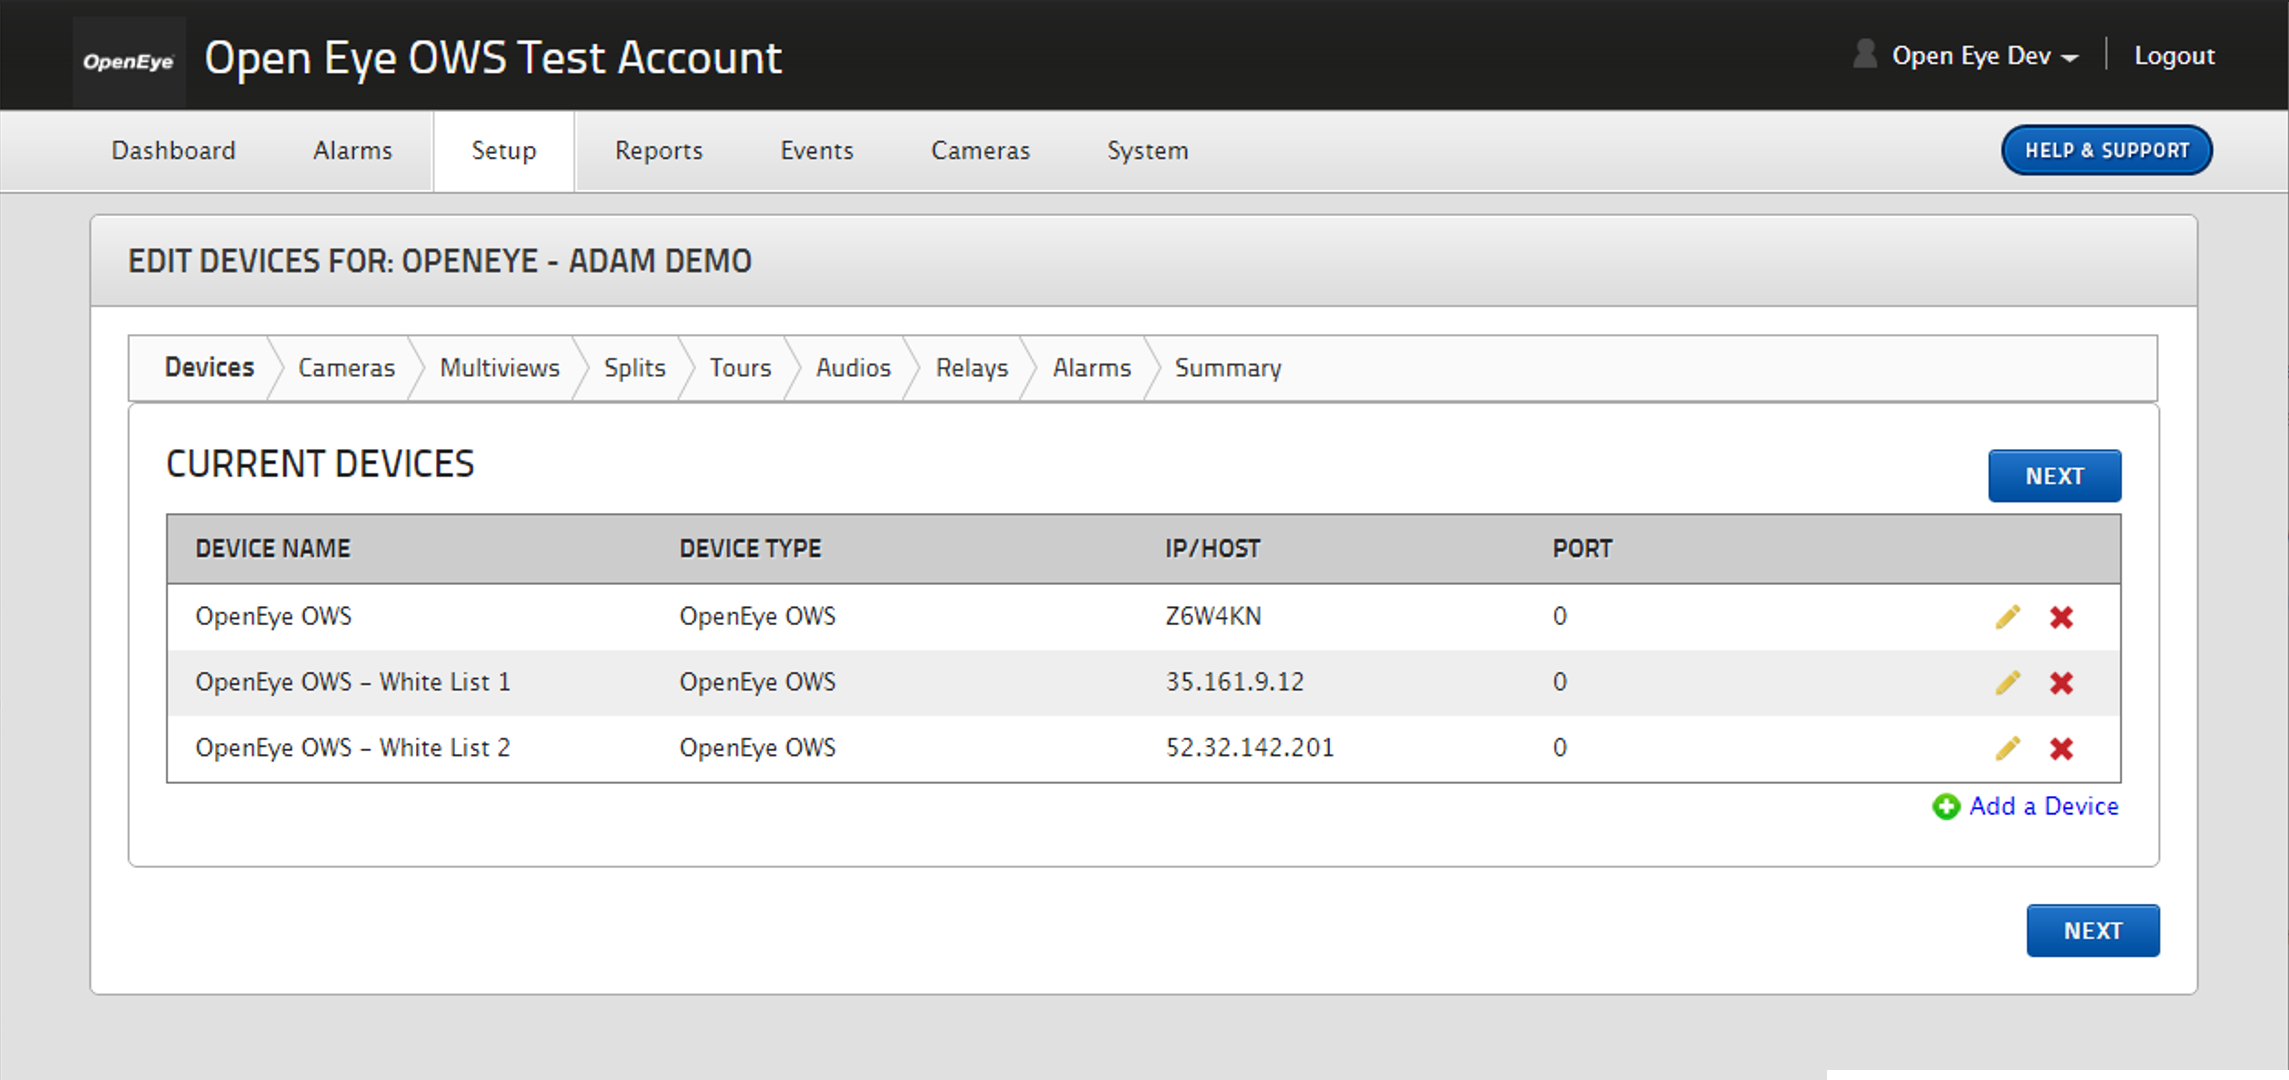
- Repeat previous steps to add whitelist address 1:
- 35.161.9.12
- Repeat previous steps to add whitelist address 2:
- 52.32.142.201
NOTE: No Username or Password are needed.
NOTE: Number of cameras is not needed.
Creating Alerts in OWS
- Under Rules, select Alert Rules from the dropdown menu.

- Click New Alert Rule.

- Select an Alert Type from the pop-up menu.

- Click Next.

- Name the alert and give it a Description as desired.
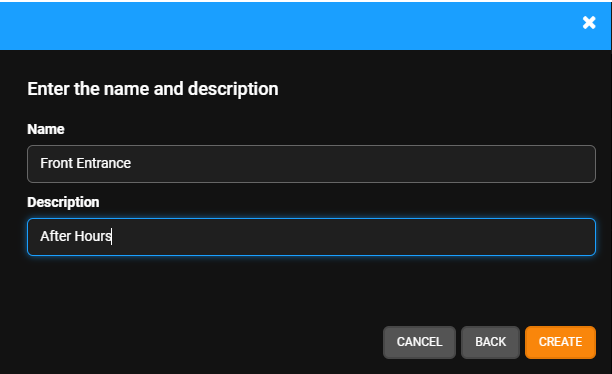
- Click Create.

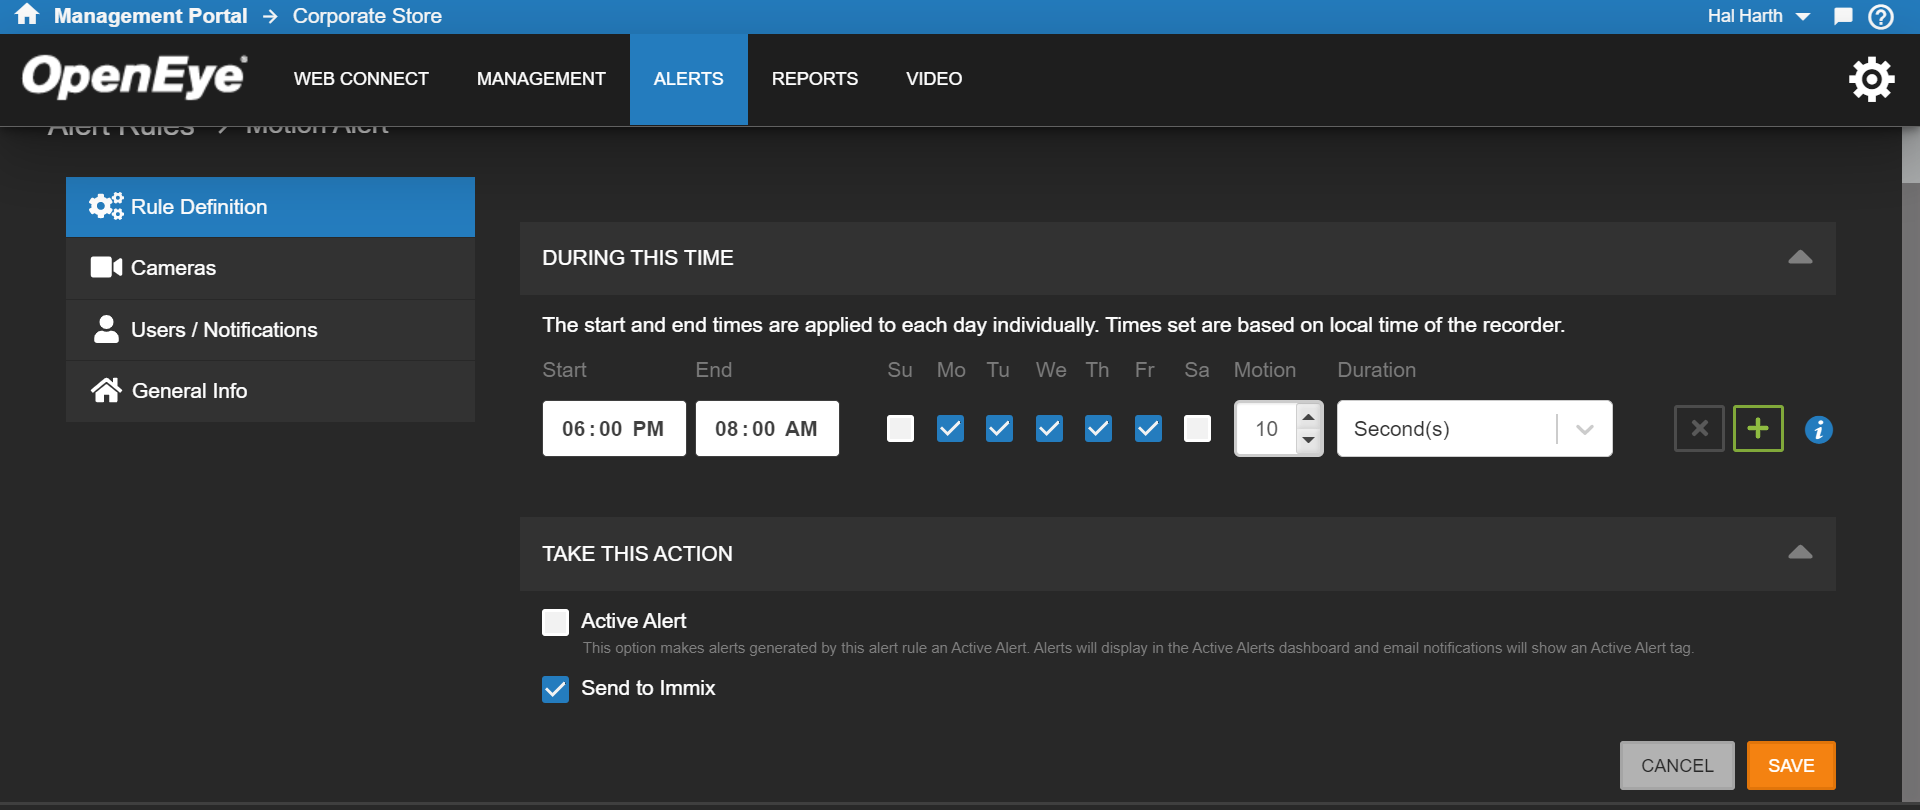
- Click
 on the created rule in the Alert Rules list.
 - Check Send to Immix.
For more information on configuring alerts, see Alert Types.
Creating Alarms in Immix
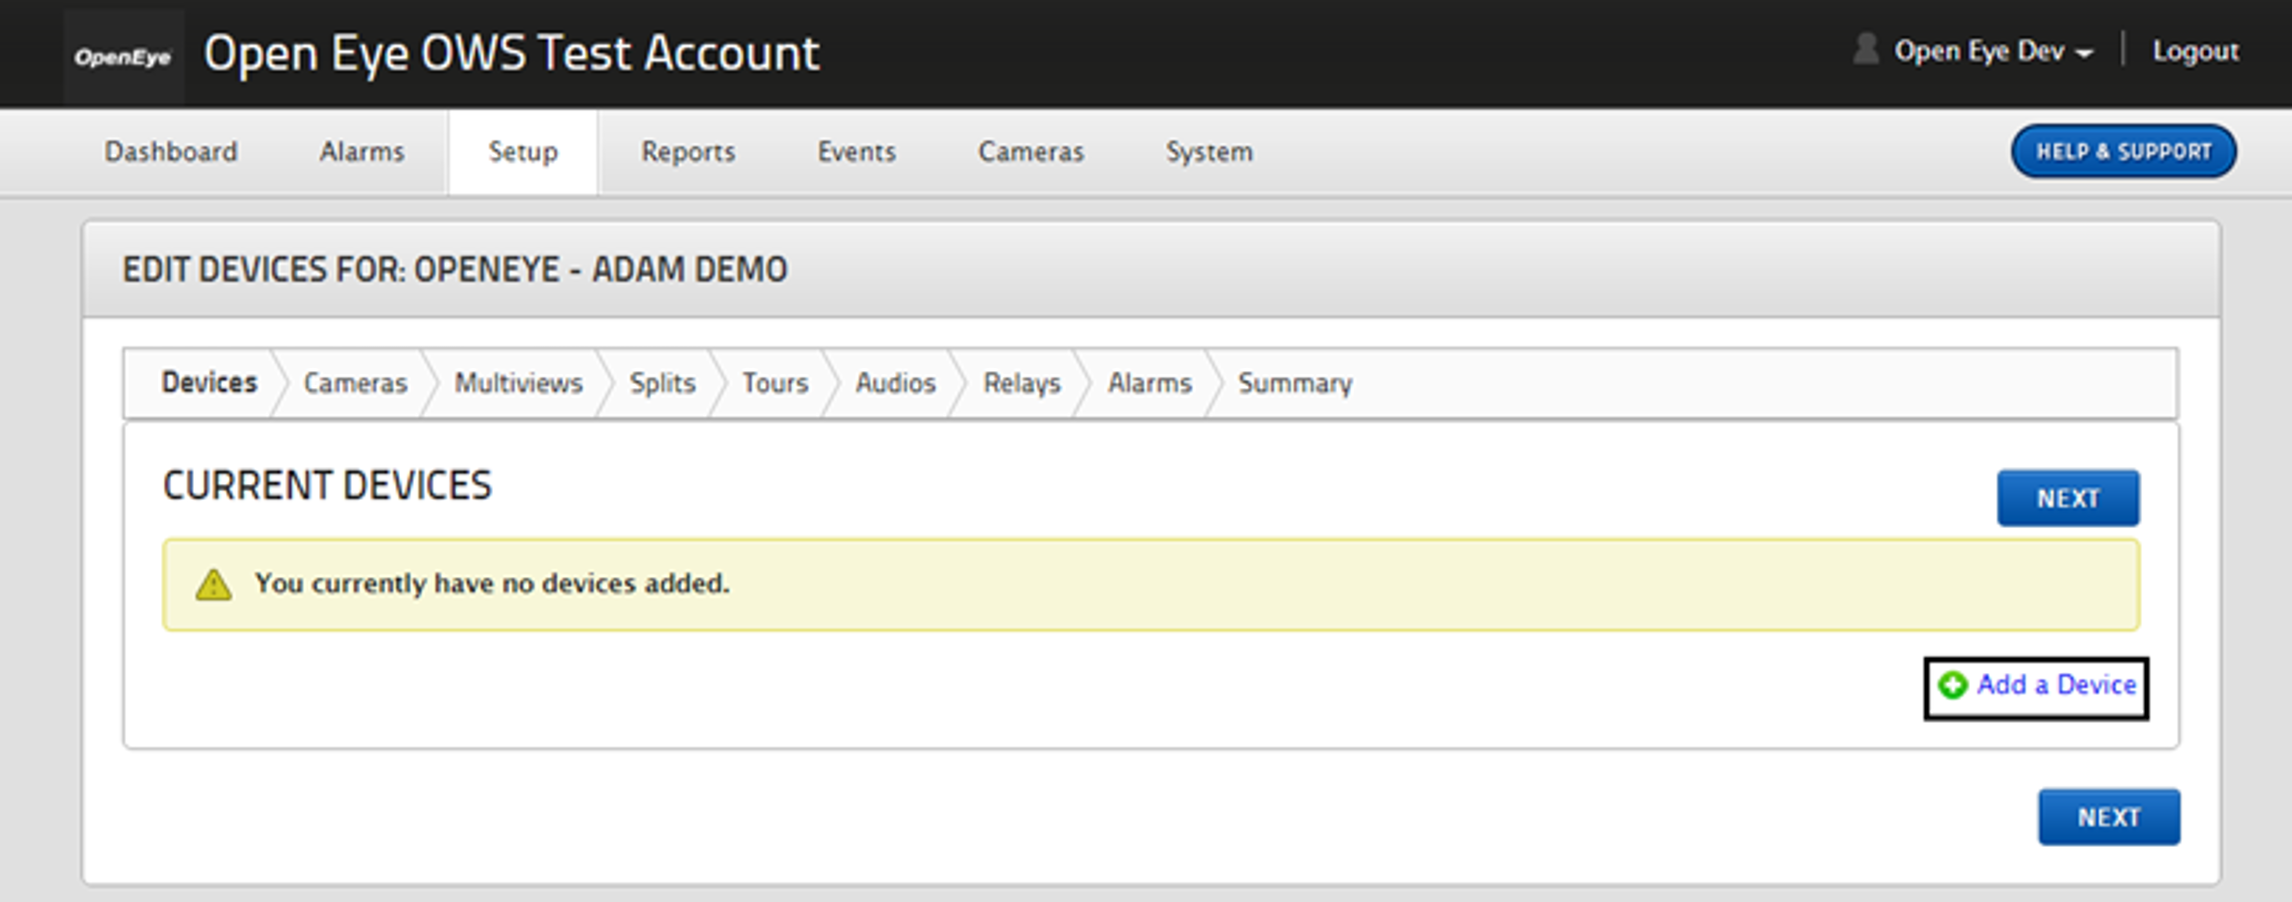
- Access the Edit Devices menu in Immix.
- Click Setup.
- Click Edit Sites.
- Click the site.
- Click Manage Devices and Alarms.
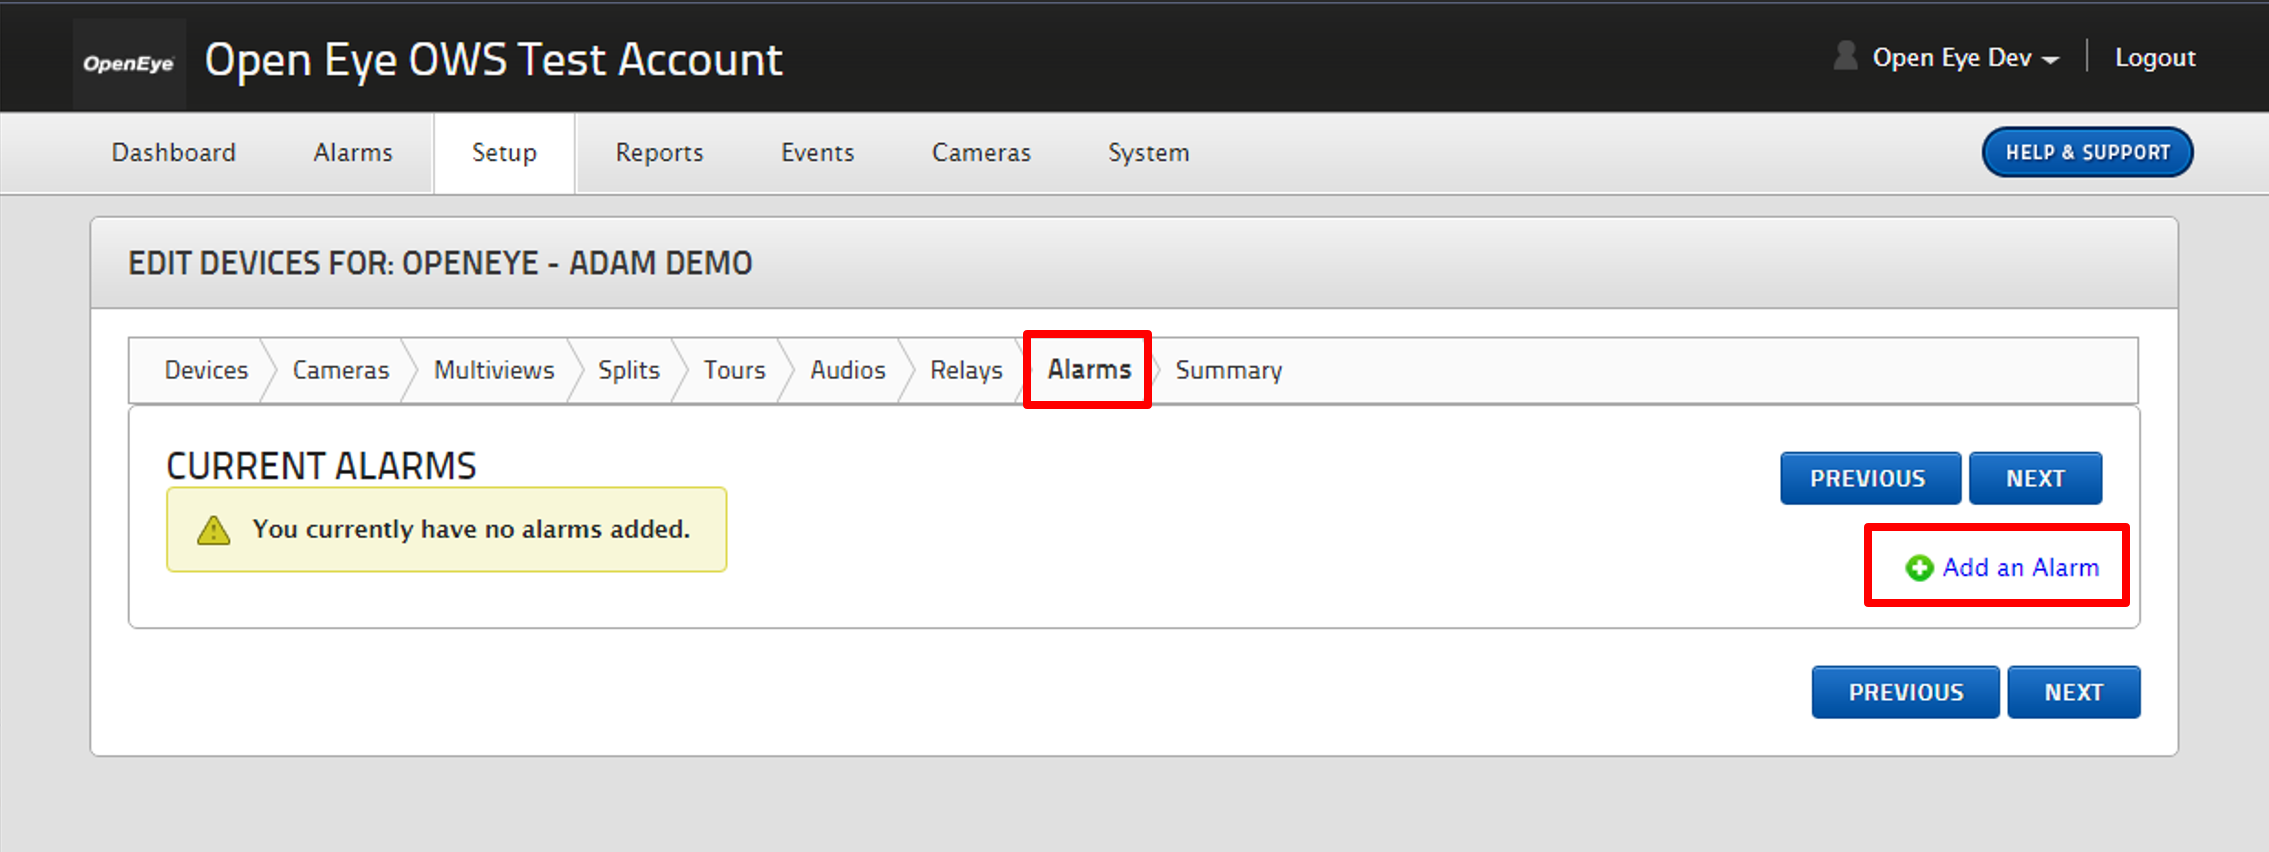
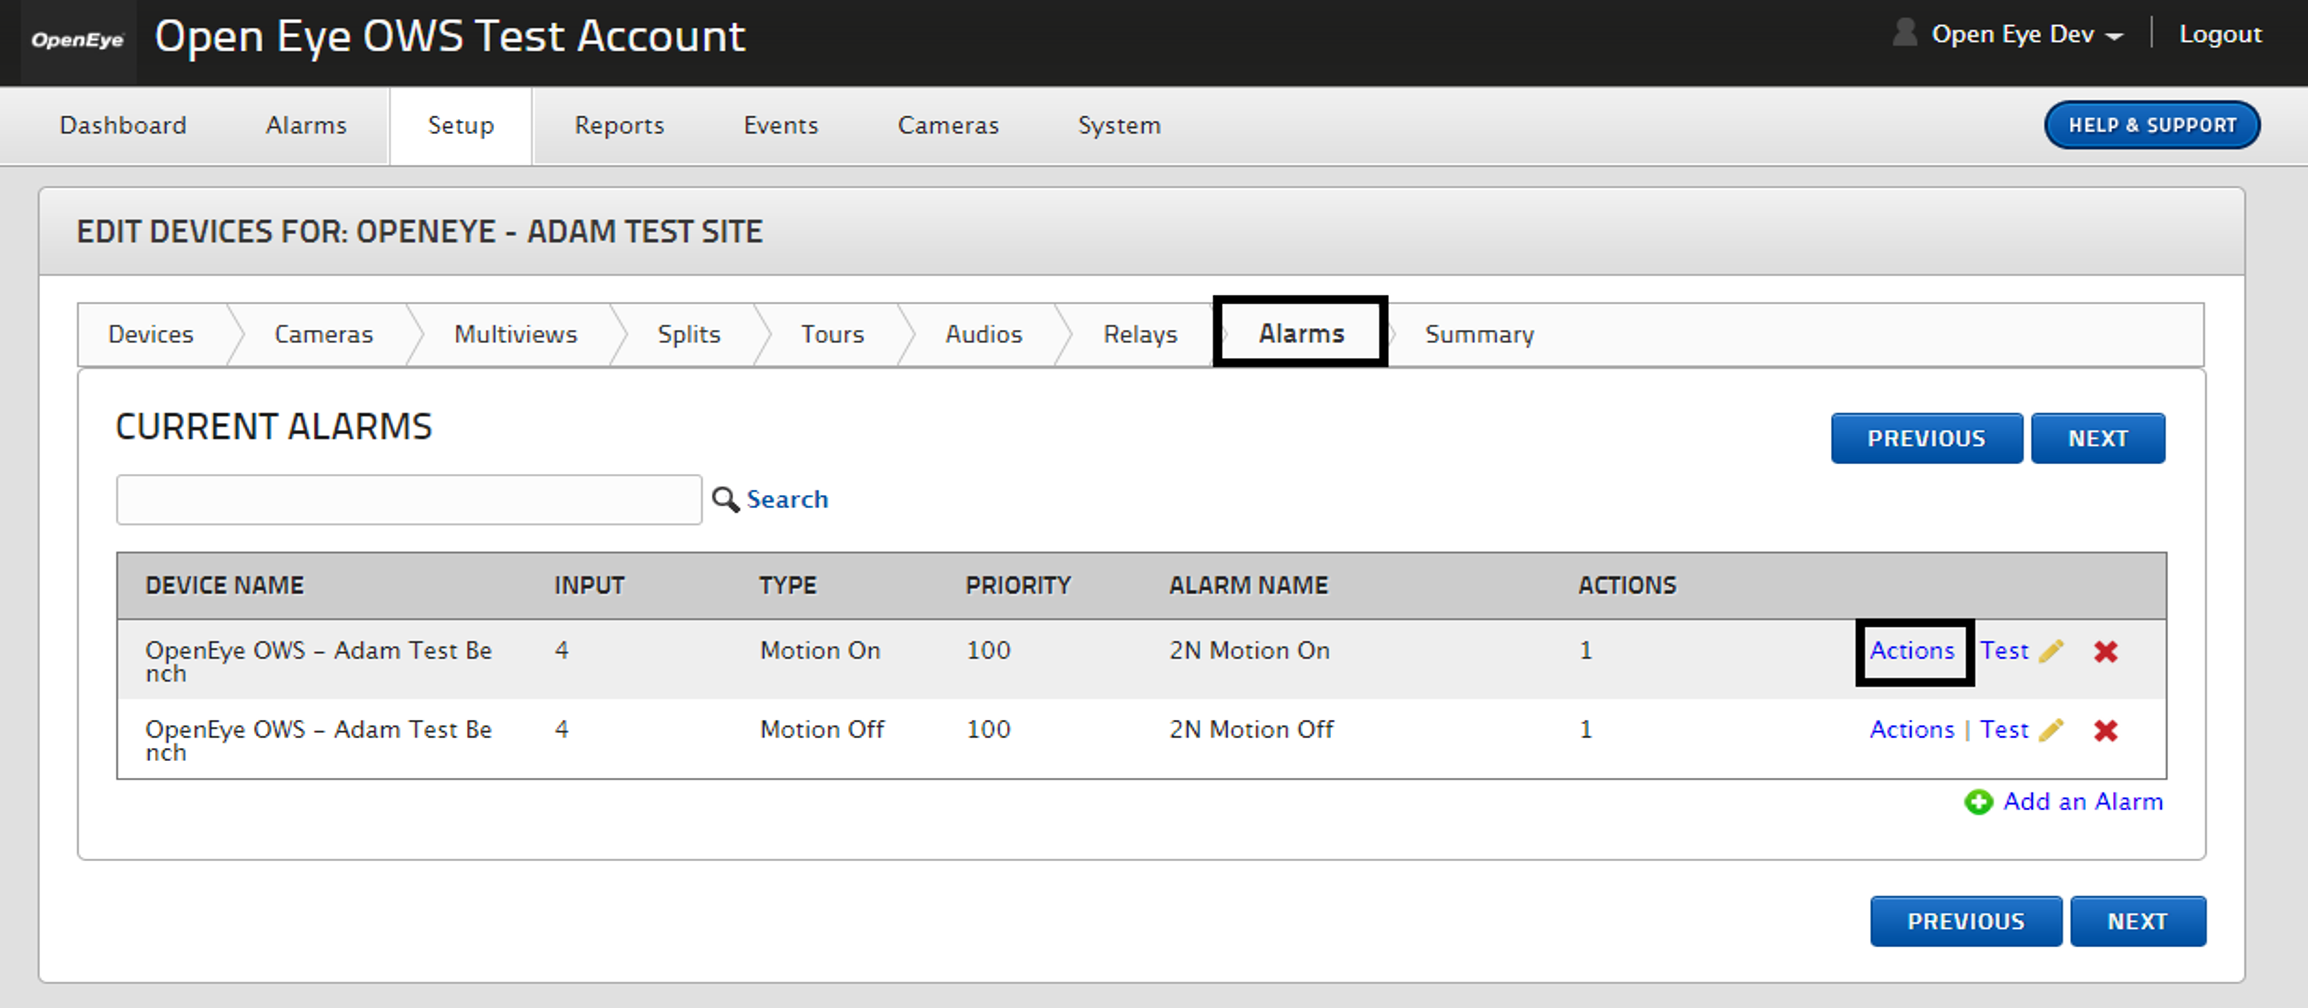
- Click Alarms.
- Click Add an Alarm.
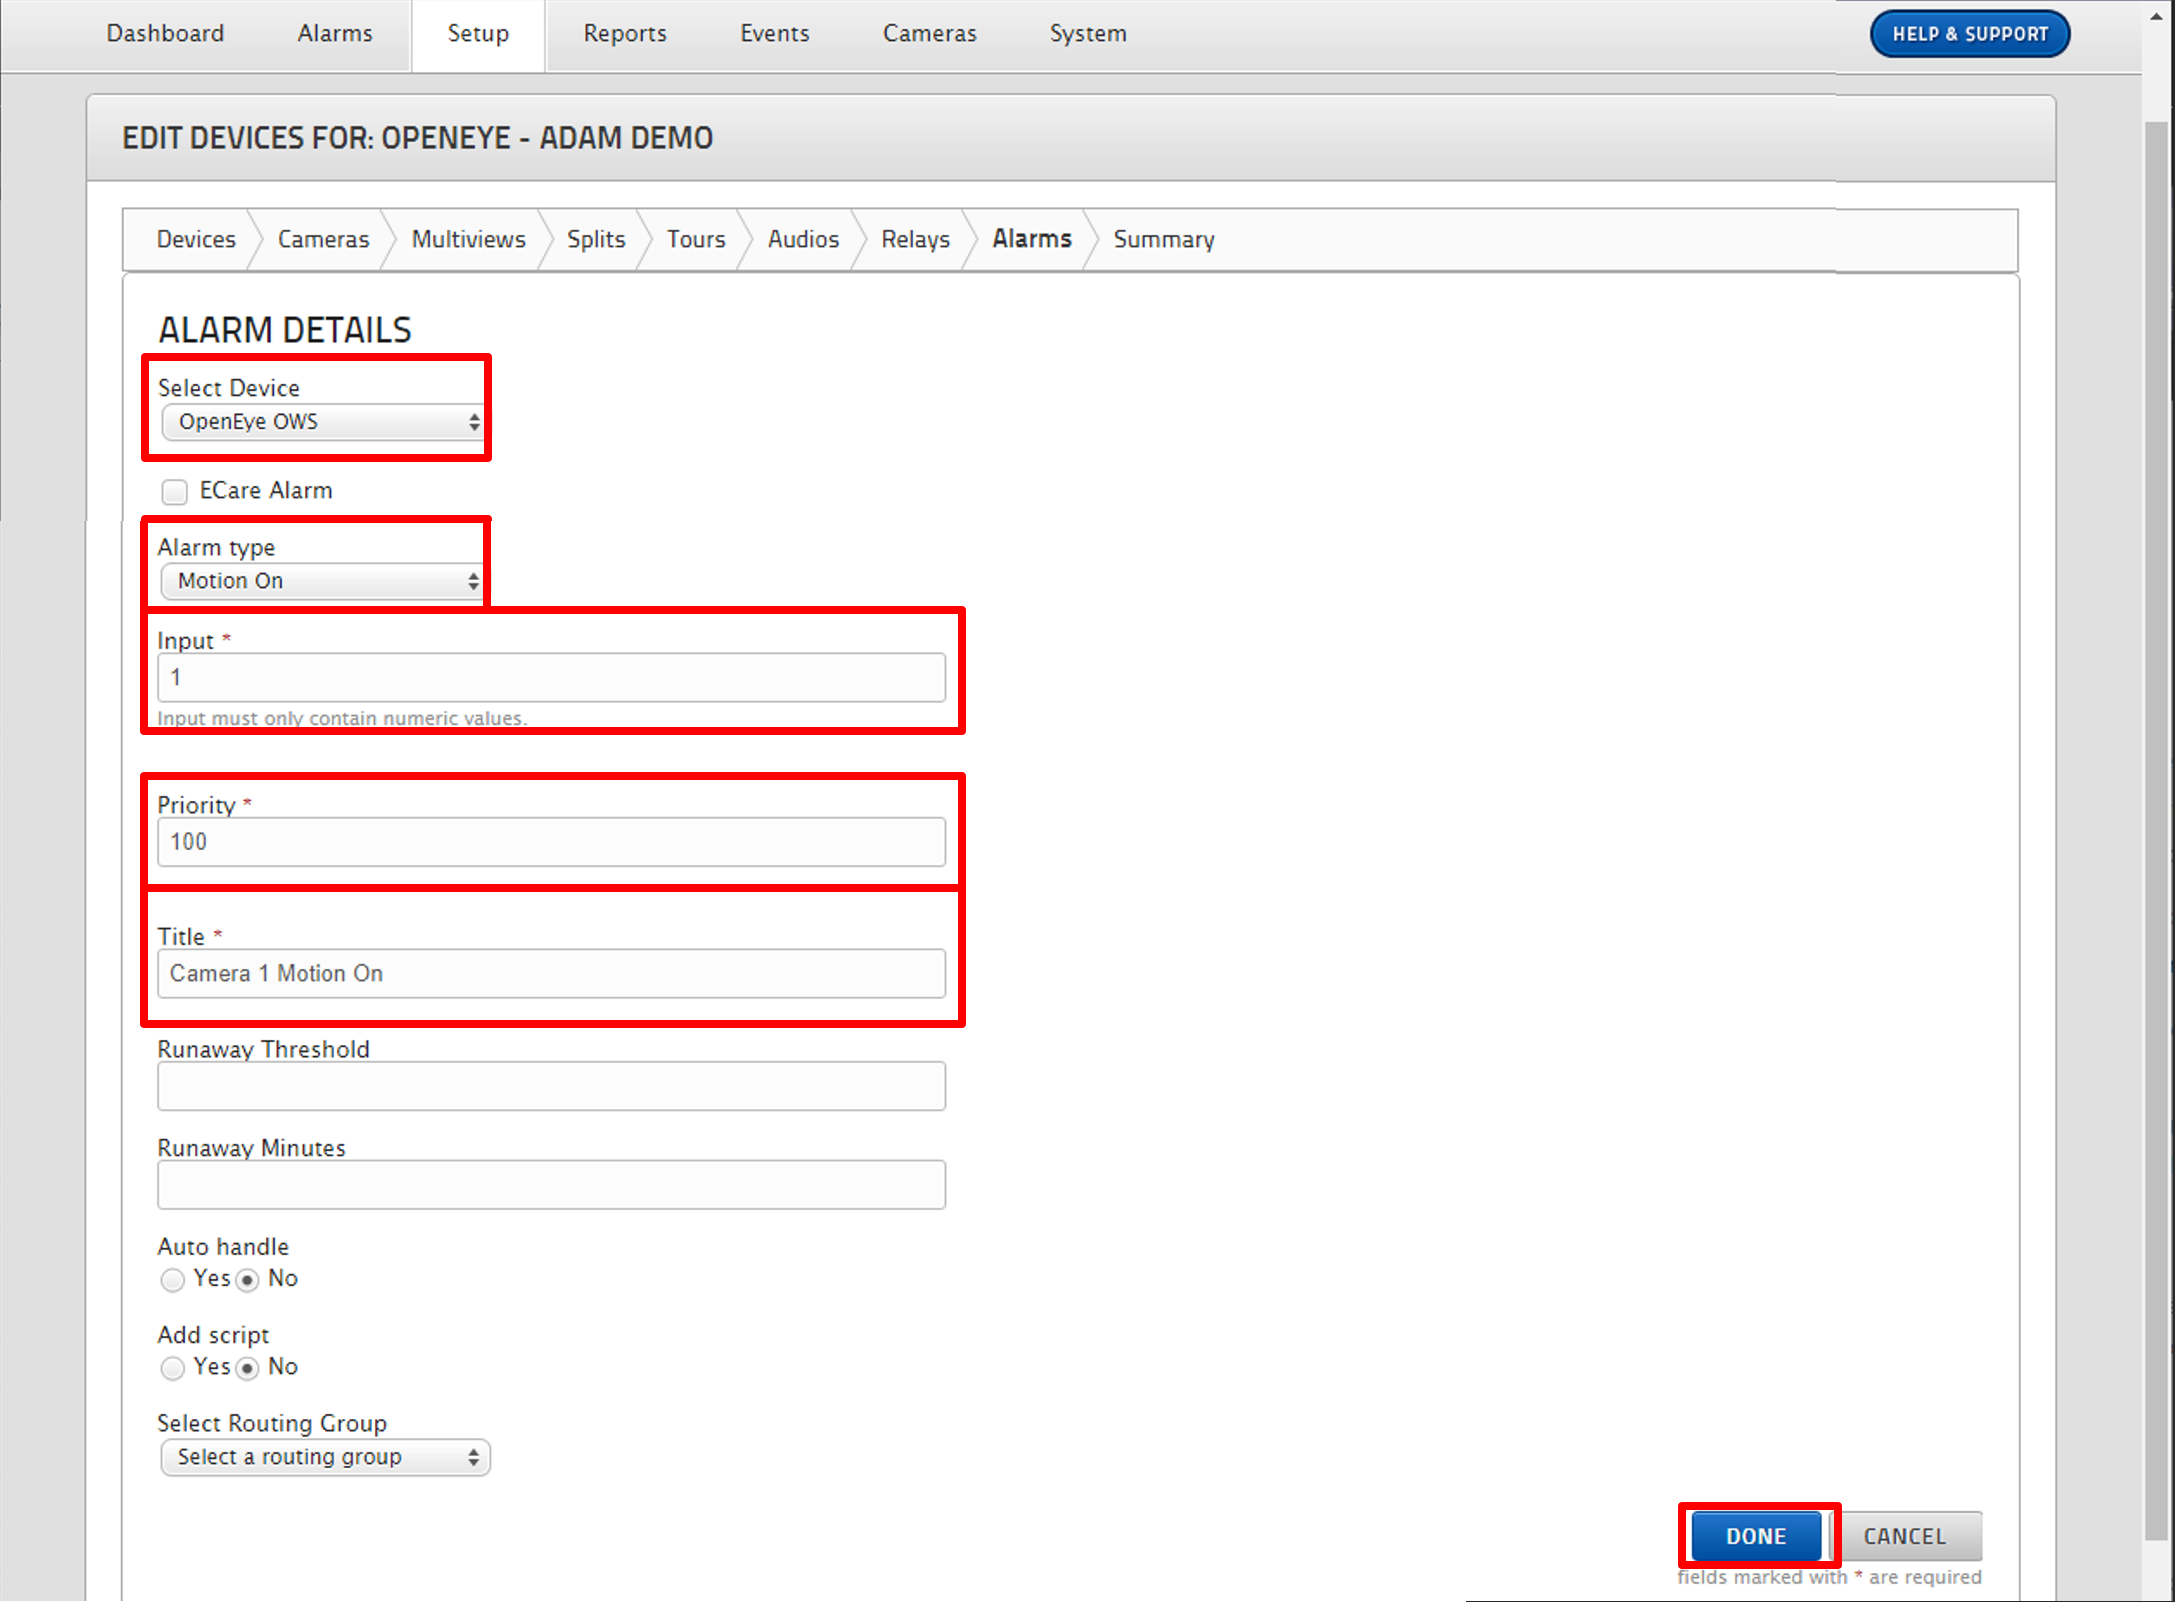
- Click Select Device drop down and click desired device.
- Click Alarm type drop down menu and click desired Alarm type. See Immix Supported Event Types when identifying events in the Immix dropdown with OWS events.
NOTE: If selecting an alarm that has both an On and Off type, you should create an alarm for both events. An alert in OWS that is sent to Immix without a corresponding Immix Alarm will show as a System Event.
- Click Input field and enter camera ID of desired camera.
- Click Priority field and enter a priority level (numerical value only).
- Click Title field and enter desired title.
- Set other options if desired and click Done.
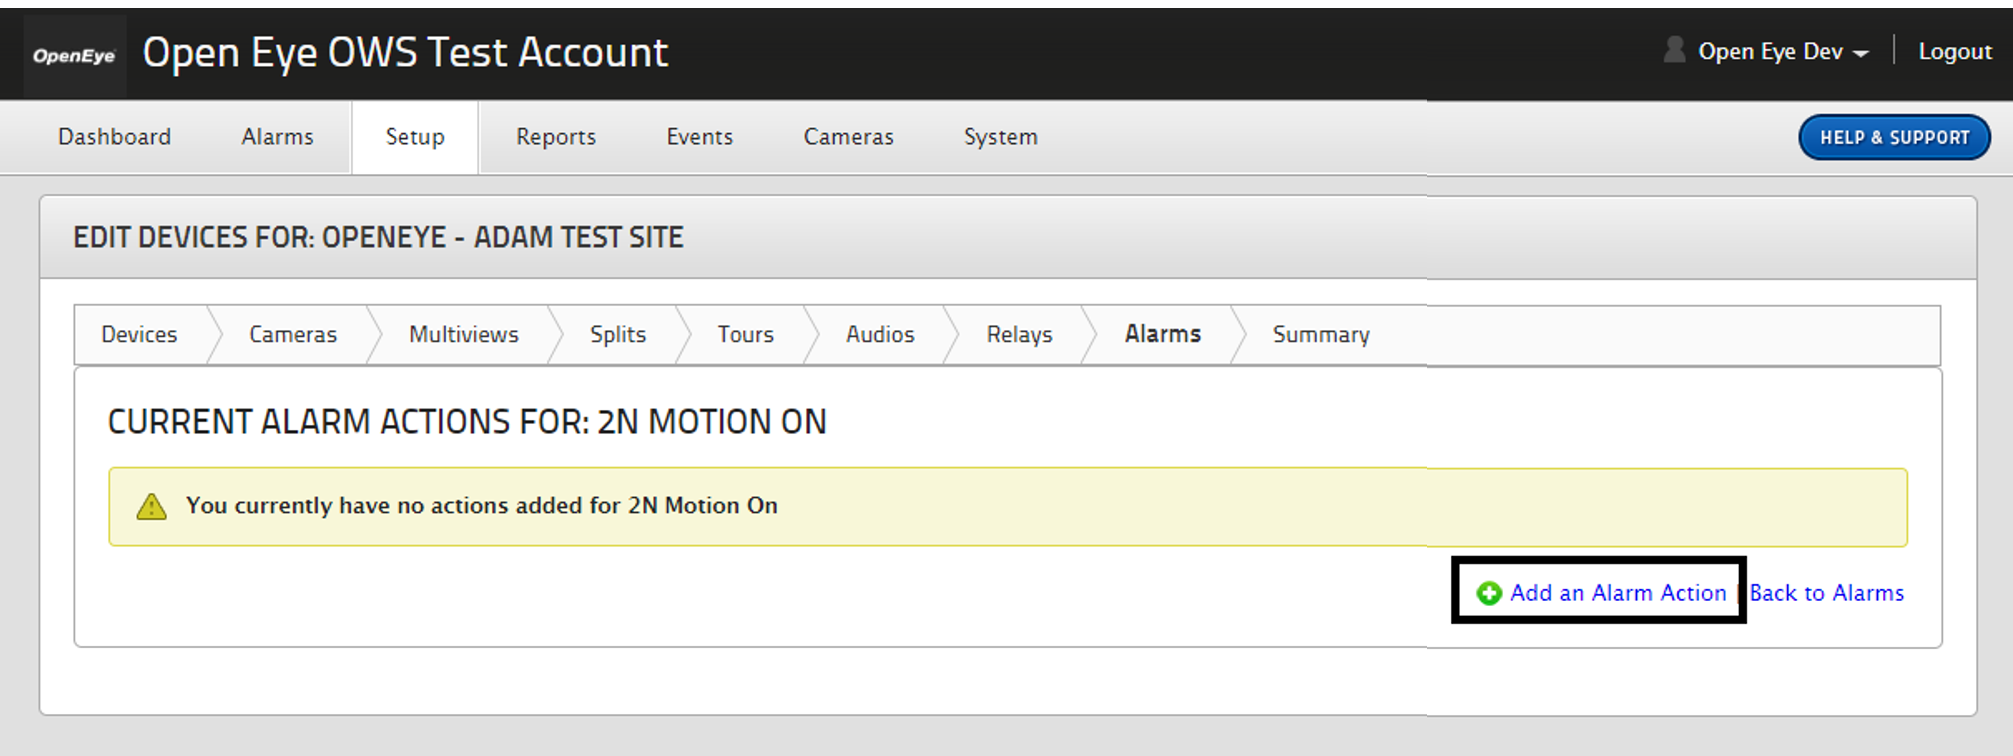
- Click Add an Alarm Action.
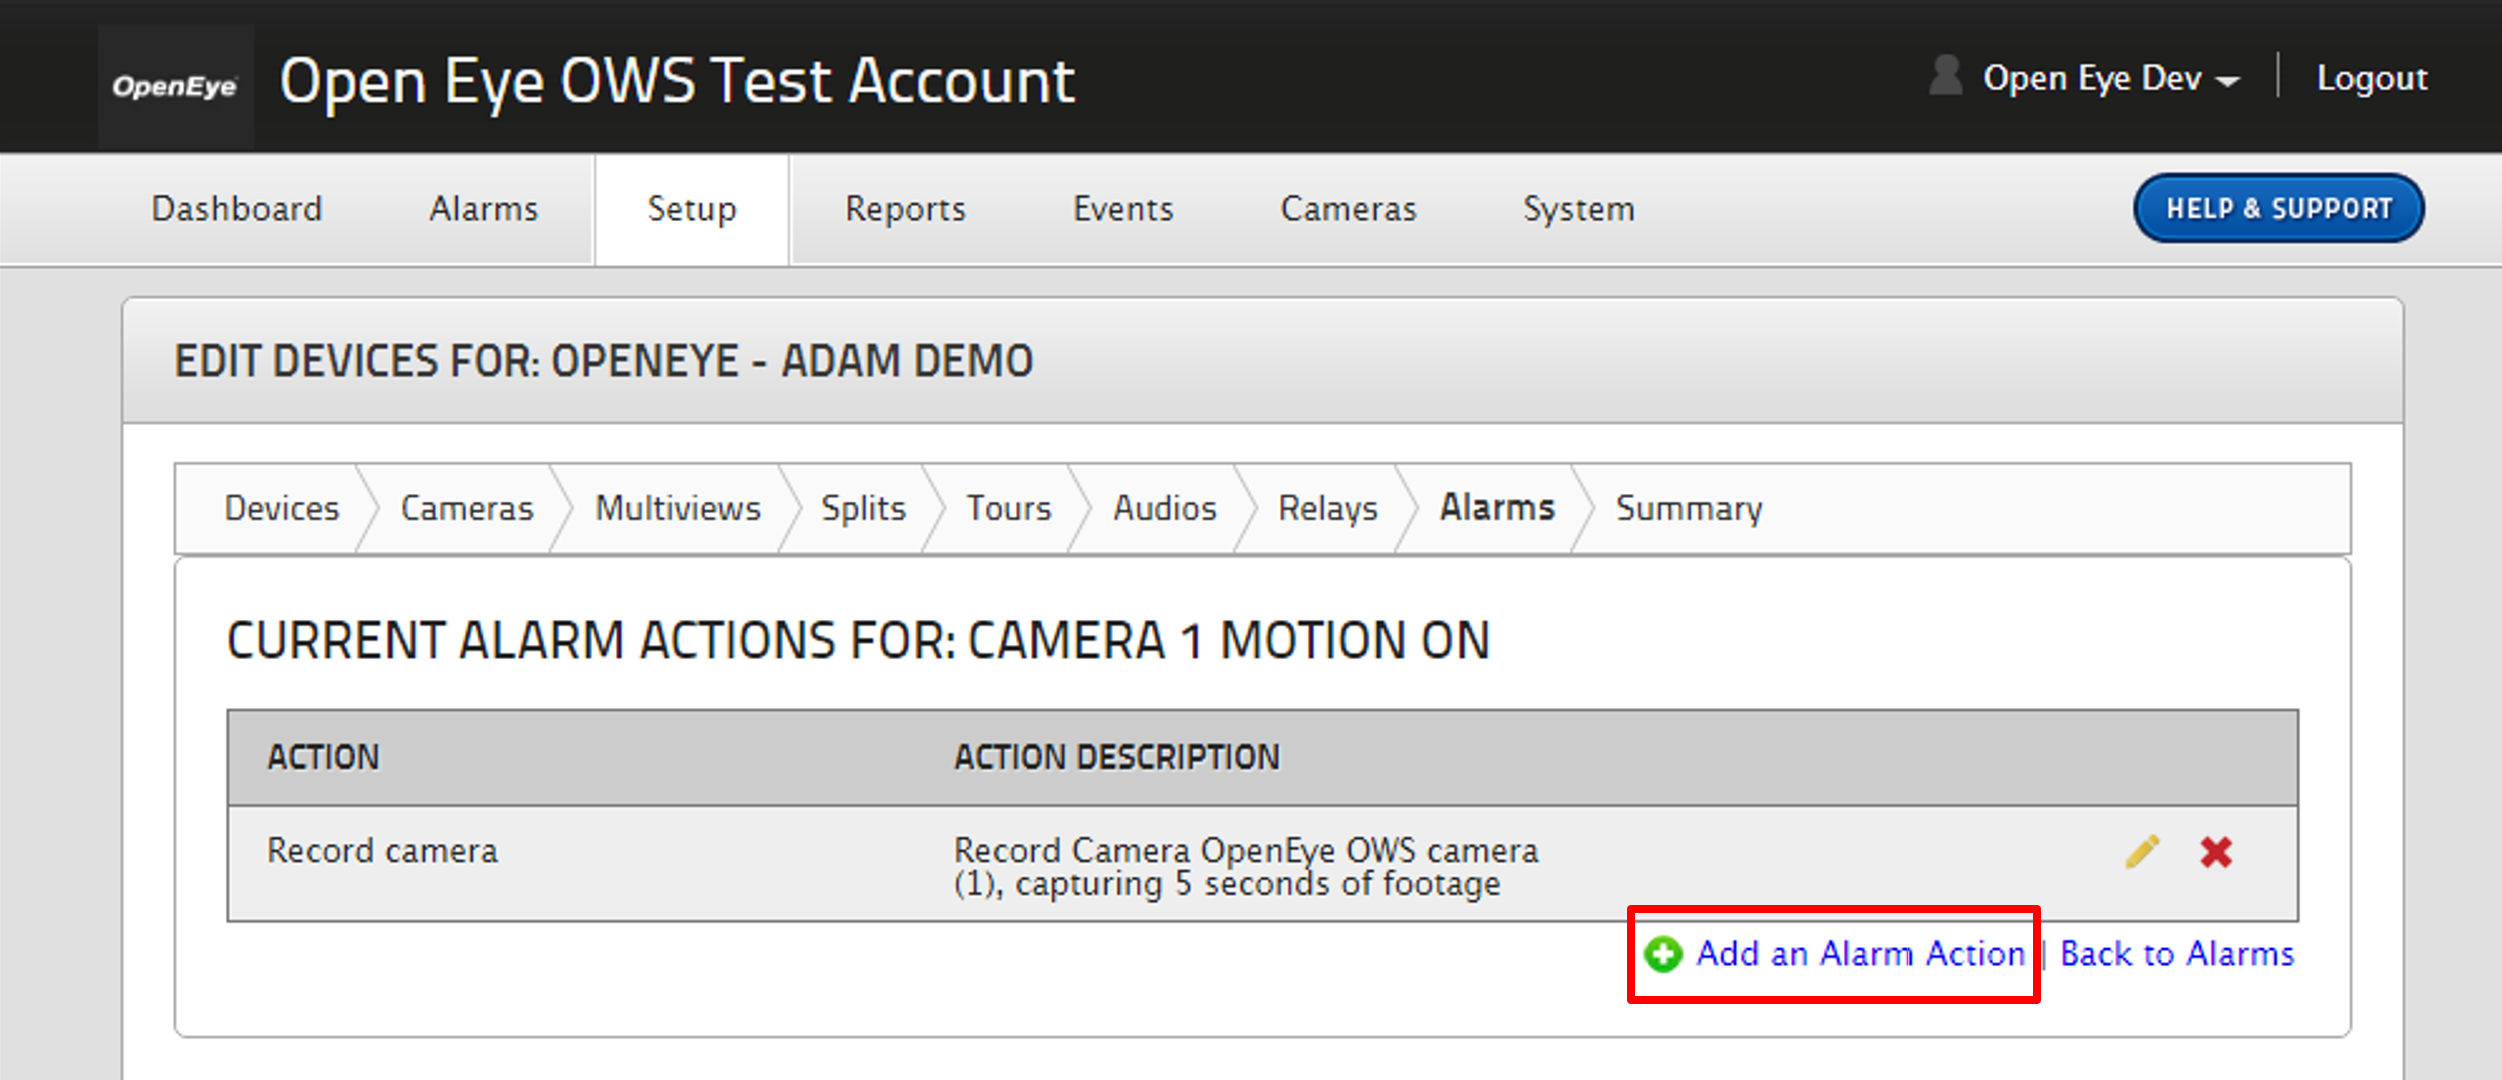
- Click Action drop down and select a desired action.
- If Action is Record Camera, Click Camera drop down and select desired camera.
NOTE: Each action has corresponding settings. Set them as desired.
- If Pre-Motion recording is desired, click Record pre-alarm footage box.
- Click Number of seconds field and enter an amount of time to record after alarm is triggered.
- Click Done.

Configuring Pre-Alarm in Immix
- Click on Alarms and click on Actions.
- Click on Add Alarm Action.
- Set Action to Record Camera.
- Check box for Record pre-alarm footage.
- Set Number of seconds to at least 7 seconds.
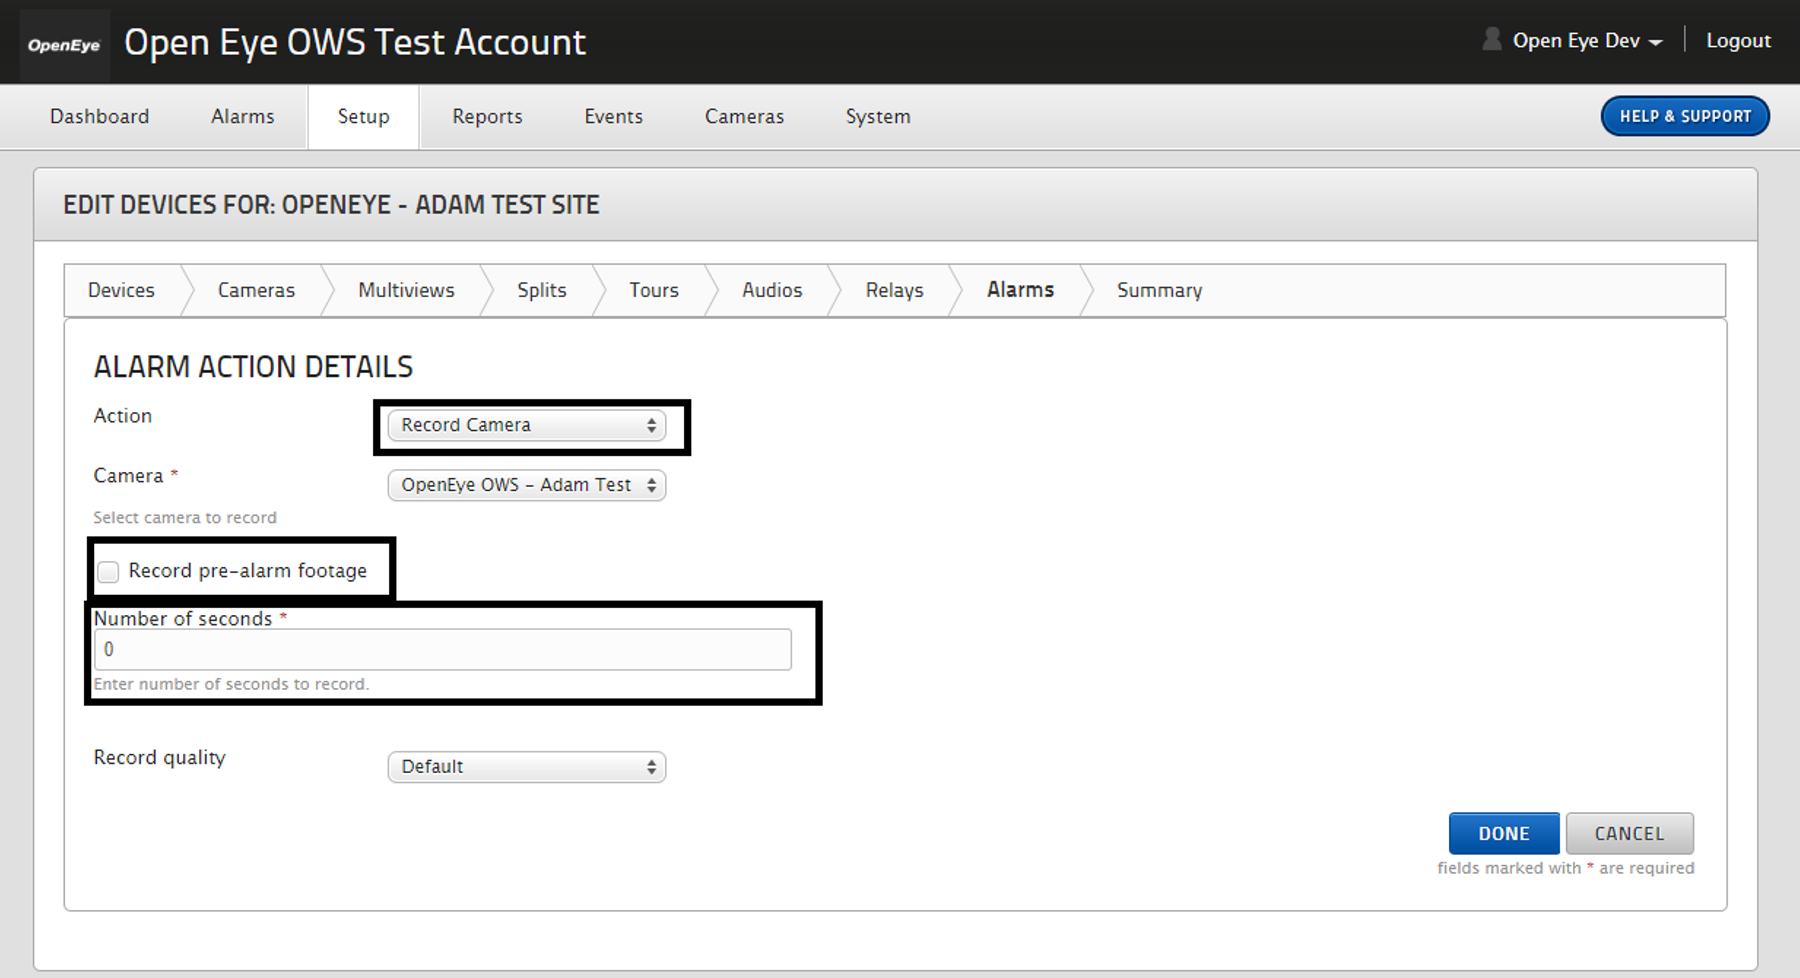
NOTE: Immix video will begin 7 seconds prior to the triggering event, so you will want to set the number of seconds of pre-alarm recording to 7 seconds.
Configuring Event Type in Immix
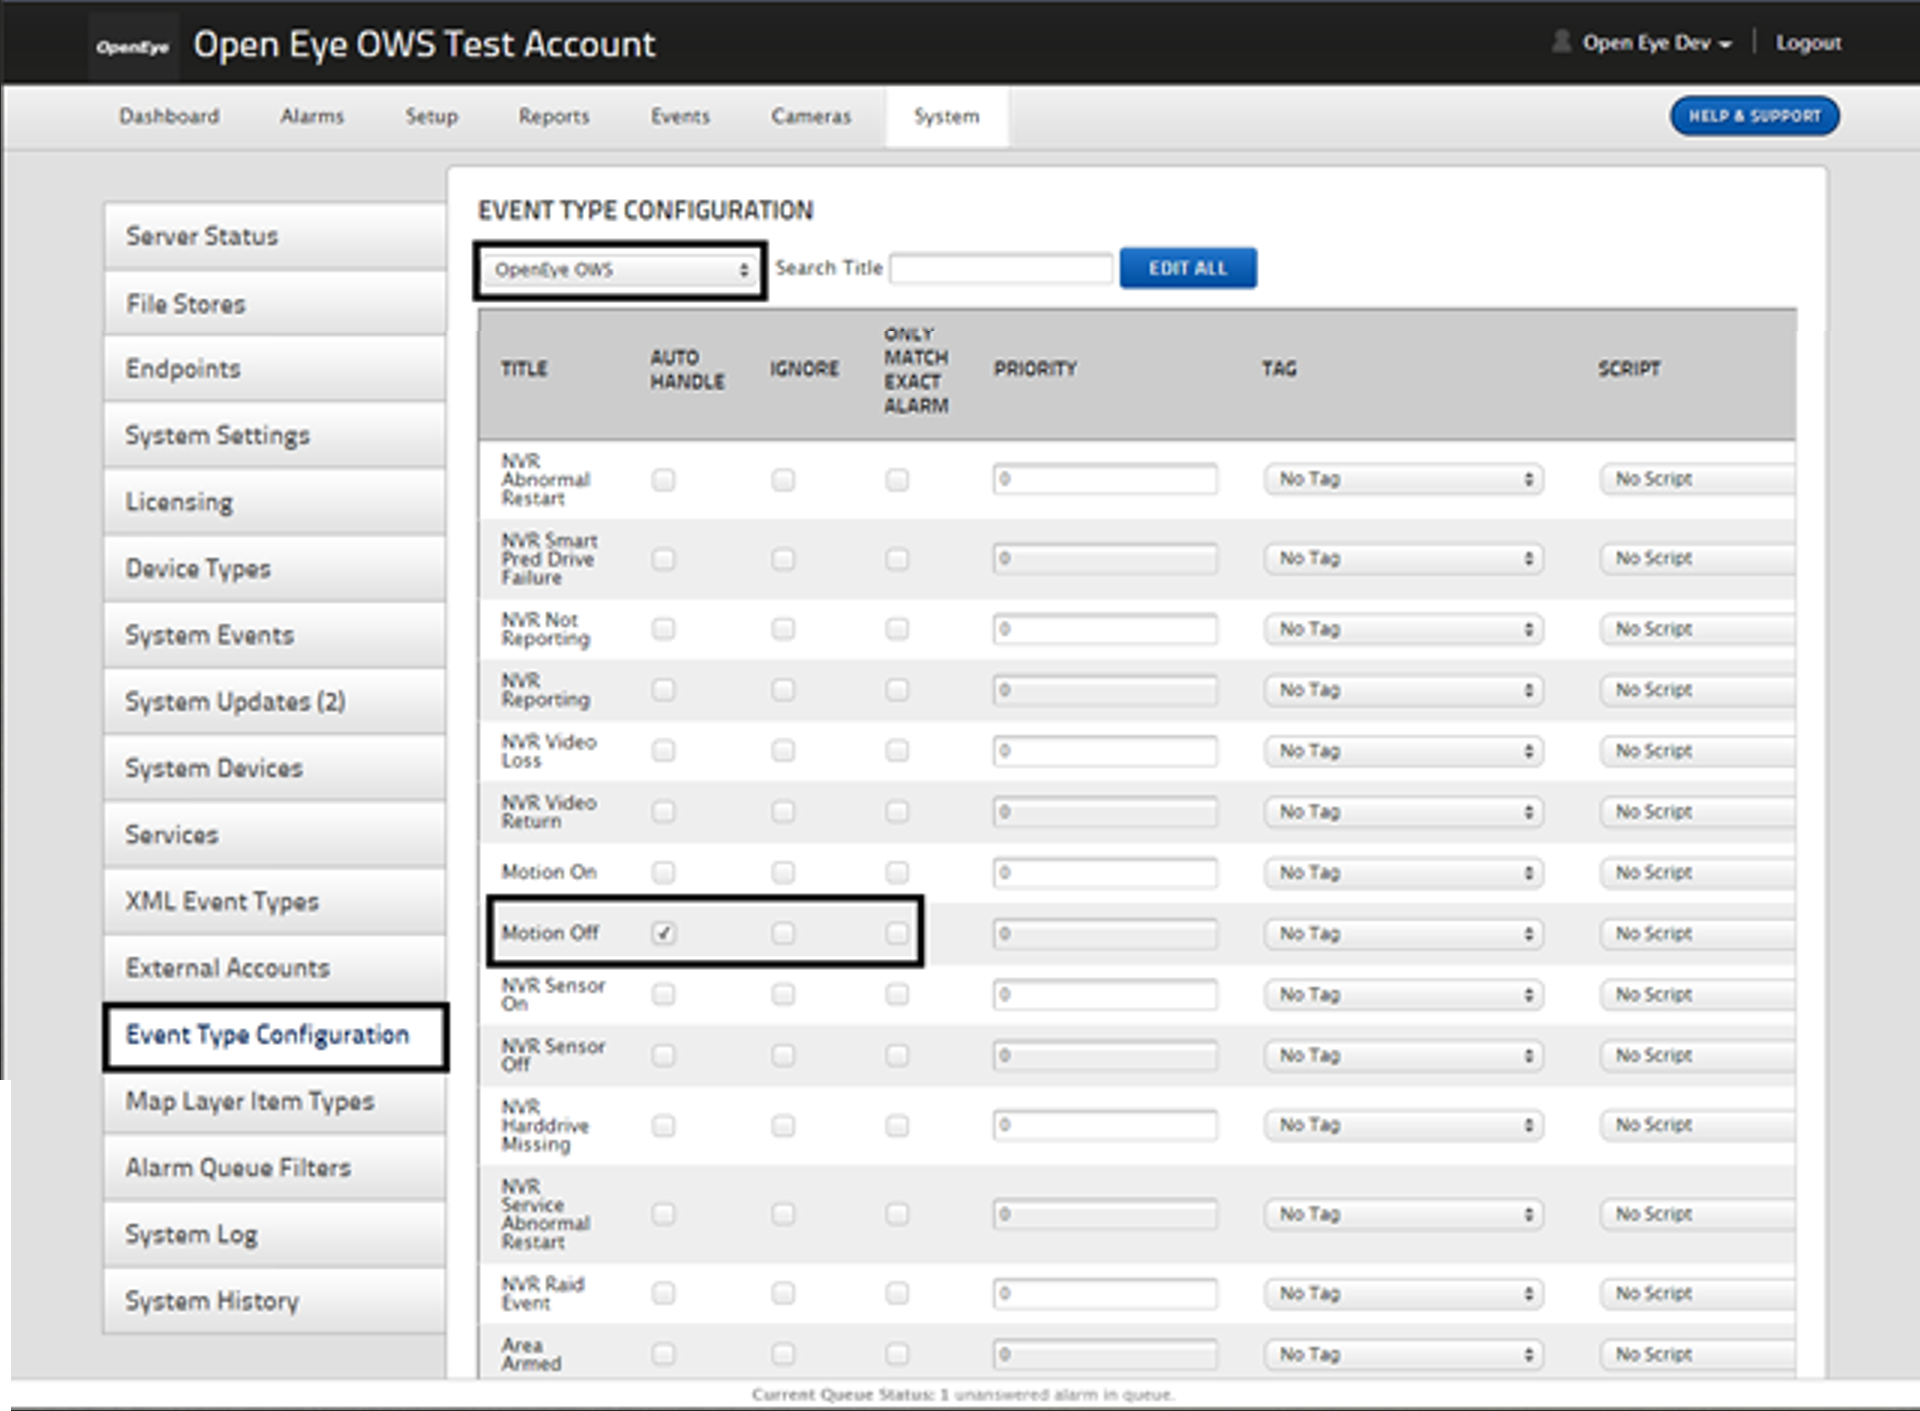
When OWS is configured to send alerts on Motion; it sends an alert both on Motion On and Motion Off.
In order to save on storage space, you will want to configure a Motion Off event in Immix for every Motion On event, and set the Motion Off event to Auto Handle.
- In your Immix account, under System > Event Type Configuration, select OpenEye OWS.
- Then select the Auto Handle check box under Motion Off. This will set newly created Motion Off events to automatically clear themselves.
Set Record Mode for Immix in OWS
For Immix compatibility, you should configure camera for Continuous + Motion recording in Apex.
- In Apex, access the Setup menu and select Cameras, then select the camera being used for Immix events.

- Select the Live / Recording tab and then select the radio button for Continuous + Motion.

NOTE: In some cases, slow internet connections can cause Immix to be unable to connect to OWS. If this happens, disable Peer to Peer in OWS.